![]()
Issue Tasks
Tasks are created by the Local Authority and request headcount information from Early Years providers. Providers must complete tasks that are assigned to them by the submission deadline.
Tasks are created via Headcount | Tasks. Once a task is issued, it is displayed on the recipient’s (the provider’s) Home page and an email alert is sent to their registered email address.
The provider must be assigned to a base that has the B2B Student Base check box selected in the v4 Client and the XML transfer option deselected in the v4 Online. For more information, refer to the Setting Up Headcount for Local Authorities technical guide.
A Task can be viewed or retracted if required.
Create a New Task
Tasks can only be created for active services.
Tasks can be created for:
- A specific group of services or service types.
- One or more age groups.
- A specific term (funding period).
- A payment type (forecast, actual or amendment).
Tasks are created using the New Task wizard.
- Select Headcount | Tasks and click the Create Task button to display the New Task page

- Select a Submission Type and Term.
- Select one or more check boxes to request the Ages to be included.
- Select a Deadline Date for the information to be received.
- If required, select the Exclude Reception NCY check box to display a tick.
If this check box is selected, when the provider views the task, children with an NCY of zero are not displayed. Also, the provider cannot add a child with a DOB that gives them an NCY of zero.
- Click the Next button to display the Recipients screen.
- Click the To button to display the Select Services screen with all available services listed.
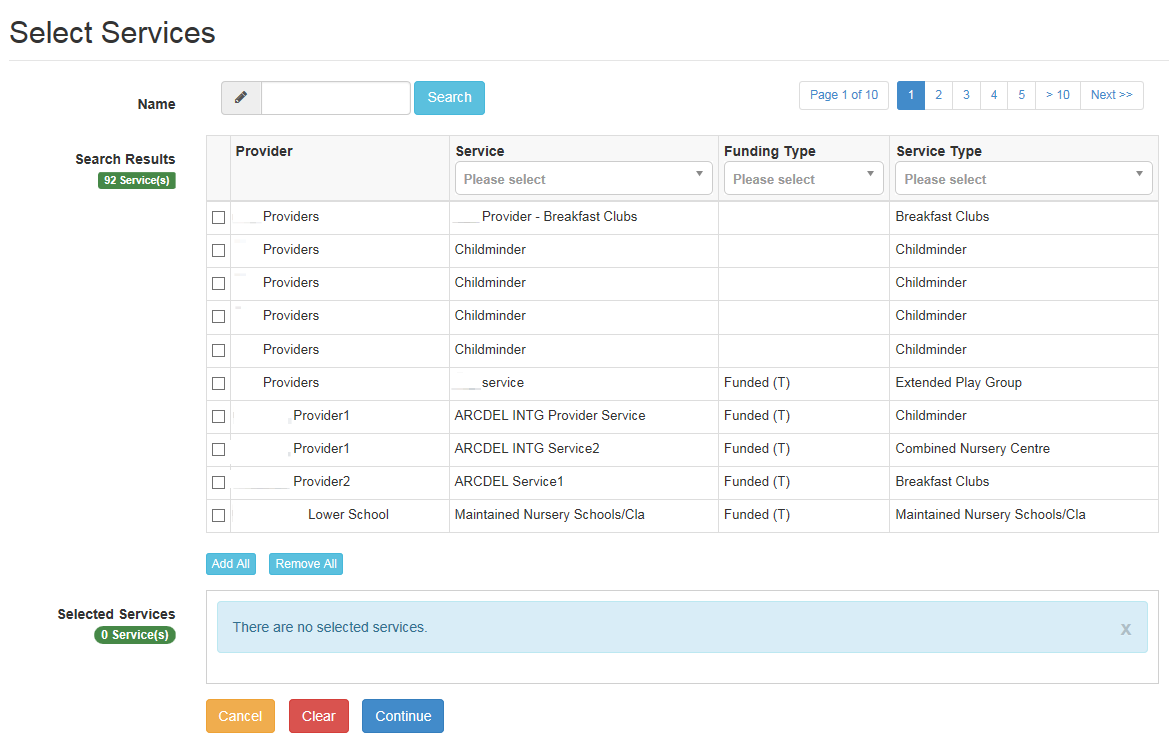
- If required, enter a partial Provider or Service Name and click the Search button to display matching services.
Alternatively, select a service group from the Service drop-down. You can refine the search further by applying a Funding Type or Service Type filter. Click the cross button to remove the filter. - Select the check box for one or more services or click the Add All button to display the services in the Selected Services box.
- Click the Continue button to display the New Task screen with Selected Services for this Task displayed.
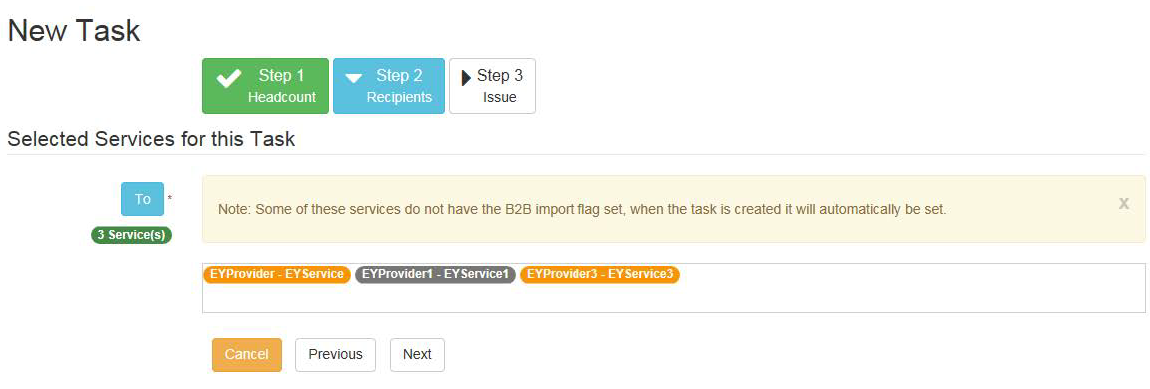
- Click the Next button to display the Issue screen.
An error message is displayed if a required field on a previous step is missing. To complete the field, click the relevant Step button to display that step or alternatively, click the Previous button to display the previous step.
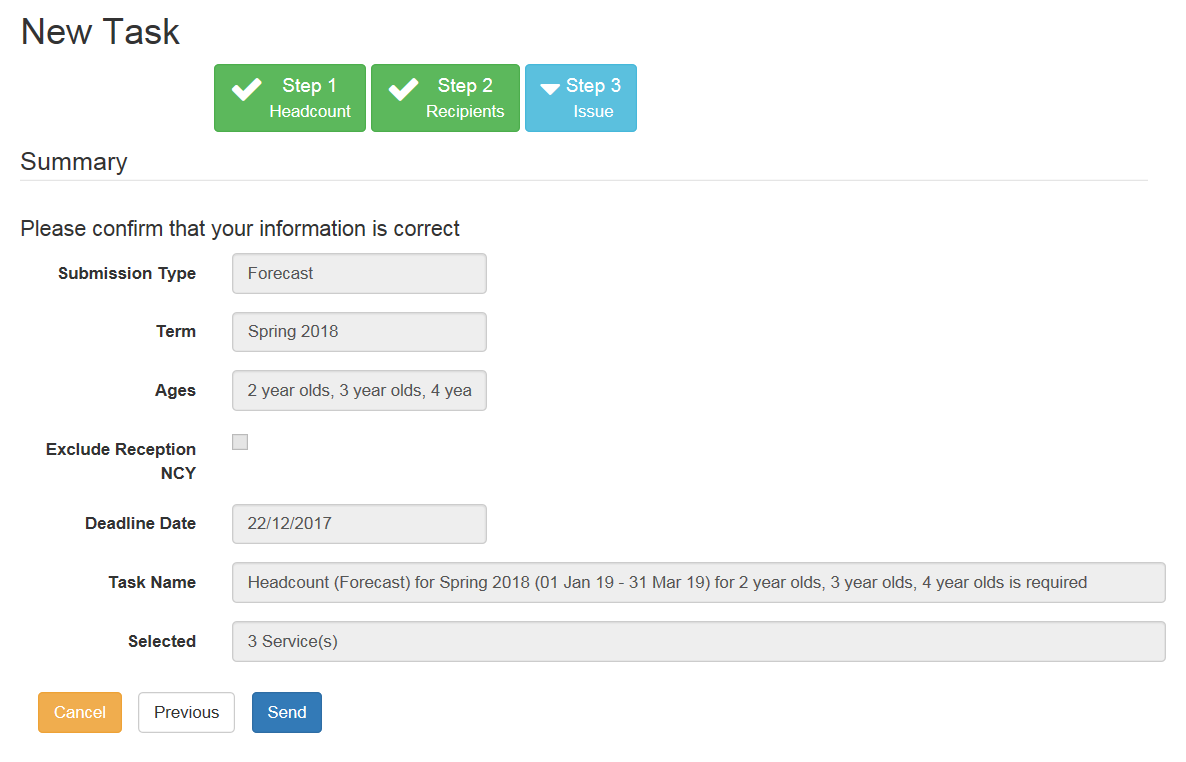
- Click the Send button to issue the task and display the Task Sent dialog.
- Click the OK button to display the Tasks screen listing the tasks that have been issued.

View Issued Tasks
The Tasks screen displays a list of Issued tasks list of Issued tasks. It enables you to monitor progress made by providers, send messages to providers and to retract a task, if required.
Tasks can only be viewed for active services
- Select Headcount | Tasks to display the Tasks screen.
- If required, select a service to display tasks for that service only.
- Click the browse button to display the Select Service dialog.
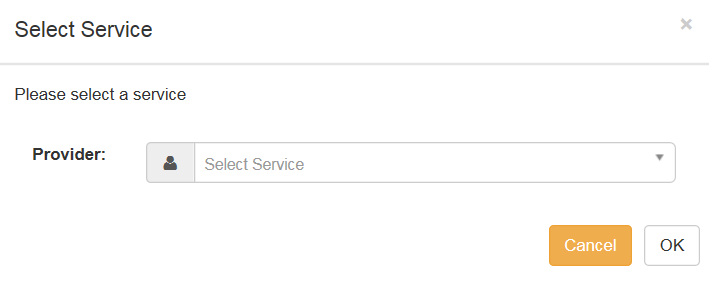
- Select a service from the drop-down.
- Click the OK button.
- The Service Status displays the number of tasks with each status (Not Submitted (red), In Progress (yellow) or Completed (green)).
- If required, click the task Name hyperlink to display the Task Details screen.
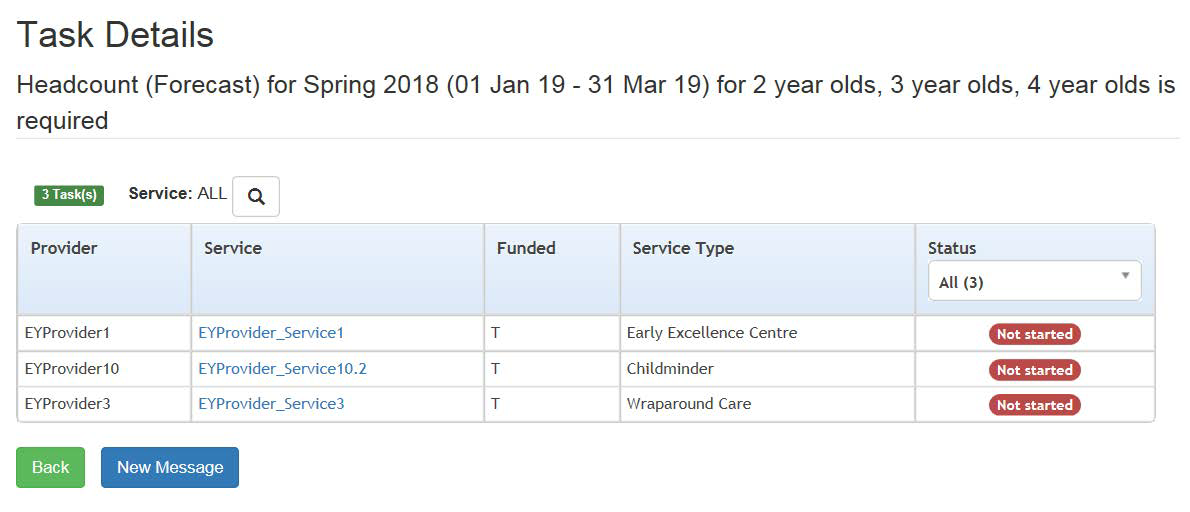
- If required, click the service hyperlink to display the Service Detail screen.

- If required, click the View Task button to display the headcount grid.
Retract a Task
If required, the task can be retracted. Retracting a taskRetracting a task prevents any further action on that task by service providers. Data that was submitted before the task was cancelled, is still imported.
- Click the Retract link to display the Retract task dialog.
- Enter a Reason for retracting the task.
- Click the Retract button.