![]()
Click the back button to return to the previous page or use the Table of Contents.
SEND Professional Home page
The Professional Portal | Home | Special Educational Needs and Disabilities tile enables the professional user to submit SEND forms for the children and young people that they work with to the local authority in a secure manner.
The SEND home page, on the Professional Portal, lists children and young people where the professional is recorded as having an active professional involvement.
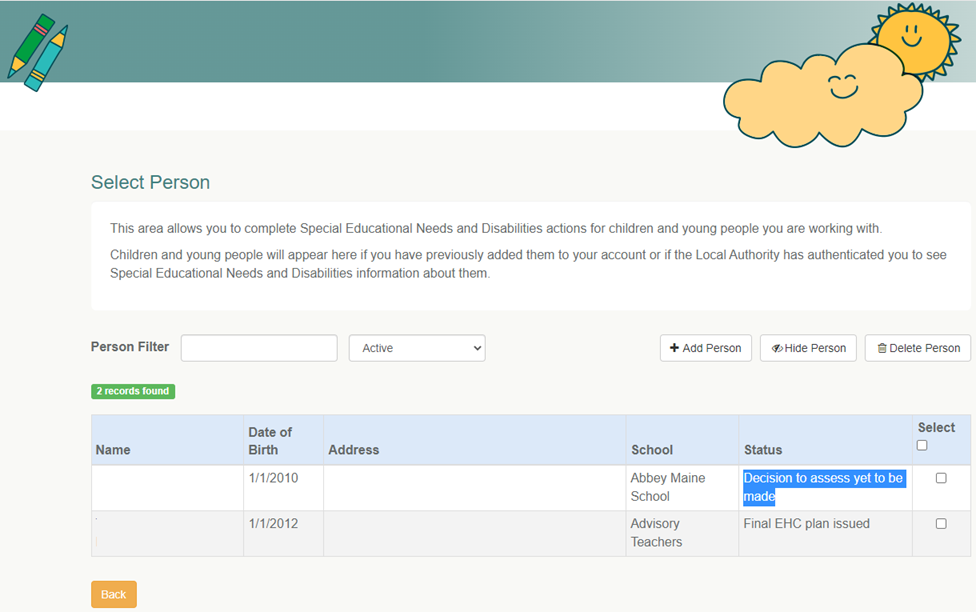
This screen is essentially the professional’s caseload. There are options on this screen to help make this list manageable and more useful to the professional. When you first access the screen, the Active View displays.
Person Filter
This field can be used to find a person in the list, by entering their name the list is filtered to find matches.
Views
You can select different viewsviews for the screen that display different lists.
Active
This is the default view and displays children and young people where the professional is recorded as having an active professional involvement and they have not been hidden or deleted.
Hidden
Displays all children and young people the professional has hidden from their Active listActive list.
Recent (18 months)
Displays children and young people where something has happened to their record in the last 18 months. It doesn't show hidden or deleted records.
Add Person
If a child or young person that they are working with is not listed, click the Add PersonAdd Person button to add another child or young person to their account.
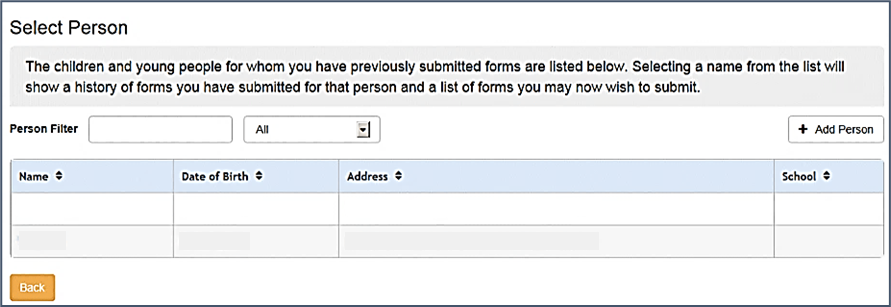
- Select Professional Portal | Home | Special Educational Needs and Disabilities to display the Select Person page.
- Click the Add Person button to display the Add Person page.
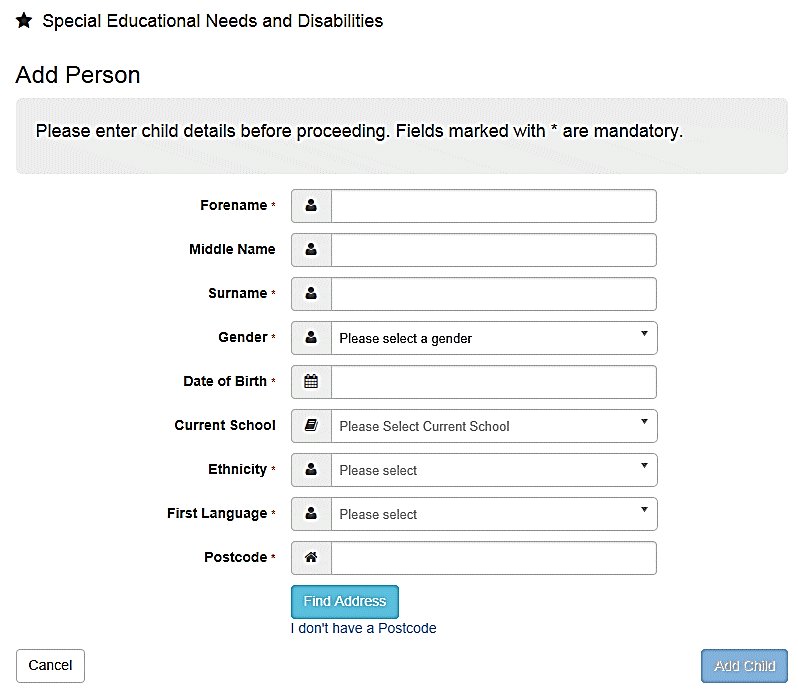
- Enter the child or young person’s details.
- Enter the Postcode and click the Find Address button to display the Address Details page.
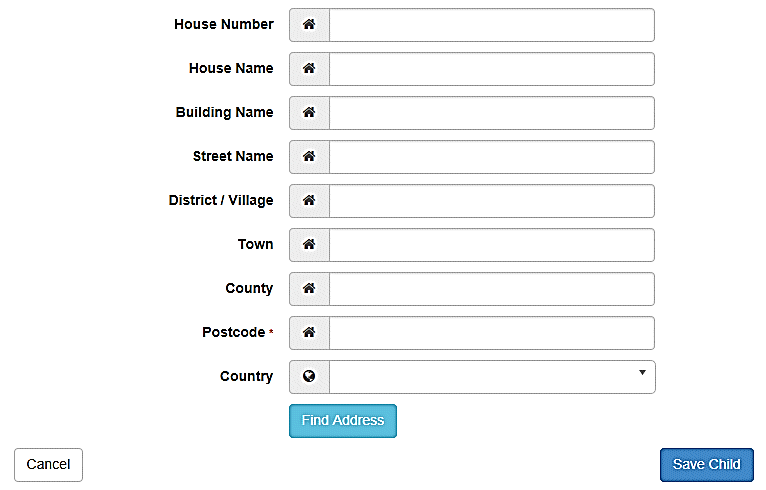
- Enter the required address details.
- Click the Save Child button to display the Forms page. The page displays all forms appropriate for the logged on verified professional.
Refer to: Completing and Submitting a Professional Portal SEND Form for more information on completing a SEND form.
Hide Person
The hide functionality allows professionals to move children and young people out of their active caseload list, to essentially de-clutterde-clutter it.
This is useful for professionals in a school where a child may have recently left the school, but they might still have a need to access the record in a scenario where the new school is asking for information about the child or young person. For the most part though, the professional isn't going to need to access this child or young person's record very often so they want to hide it from the active list of children and young people they are currently working with.
- Place a tick in the Select box against the person’s name to hide. Tick Select in the Column Heading to select all.
- Click on the Hide Person button.
A Warning message displays to confirm action to be taken.
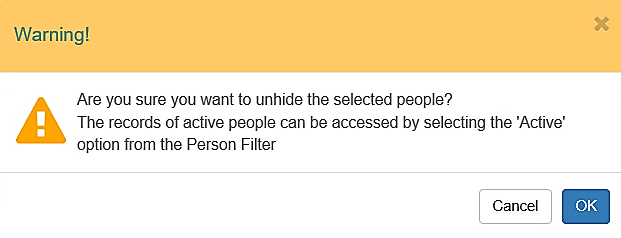
- Click OK.
This removes the person from the Active list on the screen. They can still be accessed when the Hidden filter is selected and they can be unhidden from there.
Delete Person
The delete functionality allows professionals to essentially meet GDPR requirementsGDPR requirements.
Once it is no longer relevant for the professional to have any data about the child or young person on their system anymore, they should use the delete functionality to remove them.
- Place a tick in the Select box against the required person(s).
- Click on the Delete Person button.
A warning displays.
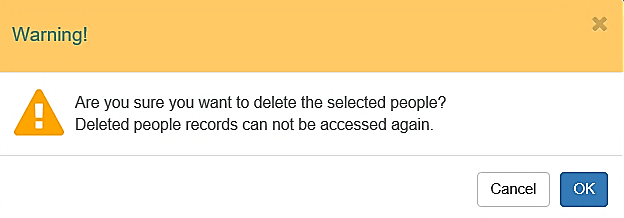
- Click Ok.
This removes the selected person/people from the Active list on the screen. In v4 Client, the Professional user will automatically be unauthenticated. All forms and messages associated to them on the portal are no longer accessible. The Professional User will need to be re-authenticated to access the person and their forms.
Audit Log Trail
The Audit Log file in v4 client records the information of when a person is deleteddeleted on the Portal.
This allows admin users to view the details associated with the person removed. The log file includes the following when a professional deletes a child, 'Unauthenticated as professional deleted student on Professional Portal'
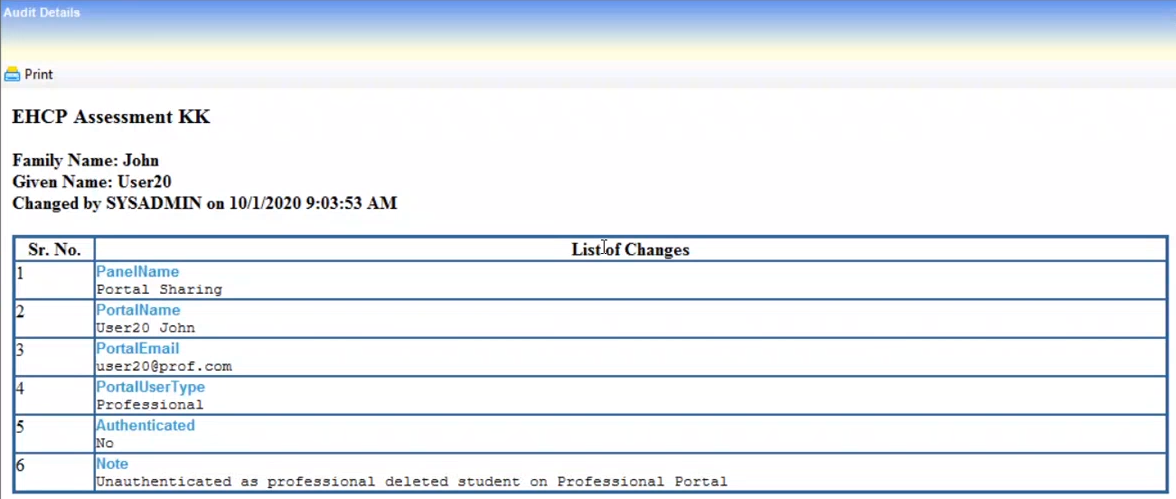
Changed by in the audit Log is shown as sysadmin. This is the default system name of the person who is linked to User ID 1 who configures the Portal. It is not referring to any person who may have a username of sysadmin.
Given Name and PortalName is the name of the person who removed the child from the Portal.
Manage My Account
A Professional Portal user can manage the following details by clicking the My Account link on the top of the Home page:
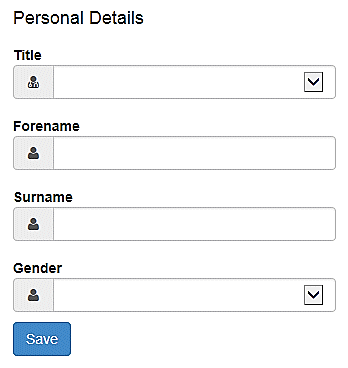
- Personal DetailsPersonal Details
- Enter information into the fields as required. Click in a field to display the relevant tooltip.
- Click the Save button.
- Work DetailsWork Details
- Enter information into the fields as required. Click in a field to display the relevant tooltip.
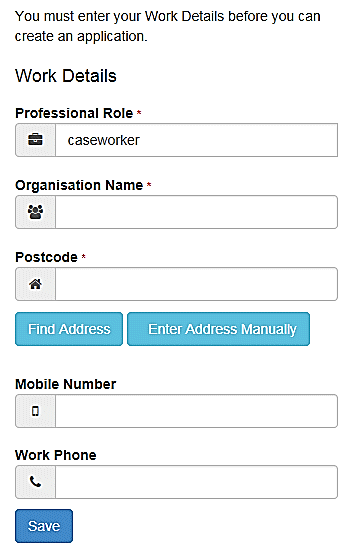
- Click the Save button.
- Change Email AddressChange Email Address
A warning message is displayed for you to check that the new email address is entered correctly. Click the Next button.
- Enter information into the fields as required. Click in a field to display the relevant tooltip.
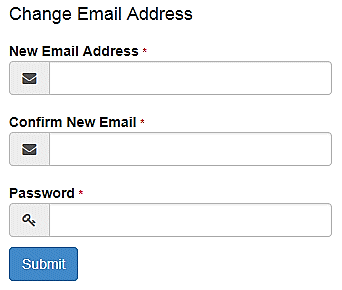
- Click the Submit button.
- Change PasswordChange Password
- Enter information into the fields as required. Click in a field to display the relevant tooltip.
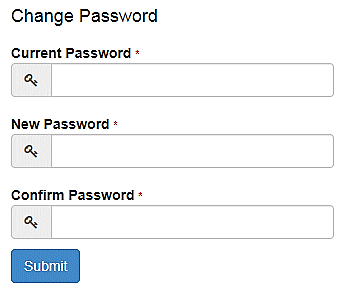
- Click the Submit button.
- Change of CircumstancesChange of Circumstances
If you need to record a change to your circumstances, you must contact your local authority.
- Two Step VerificationTwo Step Verification.
Two step verification is an additional process to increase your security when logging onto the Professional Portal. This process is mandatory if you wish to use Special Educational Needs and Disabilities (SEND).
Enabling Two Step Verification
The first time you log onto the Professional Portal you are given the option to enable the two step verification process. If you try to log onto SEND without enabling the two step verification process, the following message is displayed:
This area requires Two Step Verification to be enabled before you can access it.
Please enable this in My Account before continuing.To set up two step verification:
Log onto the Professional Portal using the email address and password you used to register.
- Click the Login button to display the Enable Two Step Verification now dialog. This dialog is only available for a few seconds. If it disappears, the two step verification process can be enabled via My Account | Two Step Verification.
- Click the Enable now link to display the My Account | Two Step Verification page.
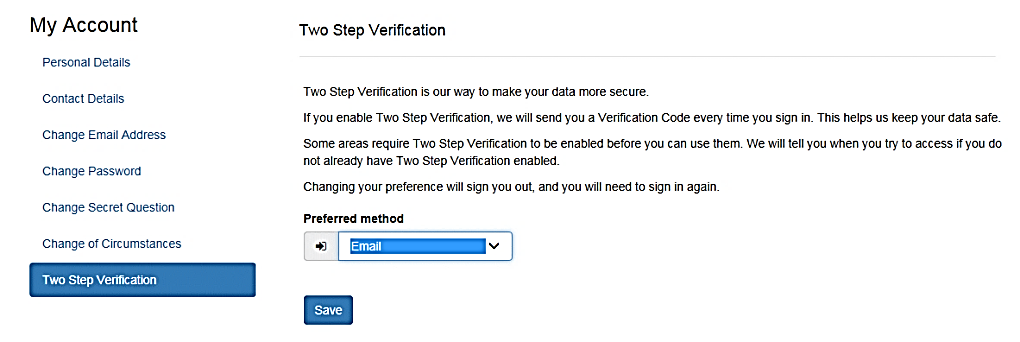
- To receive a verification code to your registered email address, select Email from the Preferred method drop-down.
- Click the Save button.
You will be signed out and will need to sign in again. - Log in; this time when you log in, the following dialog is displayed:
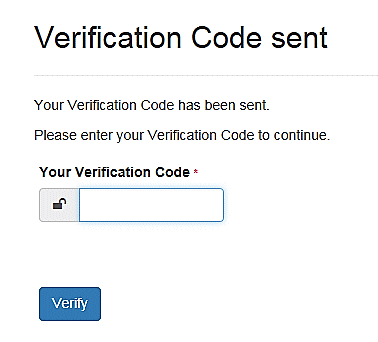
- Locate the email containing your verification code.
- Copy and paste your verification code into the box.
- Click the Verify button
If you enter an incorrect verification code, the following warning is displayed:
The Verification Code you entered is invalid. Please try again. Codes expire after 5 minutes and are 6 numbers long. If you make 4 incorrect attempts, your account will be locked for 4 minutes before you can sign in again.
Disabling Two Step Verification
The two-step verification process is mandatory for users of Special Educational Needs & Disabilities (SEND) and therefore cannot be disabled. If you try to access the SEND module, the following message is displayed:
This area requires Two Step Verification to be enabled before you can access it.
Please enable this in My Account before continuing.- Select No Two Step Verification from the Preferred method drop-down.
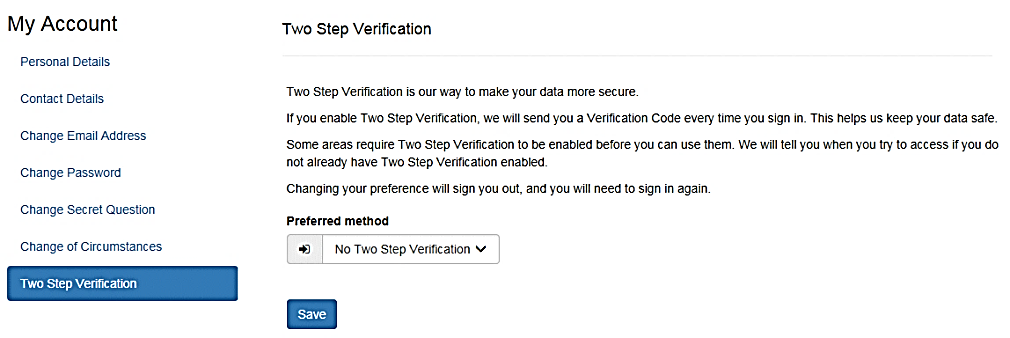
- Click the Save button.
You will be signed out. Sign in again.