![]()
Situation Management
Situation groups are made up of a number of sub groups. Related situation groups come under a situation super group. Due to the nature of intergroup dependency, situation lookups should be created in the order as follow:
- Situation sub group and, if required, situation status
- Situation group
- Situation super group.
Create Situation Sub Groups
- In the IYSS System Administration Client, select Client | Situation Sub Group.
- Click the Add Value icon to display a blank Situation Sub GroupSituation Sub Group dialog.
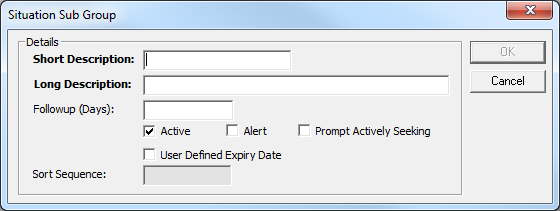
- Complete the Short and Long Description fields.
- To calculate the situation expiry date based on a set period of time following situation creation, enter the length of time after which the situation expires in the Followup (Days) field.
- If the Followup (Days) field has been completed, select the User Defined Expiry Date check box.
- To prompt users to check clients’ Actively Seeking status and Aspirations when situations linked to this sub group change, select the Prompt Actively Seeking.
- Ensure the Active check box is selected.
- Click the OK to save the changes and close the dialog.
Create Situation Statuses
Situation statuses indicate the period of time clients spend in situations.
- In the IYSS System Administration Client, select Client | Situation Status.
- Click the Add Value icon to display a blank Situation StatusSituation Status dialog.
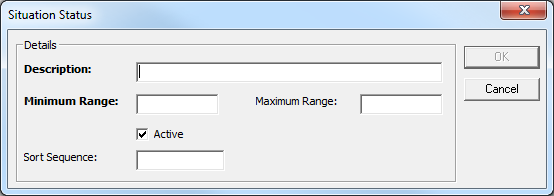
- Enter a Description. It is useful to indicate the period of time and the rating it has, e.g. ‘Low - 0 to 3 months’.
- In the Minimum Range field, enter the lower bound of the time period.
- If the status is of a fixed duration, enter the upper bound of the time period in the Maximum Range field.
- Ensure the Active check box is selected.
- Click the OK to save the changes and close the dialog.
Create Situation Groups
- In the IYSS System Administration Client, select Client | Situation Group.
- Click the Add Value icon to display a blank Situation GroupSituation Group dialog.
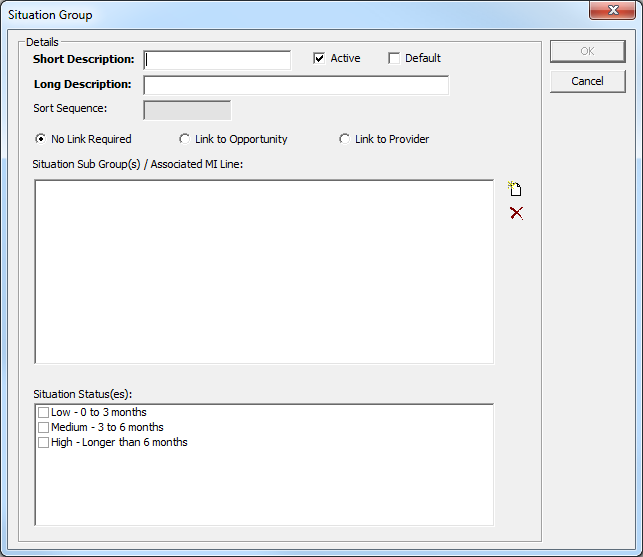
- Complete the Short and Long Description fields.
- Ensure the Active check box is selected.
- If required, select the appropriate Link to Opportunity or Link to Provider radio button.
If either of these radio buttons are selected, users must select an opportunity or provider when creating new situation. Linking to an opportunity automatically links to the associated provider. This is useful for educational situations to identify year group (opportunity) and school (provider). Linking to a provider is useful for employment situations where there are no specific opportunities.
- To add sub groups or MI lines, click the Add Value icon to display the Situation Sub GroupSituation Sub Group dialog.
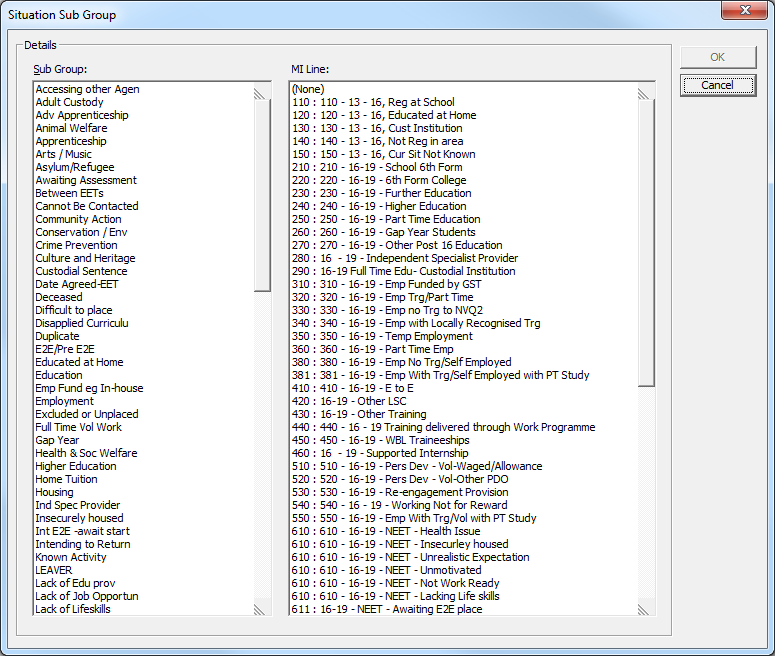
- Select the required Sub Group.
- If required, select the relevant MI Line.
- Click the OK to display a confirmation dialog.
- Click the Yes button to save the changes and close the dialog.
- Add any other required Sub Groups as before.
- If required, select the appropriate Situation Status(es) from the list.
- Click the OK to save the changes and close the dialog.
The No Link Required, Link to Opportunity and Link to Provider options have been preset in the system.
To view how the links are configured click on the link: TableTable
|
Situation Group |
Default Link Type |
|
Emp/Trg NVQ2 & above |
Provider |
|
Emp No Trg upto NVQ1 |
Provider |
|
Work Based Learning |
Provider |
|
Higher Education |
Provider |
|
FE College |
Opportunity |
|
Statutory Education |
Opportunity |
|
Moved out of Area |
No |
|
No Information |
No |
|
NEET |
No |
|
Work Exp (Secondary) |
No |
|
Unknown |
No |
|
Adult Situations |
No |
|
Sixth Form College |
Opportunity |
|
School Sixth Form |
Opportunity |
|
Other |
No |
|
Millennium Volunteer |
No |
|
WEX |
No |
Create Situation Super Groups
- In the IYSS System Administration Client, select Client | Situation Super Group.
- Click the Add Value icon to display the Situation Super Group dialog.
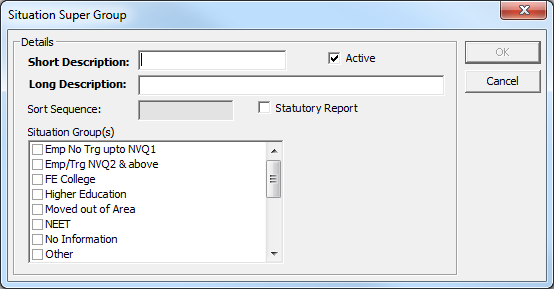
- Complete the Short and Long Description fields.
- Ensure the Active check box is selected.
- In the Situation Group(s) list, select all the appropriate groups.
- Click the OK to save the changes and close the dialog.