![]()
Workgroups
Workgroups identify users’ organisational units or teams, enabling access to client records to be tailored to team requirements. It also identifies the managing teams for different clients, providers and opportunities, and attributes interaction work to the appropriate sources. For more information on how workgroups interact with client types, see Centres.
Workgroups can be organised hierarchically to reflect your organisation. There are three default levels of workgroup type:
- Company (level 2)
- Department (level 1)
- Team (level 0).
A company workgroup can contain a number of department workgroups. Department workgroups can contain a number of team workgroups.

Configure Workgroup Types
You can configure the workgroup types to fit your organisation. You can change, delete or add new types depending on your organisational structure.
To add or change a workgroup type:
- In the IYSS System Administration Client, select Security | Workgroup Type.
- Click the Add Value icon or double-click an existing value to display the Workgroup Type dialog.
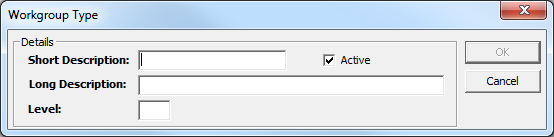
- Enter a description in the Short and Long Description fields.
- Ensure the Active check box is selected.
- Enter the Level (0 being the lowest).
- Click the OK button to save the changes and close the dialog.
Configuring Workgroups
Workgroups can be used to limit user access to certain client records depending on the organisation or organisational unit they represent. Restrictions can be put in place to limit access to records of one or several managing teams, a single data partner or a single provider, e.g. a workgroup containing workers for a particular school (provider) could be granted access only to the records of clients of that school.
To configure a workgroup:
- In the IYSS System Administration Client, select Security | Workgroup.
- Click the Add Value icon or double-click an existing value to display the Workgroup dialog.
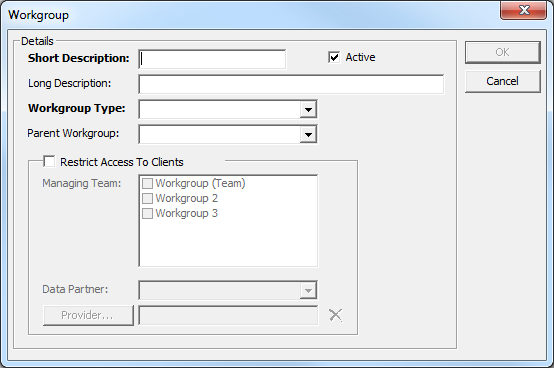
- Enter a name for the workgroup in the Short and Long Description fields.
- Ensure the Active check box is selected.
- Ensure the Default check box is deselected.
- Select the appropriate Workgroup Type from the drop-down.
- If the workgroup belongs to a larger organisational unit or division, select the Parent Workgroup from the drop-down.
- To manually control the client records the workgroup can access, select the Restrict Access To Clients check box.
- To limit access to client records with certain managing teams, select the appropriate teams from the Managing Team list.
- To limit access by data partner permissions, select the appropriate partner from the Data Partner drop-down. For more information, see Data Partner Permissions.
- To limit access by a particular current situation provider:
-
Click the Provider button to display the Lookup Provider dialog.
-
Complete the Name, With or Type fields.
-
Click the Find Now button to display a table of matching results.
-
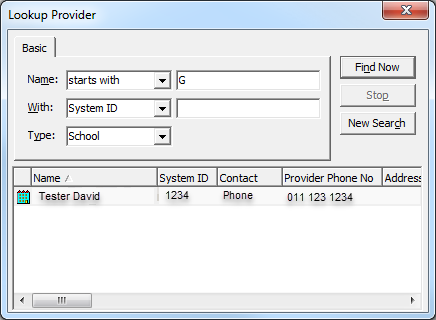
- Double-click the required provider to select it and return to the Workgroup dialog.
- Click the OK button to save the changes and close the dialog