Administration
Print ICS and EHCP Forms
The print functionality is available to print ICS and EHCP forms via Children’s Social Care (previously ICS) and the SEND Education, Health and Care Plan (EHCP). The print functionality enables you to print the data held in One and the information that is visible on the screen.
When printing, ACL and panel permissions are taken into account and if the user does not have permission to view a panel then it will not be included in the printout.
Similarly, if access or visibility restrictions exist for posts, groups, establishments or service teams, these will not be included in the printout.
The One software does not print ICS or EHCP forms directly, it outputs to either a Word file or a PDF that can then be printed.
Open ICS Forms for Printing
ICS forms are accessed via:
- Focus | People | ICS Person | ICS Person Details | Chronology | New | New Appropriate Exemplar / New Other Exemplar.
- Tools | Administration | Form Builder | ICS Forms | Form Definitions | ICS Form Definition | Create New Form For Data Entry.
The Print button is not available until the form has been saved.

Open EHCP Forms for Printing
EHCP forms are accessed via:
- Focus | People | Students | Student Details | Chronology | New | New EHC Plan.
- Focus | People | Person | Person Details | Chronology | New | New EHC Plan.
- Tools | Administration | Form Builder | EHCP Forms | Form Definitions | EHCP Form Definition | Create New Form For Data Entry.
The Print button is not available until the form has been saved.
Print ICS and EHCP Forms
To print an ICS or an EHCP form:
- Open a form from one of the above locations.
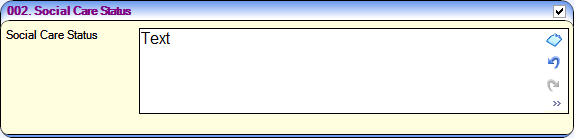
- Select the check box on a panel header to include the information in the printout.
- Click the Print button to display the Print Window dialog.
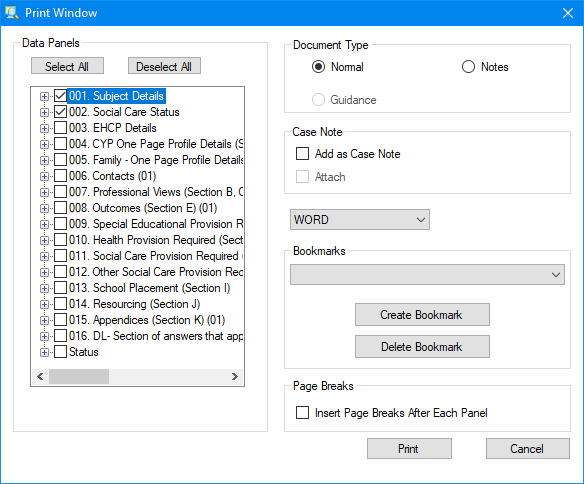
- Select the Data Panels to be included in the printout.
The Subject Details panel is automatically selected.
Any panels that were selected on the form are checked here.
Click the plus sign to expand the tree to view the questions in the panel.
Select the main panel to select all the questions within that panel. Select or deselect panels and questions, as required.
The headings displayed on the printout are in numerical order and not the panel numbers. - Select a Document Type. The default type is Normal; this prints the selected content of the form.
Select Notes to print a blank page after the contents of each panel.
Select Guidance to print out the Form Guidance Notes, if they were entered via the Form Definition page. - If required, select Add as Case Note. You can then choose if you wish to attach the case note.
- Select to print the document in WORD or PDF format.
- If required, select an existing bookmark, if one has already been created.
- If required, click the Create Bookmark button to create a new System or User Defined Bookmark. Each bookmark must have a unique name.
- If required, select the Insert Page Breaks After Each Panel check box.
- Click the Print button to preview the document.
- Save the document to a location on your PC, then print.
The font type and size for the panel title and sub-title can be changed and a logo can be inserted via the CCSGenericPrintSettings.ini.