![]()
Click the back button to return to the previous page or use the Table of Contents.
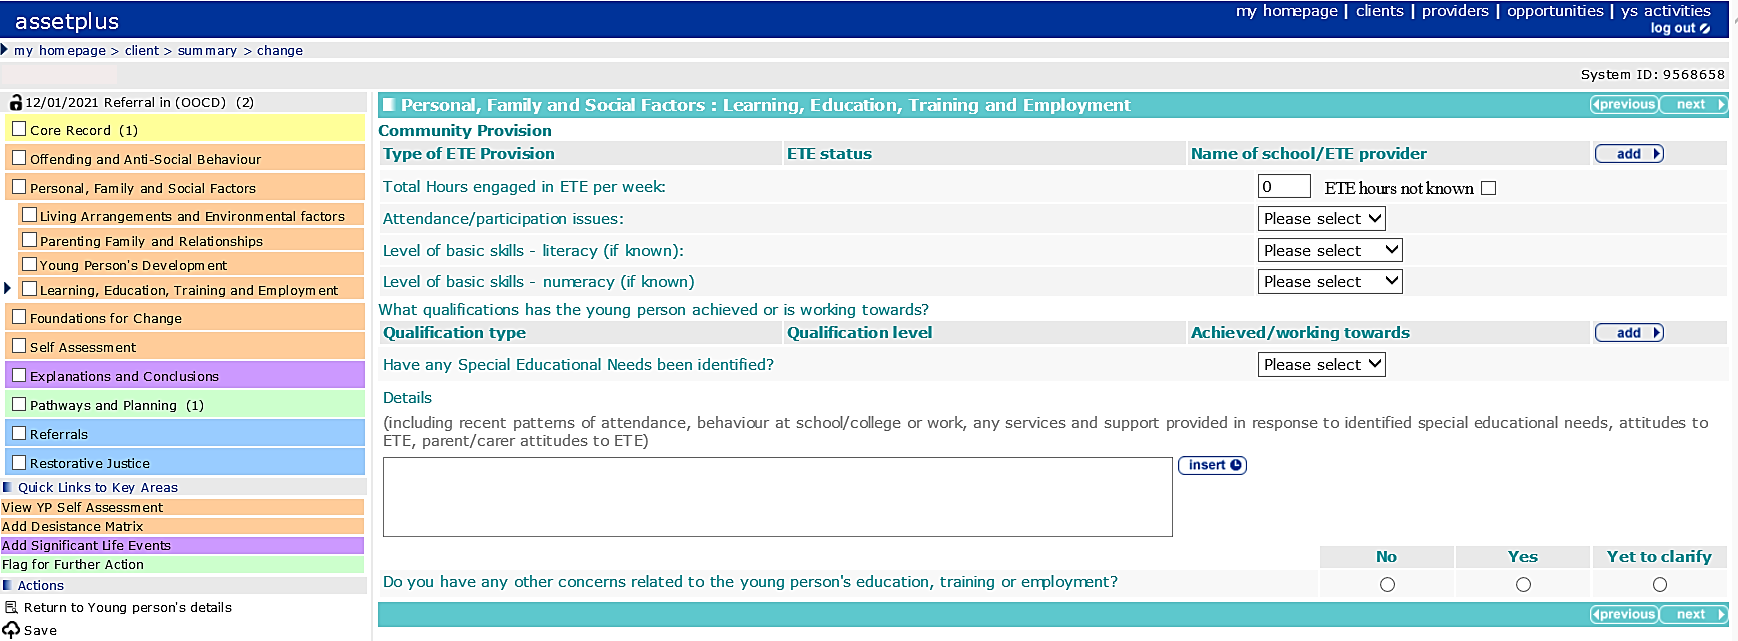
Learning, Education, Training and Employment
To add Community Provision information:
- Click the add button to display the ETE dialog.
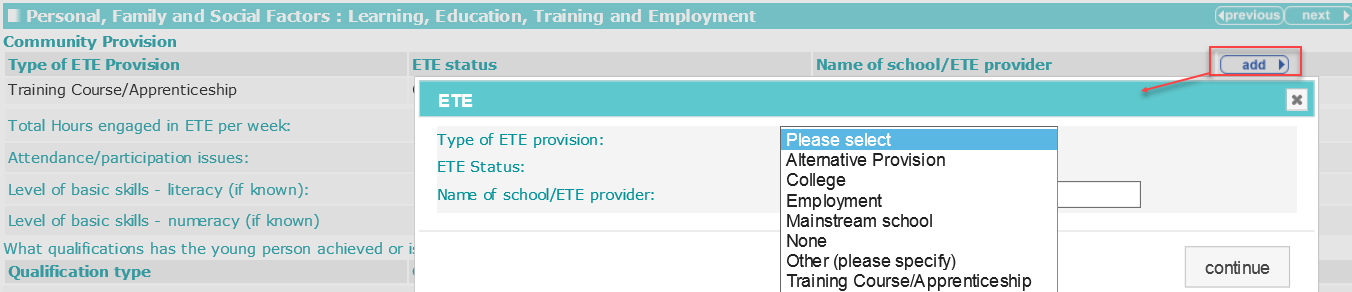
- Select the ETE type and status, and enter the Name of school/ETE provider.
- Click the continue button to add the information to the record.

To delete a row, click the corresponding x icon. To amend a row, click the corresponding edit icon.
- The time a client spends in ETE activity must be recorded.

- In Total Hours engaged in ETE per week, enter the total hours spent. If the completed ETE Hours is unknown, then place a tick in the ETE hours not known checkbox.
This allows you to distinguish between a young person who completed zero ETE hours and whose completed hours is unknown. ETE hours not known is reported in the YJMIS return with no values for the number of hours.
If the checkbox is selected any value in ETE Hours is removed and the field disabled.
To add qualifications:
- Click the add button to display the Qualification dialog.

- Select the appropriate options from the drop-downs.
- Click the continue button to add the information to the record.

To delete a row, click the corresponding x icon.
To amend a row, click the corresponding edit icon.
Selecting the Yes radio button for the Have any Special Educational Needs been identified? question triggers a Further Exploration question enabling you to provide details of any special educational needs:

Any details already provided for this question in the Young Person’s Development section are automatically pulled through.
To add details of special educational needs:
- Click the add button to display the Identified SEN dialog.

- Select the Identified SEN and the Responses to identified SEN.
- Click the continue button to add the information to the record.

To delete a row, click the corresponding x icon.
To amend a row, click the corresponding edit icon.
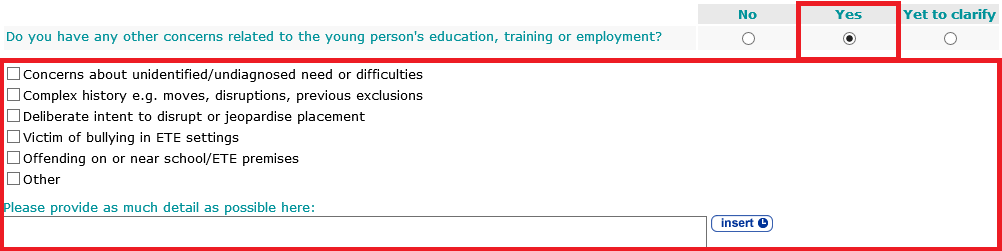
Selecting the Yes radio button for the Do you have any other concerns related to the young person's education, training or employment? question triggers a list of possible concerns and an additional detail free text field.