![]()
Click the back button to return to the previous page or use the Table of Contents.
View a single client record
The procedure below shows how to search for a single client, view the search results and access the relevant client record.
- Click the clients link at the top of the screen to display the Client Search dialog.
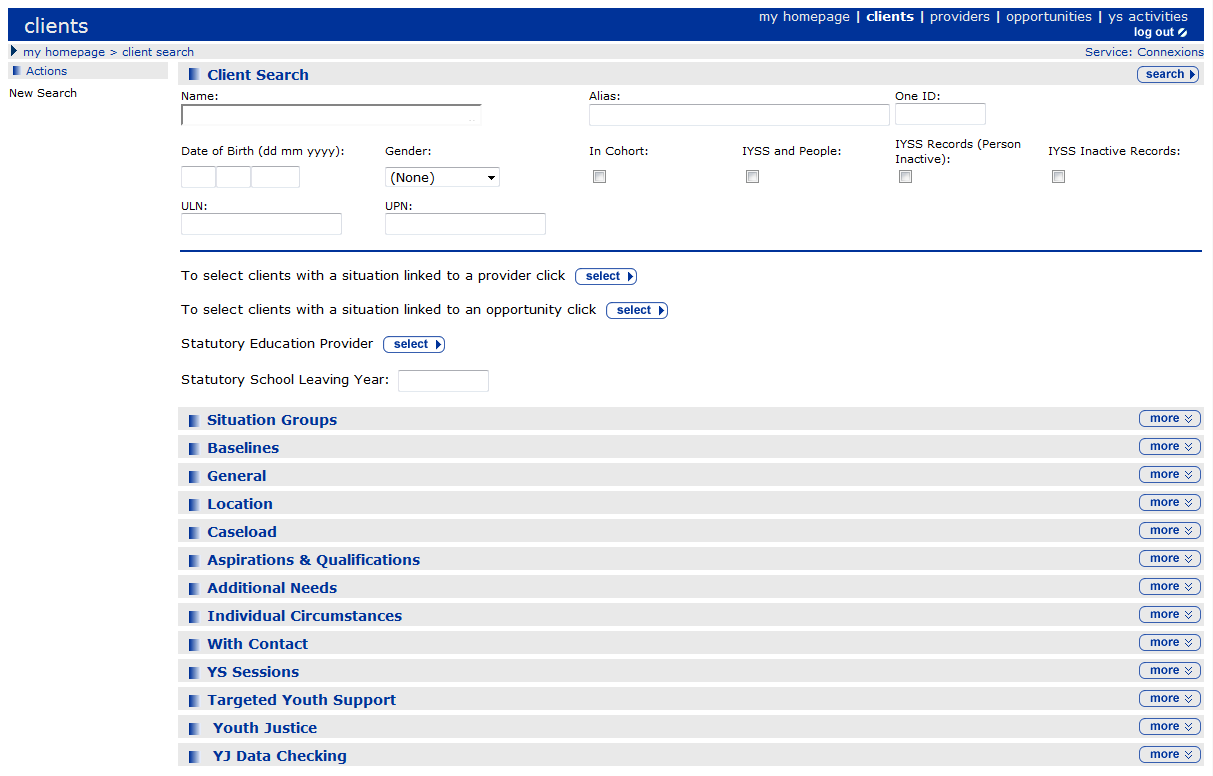
- Enter a full name or a partial name, e.g. J Smith in the Name field.
By default, only clients who exist as IYSS clients are returned. To widen the search place a tick in the other check boxes.other check boxes.
- Select the In Cohort check box to return clients in the Youth suite cohort
- Select the IYSS and People check box to return clients in IYSS and the People database
- Select the IYSS Records (Person Inactive) check box to return clients where the person is Inactive
- Select the IYSS Inactive Records check box to return inactive records in IYSS, e.g. if clients are not in the cohort age range.
For more information on inactive clients and records, see Make a Client Inactive.
- Click the search button to display the Search Results dialog.
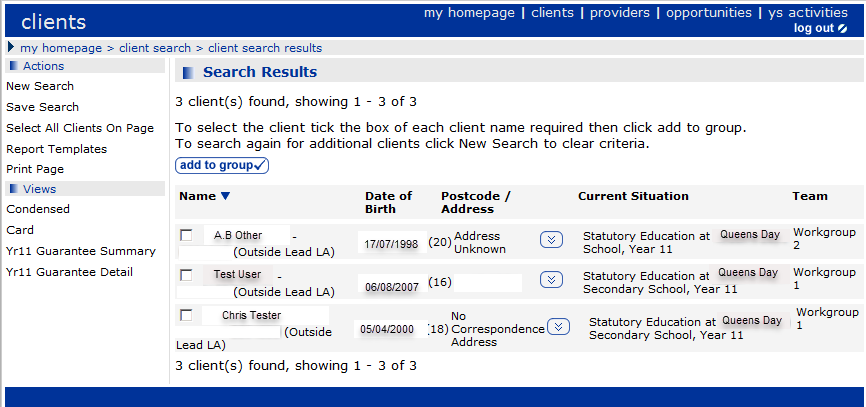
- If required, scroll down the results to view more clients. If you have returned a large number of results, the next and previous buttons are displayed.
- Click the client’s name to open their IYSS client record.
Additional search tips:Additional search tips:
- You can sort the search results in the column marked with a sort button
 . Clicking the sort button reverses the sort order. You can sort any column by clicking the column heading.
 - In the Postcode/Address column, to toggle between displaying the postcode only and showing the full address, click the show and hide buttons.
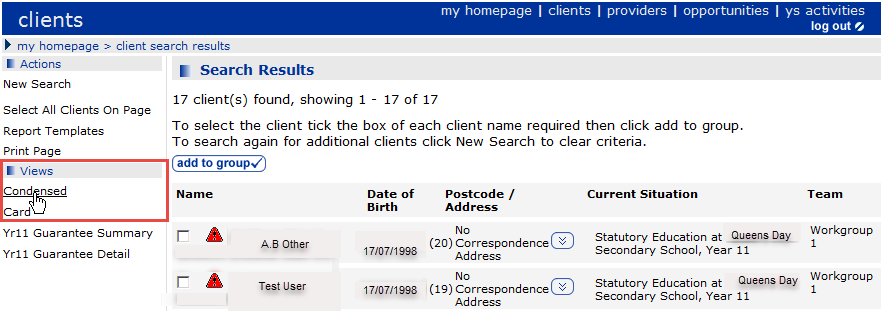
- You can display different Views of the search results. The Condensed view displays summary information for all returned clients in columns. The Card view displays the summary information in a card format. The default view is Condensed.
- To make another search, click New Search in the Actions menu to clear any search criteria, allowing you to make a new search.
- Clients who exist in the database as a student but are not yet marked as IYSS clients, are displayed with Non IYSS Client in the search results. You cannot display these records until additional data has been added.
Search for Multiple Clients
The procedure below shows how to carry out a search using multiple criteria. For example, the steps show how to search for clients in a specific year group at particular a school:
- Click the clients link at the top of the screen to display the clients dialog.
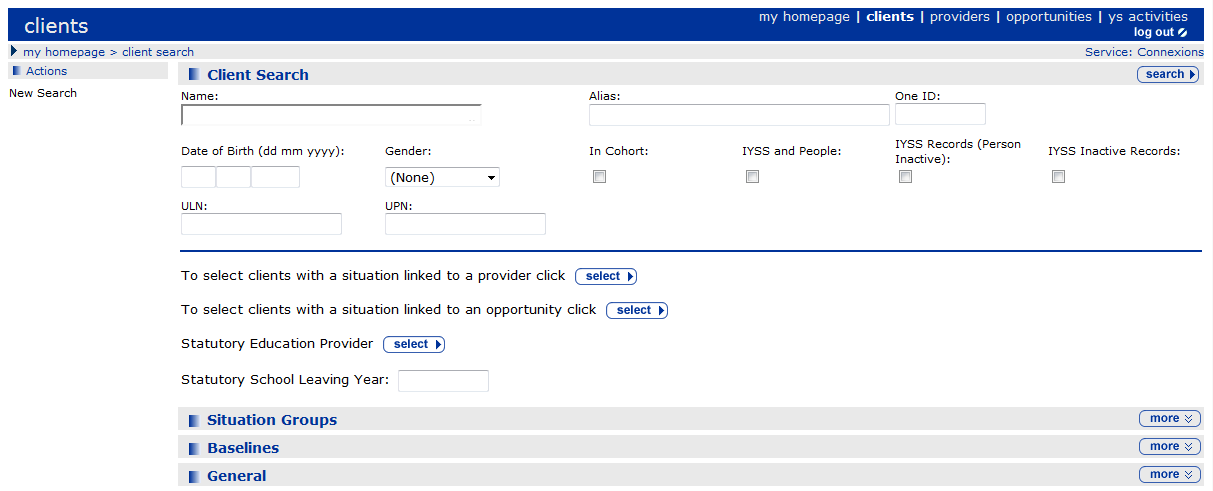
- Click the select button adjacent to To select clients with a situation linked to a provider to display the Client Search – Current Situation Provider dialog.
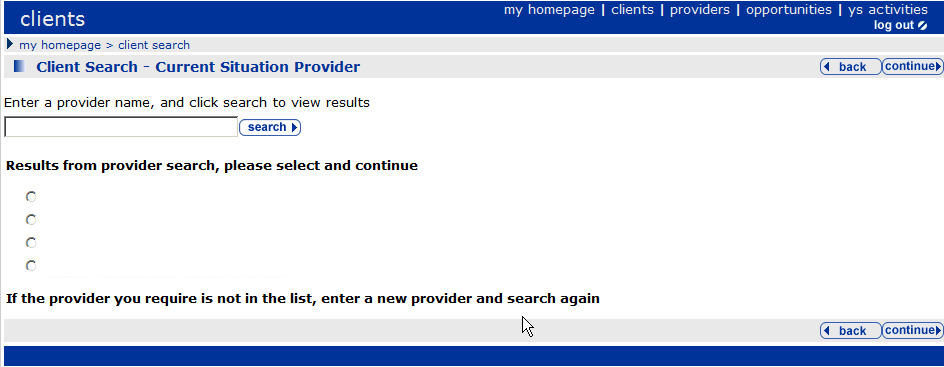
- Enter a provider name (or the word ‘school’ if you don’t know the exact name), then click the search button to display a list of matching education providers.
- Select a provider from the search results, and click the continue button to display the name of the provider you selected.
- To narrow the search to a specific type of client, e.g. Year 11 students, enter a year in Statutory School Leaving Year.
You can refine the search further using the other search fields, e.g. Gender, Situation Groups, Location etc.
- Click search to display a list of clients that match the search criteria.
Save your Searches
After you have performed a search, you can save the search criteria used for future searches.
- Click clients at the top of the screen to display the clients dialog.
- Enter your search criteria.
- Click the search button to display the results.
- Click the Save Search link in the Actions menu to display the Save Search dialog.
- Enter a Search Name.
- If required, you can add descriptive Notes.
- Click the continue button. Your search details are saved to My Client Searches panel on My Homepage page.
Your search notes are displayed by hovering over the icon next to the search name:
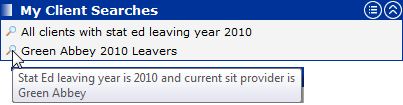
To run a saved search, which displays a list of clients currently matching the criteria, click on the saved search name in the My Client Searches panel.
Client Group
You can add clients to a client group on which you can run reports or perform bulk updates. Client groups are temporary and only last for as long as your current session.
Refer to: Create a Saved Client List to save your list.
If you wish to make a permanent group of clients, complete the task below.
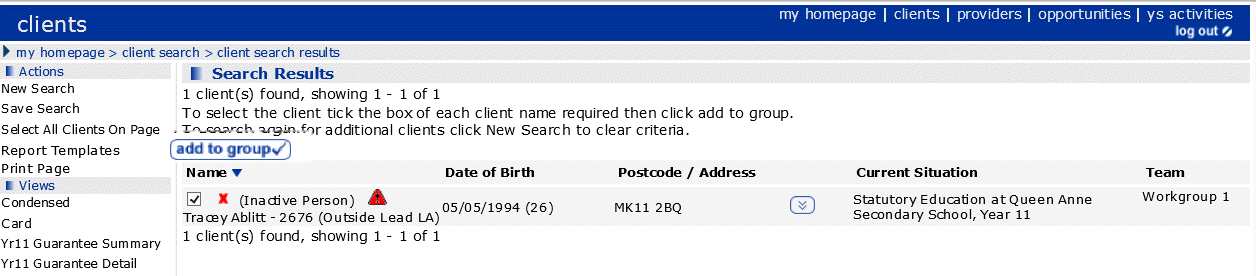
- Search for students based on your required criteria.
- Select the clients you want to add to a client group by selecting the check box adjacent to the student’s name. Or,
- To add all displayed clients, click Select All Clients On Page on the Actions menu.
- Click the add to group button to add the selected clients to the Client Group panel on the left-side of the dialog.
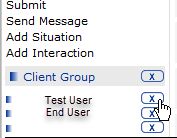
Client group tasks are shown in the Actions and Group Actions menu on the left-side of the dialog. The options displayed depend on your permissions.
- To remove a client from the Client Group, click the removeremove button (x) next to their name in the left-hand panel.
- To add more clients, perform a New Search and select the required check boxes and click the add to group button.
Once you have created a group, you can use it to run a report or perform a bulk update via the Actions side panel.
Saved Client List
You can create or delete a permanent client list that is saved even after you log out.
- Create a client group.
- After you create a client group, click the Create Saved List link from the Actions menu in the Client Search Results page.
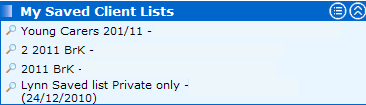
Saved lists are displayed in the My Saved Client Lists panel on My Homepage.
Delete a Saved Client List
To delete a saved client list:

- Click the Configure button to display the Delete My Saved Client Lists page.
- Select the check box for the client list you wish to delete.
- Click the continue button.
Share Saved Lists
If you have the appropriate IYSS permission, you can create a list of search results and share it with other users.
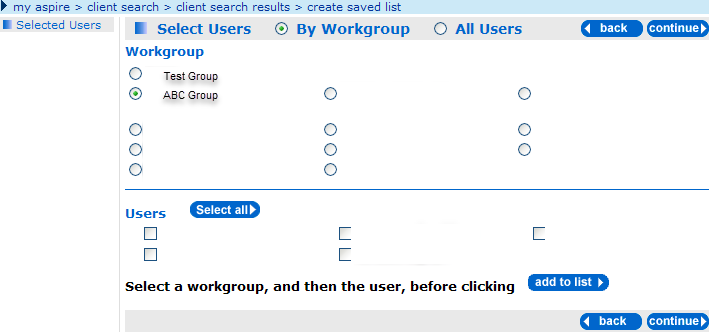
Select the Share List radio button, then click the select button to display a list of available users with whom you can share the list.

You can select users either individually using workgroup filters, or Select All users in a workgroup. The saved list is then copied to these users (who can delete it if they have no need for it).
Using Saved Lists
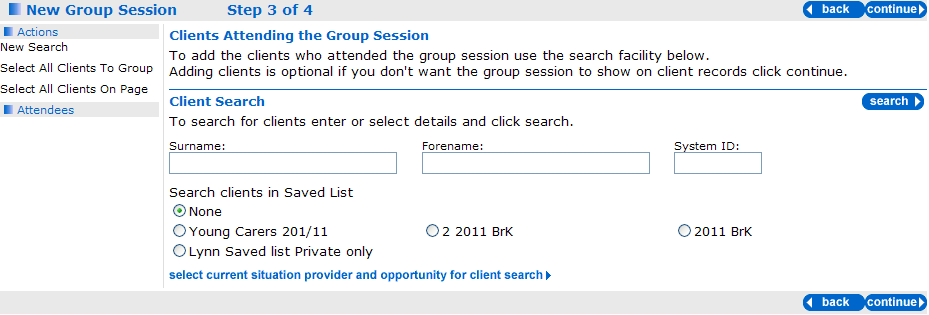
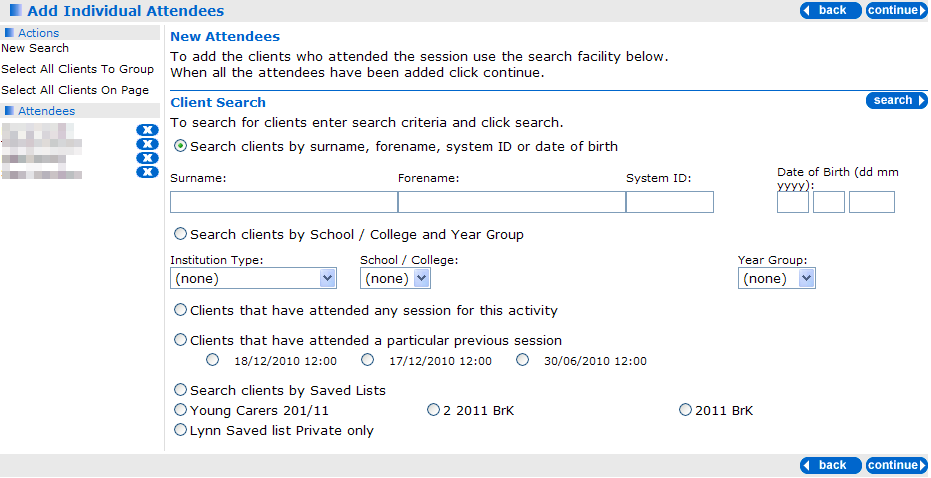
You can retrieve saved lists from the My Saved Lists portal in My Homepage. Saved lists can also be retrieved and used in the New Group Session dialog and YS Sessions dialog, for example:
- Select the Saved List then click the search button to return the list of clients.
- If required, add clients to the group as you would normally.
Upload Client Lists
You can upload lists of client IDs into IYSS from a .csv file. Once the client IDs are uploaded, you can perform client searches and bulk updates.
The client upload facility assumes:
- The first column in the file contains only numeric Person IDs
- Each row contains a unique person ID.
To perform this function you need to be granted the security permission: Client Bulk Updates | Upload Client List.
- Select My Homepage | IYSS Links | Upload Client List to display the Upload Client List dialog.
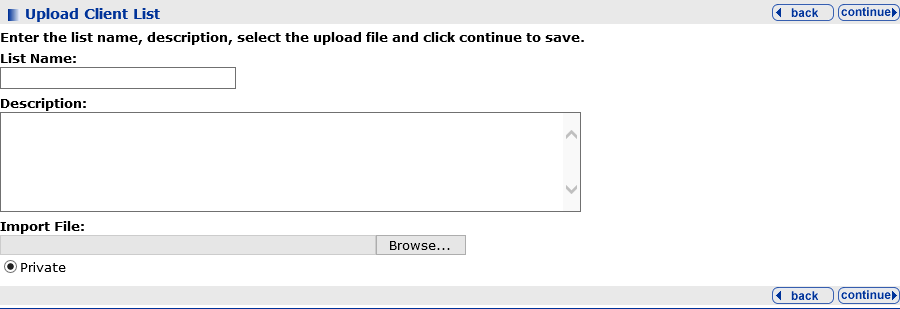
- Enter the fields as follows:
|
Field |
Description |
|
List Name |
Name that is displayed in My Homepage | My Saved Client Lists |
|
Description |
Hover text that is displayed in My Homepage | My Saved Client Lists |
|
Import File |
Browse to the .csv or .xls file that contains your client list. |
- Click continue to begin the upload.
When the upload is complete, My Homepage is displayed. The uploaded client list is saved in the My Saved Client Lists panel.

- To view the results, click the saved client list to display the client search results dialog.
Clients with errors in their ID data are not listed in the search results. Such errors are simply ignored and not ‘exceptioned’ out.
To view My Saved Client Lists you need the security permission: My Aspire Sections | My Saved Client Lists.
Update Clients to Baseline
The procedure in the link below shows how to add clients to a baseline.
- Select My Homepage | Admin/Manager.
- In the Baselines panel, click the required baseline, for example Guarantee 2013 – Year 11, to display the Working with Baseline – Guarantee 20xx dialog.
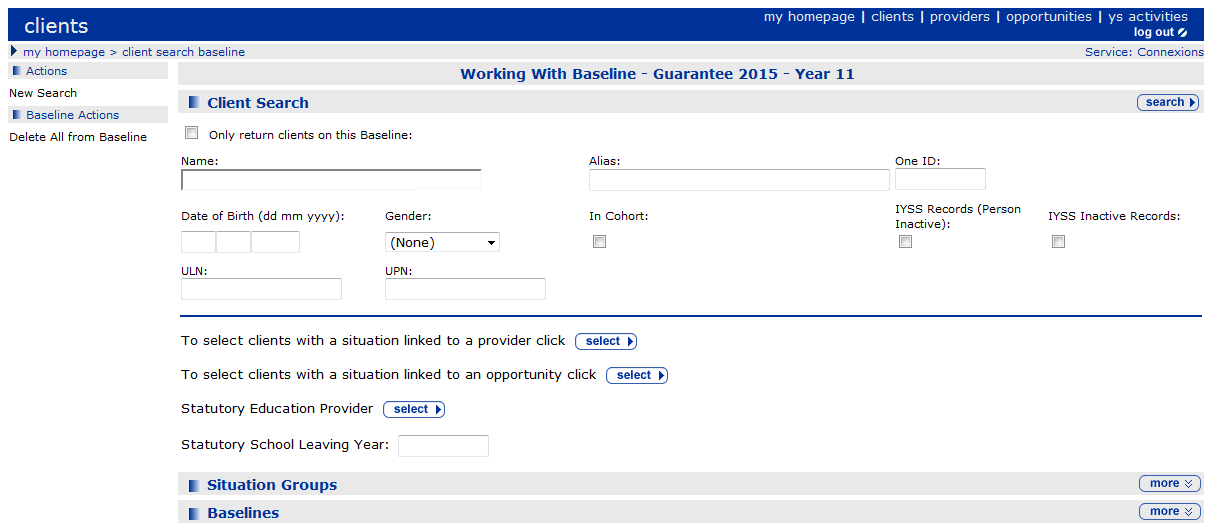
- Search for the clients you want to baseline by entering search criteria in the Client Search section.
- Click the search button to display the Search Results dialog.
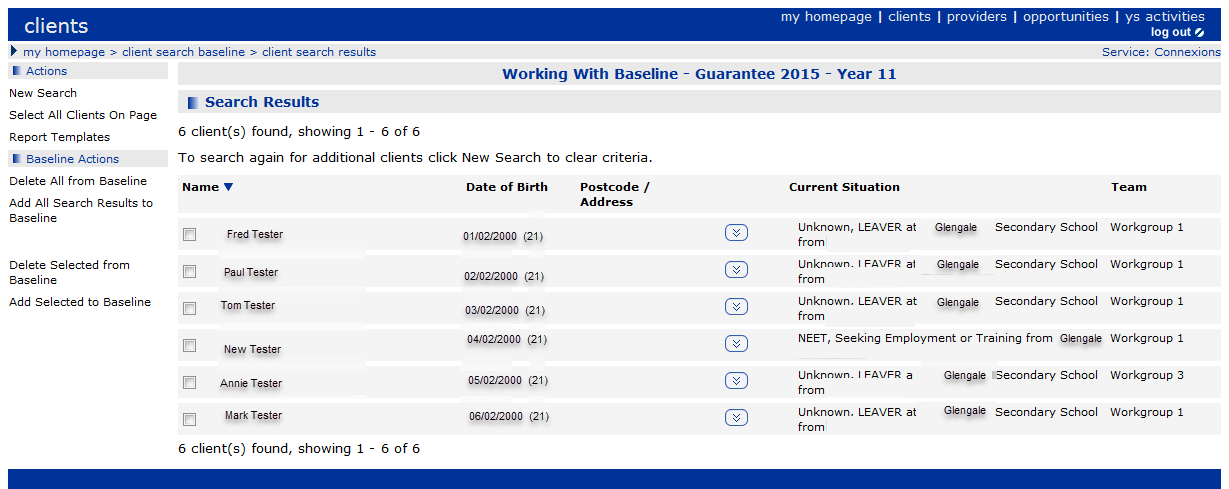
- Select the individual clients to add to the baseline or select all displayed clients by clicking the Select All Clients on Page link.
- To begin the baseline process, select the Add Selected to Basline link in the Baseline Actions menu. If the process is successful a confirmation message is displayed.
- To search for additional clients to baseline, click the New Search link from the Actions menu and repeat the above steps.
After the successful submission of your September NCCIS XML (which contains your September Guarantee baselines), you should go into each Baseline header in the System Admin application and deselect Active. This deactivates the Baseline. Please ensure that this is done by the end of October prior to the submission of October’s XML file.