![]()
Incoming Unmatched Students
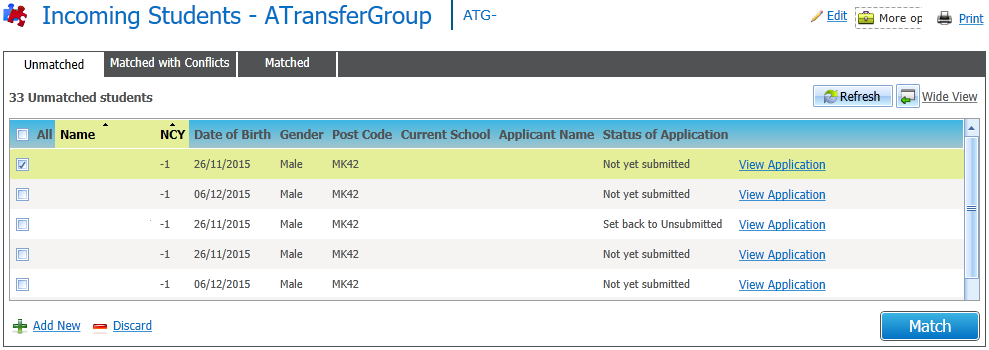
The Process | Incoming Students | Unmatched tab enables you to manage student data that has been imported and held in conflict because the import process could not match the incoming student details with an equivalent existing student record. The tab displays a list of all unmatched students for the transfer group you have selected.
More information on Unmatched Students
- Select Process | Incoming Students | Unmatched to display the Unmatched page.
- Select a transfer group from the left-hand panel to display a list of all the unmatched incoming students in that transfer group
- Choose one of the following options:
- Match Unmatched Student
- Select the student you wish to match.
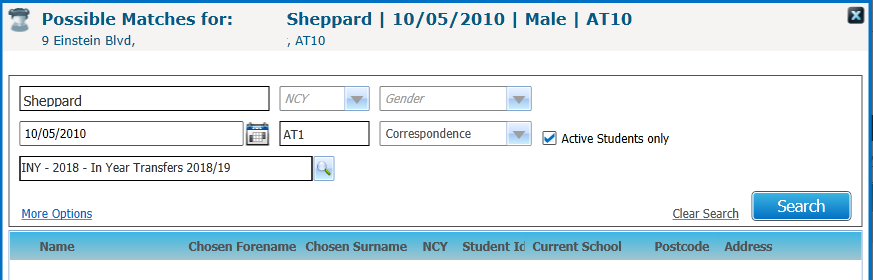
- Click the Match button to display the Possible Matches dialog.
This displays a list of all students in the transfer group where the Surname, Transfer Group, Date of Birth, or the first three characters of the Postcode match the incoming student.
Click the View Application hyperlink to view a printable summary of the student's online application details, including a submission history showing the date and Status of Application of each change.
- If the student you wish to match to is not displayed in the list, enter search criteria for that student and then click the Search button.
A list of students who match your search criteria is displayed. - Select the student that you wish to match to.
- Click the Match button.
- Click Yes to confirm the match.
- Add New Unmatched Students Manually
- Select the incoming student(s) that you wish to add as a new student.
- Click the Add New hyperlink.
- Click the Yes button to create a new record in the database for each selected student.
The newly created student is added to the selected transfer group, a UID is generated for them and the browse is refreshed with the selected student removed.
- Discard Incoming Unmatched Students
- Select the incoming student(s) that you wish to discard.
- Click the Discard hyperlink.
- Click the Yes button to discard the selected student.
Discarded student records are not deleted from the database, but no further actions (e.g. an application import) can be carried out.
- Match Unmatched Student