![]()
Matched with conflicts
If there are data conflicts within an incoming application, either for a student, their sibling or the applicant, the student’s name is displayed in the Matched with Conflicts tab. If you click a name in the list of matched students, the Manage Data Conflicts screen for that student is displayed. The Manage Data Conflicts screen displays three tabs: Student Address, Applicant Address and Sibling Address.
More information on Matched with Conflicts
Resolve Incoming Student Address Conflicts
- Select Process | Incoming Students | Matched with Conflicts to display the Matched with Conflicts tab.
- Select a transfer group from the left-hand panel to view a list of all incoming students in that transfer group that have been matched with conflicts.
If required, you can use the View Application hyperlinks to view a printable summary of the online application details, including a submission history showing the date and the Status of Application of each change.
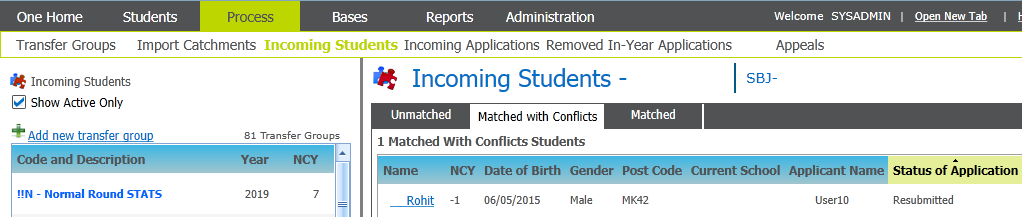
- Click the name of a student to view the Manage Data Conflicts screen.
This screen has three tabs: Student Address, Applicant Address and Sibling Address. Address tabs with conflicts are highlighted in red with the number of conflicting items in brackets.
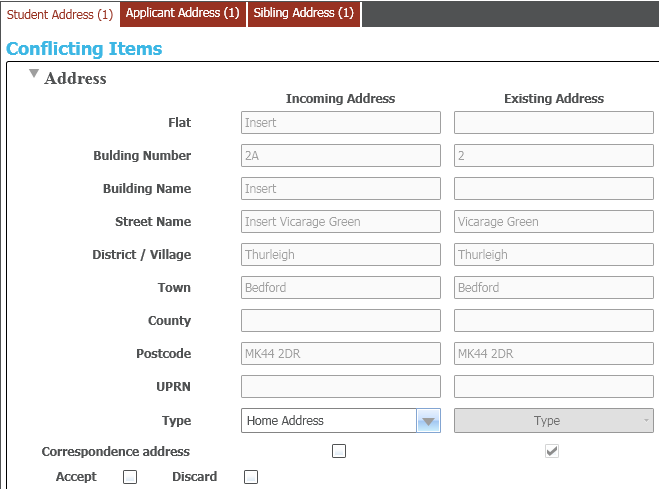
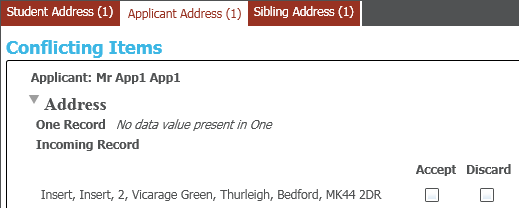
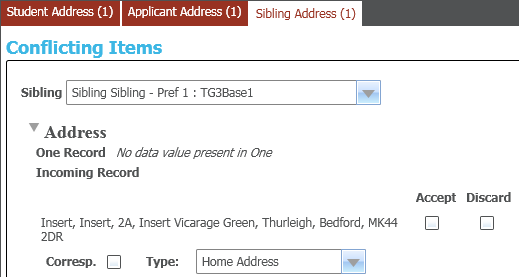
- Select the tab that you wish to resolve conflicts for to display the Conflicting Items screen.
- To accept the incoming address:
- Select the Accept check box to display the Address Manager dialog.
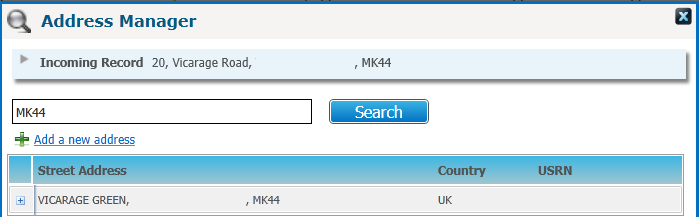
- Use the Address Manager dialog to either:
- Add the incoming address as a new address. The Address Manager dialog closes after the address has been added.
- Select the address from the list of existing addresses.
- Select the Accept check box to display the Address Manager dialog.
- To discard the incoming address, select the Discard check box.
- Click the Apply button.
- Click the Continue button to save your changes.