![]()
Click the back button to return to the previous page or use the Table of Contents.
Scheduled tasks
You can create scheduled tasks against a single base or multiple bases at once.
- Select the Data Transfer area.
- Select the Scheduled Tasks page.
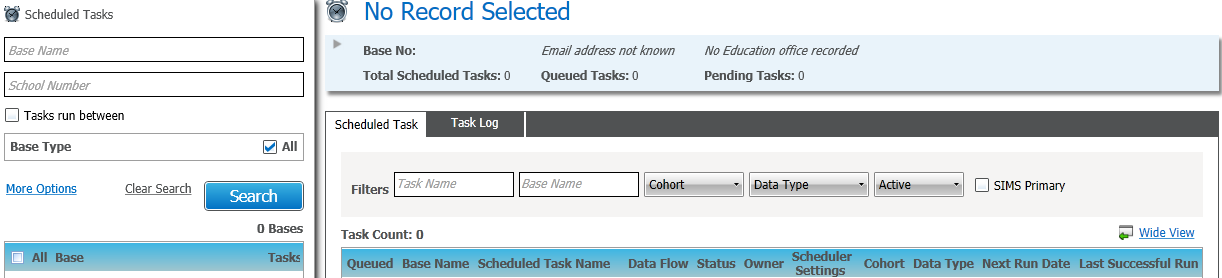
- Choose from the following options:
- Select the Base Name to refine the search to one or more bases.
- Select the School Number to search for a specific base.
- Click the More Options hyperlink to add additional search options, if required.
- Click the Search button to view a list of bases that match your criteria.
This will include a count of the number of tasks for each base.Schools can choose to lock down their scheduled tasks, which means they maintain all the scheduled tasks and the LA cannot create new or edit existing tasks. If a school has locked down their scheduled tasks, a padlock icon is displayed next to the school name in search results. If you select the school and try to add a new task or clone an existing task, a warning message is displayed and you are prevented from making any changes.
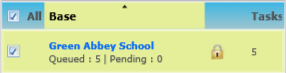
- Select one or more bases using the checkboxes or select the checkbox in the column headers to select all bases.
- Click the Display Scheduled Tasks button to display any tasks for the selected base(s).
The heading will change depending on whether single or multiple bases are selected. - Choose from the following options:
- Base Summary
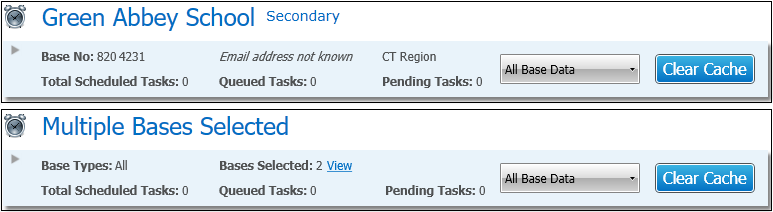
Single Base:- Select the Email hyperlink to send an email to the school.
- Click the Base Selected hyperlink to display more details of the selected bases.
- Select a specific data type or All Base Data from the drop-down list:
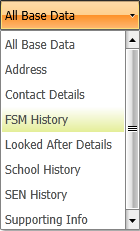
- Select the Clear Cache button to clear the selected cache items from the selected base(s).
A warning message will be displayed:
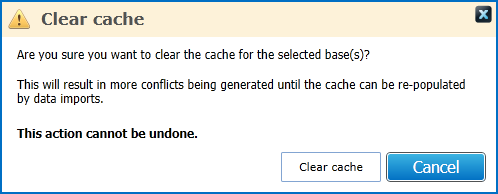
- Click the Clear cache button to remove the data from the cache.
- Base Summary
- Select the Scheduled Task tab.
Choose from the following options:- Select one or more options from the Filters to refine the list.
- Select the SIMS Primary checkbox to filter the list by SIMS Primary.
- Click the Wide View hyperlink to see the list of tasks in a wide view if required.
- Click the Add New Task button to addadd a new scheduled task for the selected base(s).
Task Details
- Enter details as required.
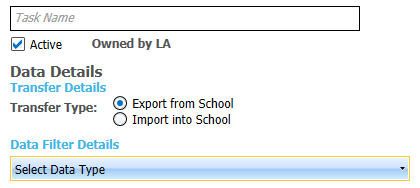
- Choose from the following options:
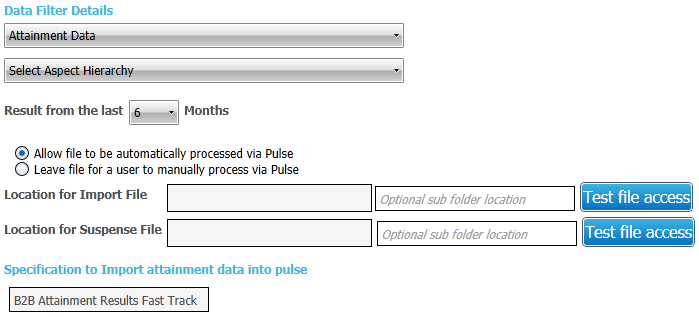
Export from School- Attainment DataAttainment Data
- Enter information as required.
- Click Test file access to ensure the server can read/write to the locations specified.
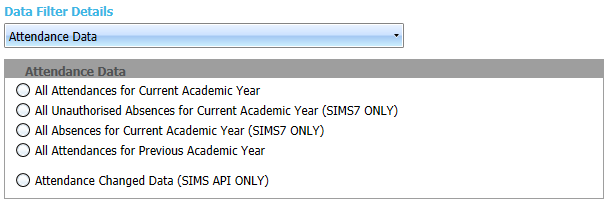
- Attendance DataAttendance Data
- Enter information as required.
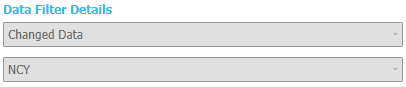
- Changed DataChanged Data
- Enter information as required.

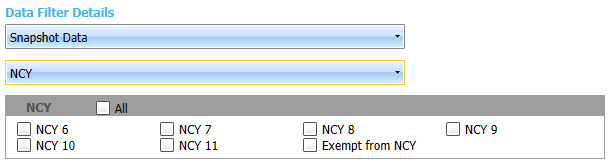
- Snapshot DataSnapshot Data
- Enter information as required.
- Attainment DataAttainment Data
Task Scheduler
For the Weekly and Monthly options, the Advanced Settings enable you to run a task more than once on a specified day and also to set an expiry date
- Enter details as required.

- Choose from the following options:
- Once
The task will run a singlesingle time, commencing at the date and time specified in the Start field.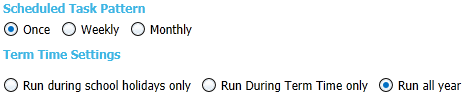
- Weekly
The task will run once a day at the time specified in the Start field on each selected day of the weekweek.
- Monthly
The task will run once a day at the time specified in the Start field on the selected day for each selected monthmonth.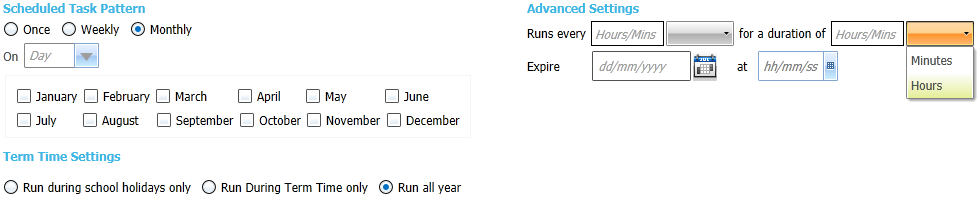
- Once
- Enter details as required.
- Scheduled Tasks listlist
Single Base:

Multiple Bases:

Choose from the following options:- Click the Base Name hyperlink to view details of the selected base.
- Click the Scheduled Task Name hyperlink to view the Task DetailsTask Details tab for the selected task.
Choose from the following options:
- Click the Base Name hyperlink to view details of the selected base.
- Click the Edit hyperlink to edit the Data Details.
Make any changes as required.- To re-assign task ownership to a school:
From the Owner drop-down, select School
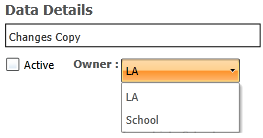
Once the ownership has been granted to the school, the LA can continue to view the details and the status of the task but it cannot edit the task. - To make a task inactive:
Deselect the Active check box.
- To re-assign task ownership to a school:
- Click the Clone Task hyperlink to create a new scheduled task with the same details as the selected task.
- Select the Task Scheduler tab.
Choose from the following options:- Click the Base Name hyperlink to view details of the selected base.
- Click the Edit hyperlink to edit the Scheduler Settings.
- Click the Clone Task hyperlink to create a new scheduled task with the same details as the selected task.
- Click View hyperlink to view details of the scheduler settings for the selected task.
When a scheduled task is created in v4 Online, by default the owner is the LA. This means that the LA can edit the task details, including the data that the task imports or exports and the task scheduling. When a scheduled task is created in the B2B Portal, then by default the owner is the school.
Schools can choose to lock down their scheduled tasks, which means they maintain all the scheduled tasks and the LA cannot create new or edit existing tasks. If a school has locked down their scheduled tasks, a padlock icon is displayed next to the school name in search results. If you select the school and try to add a new task or clone an existing task, a warning message is displayed and you are prevented from making any changes.
- Select the Task Log tab.

Choose from the following options:- Click the Wide View hyperlink to see the list of tasks in a wide view if required.
- Click the Scheduled Task Name hyperlink to view the Task Details tab for the selected task.
When viewing the details of a scheduled task that has been assigned to run in term time or holiday time only, the system displays that the task has run, even if the task should not have run (because it is not term time or holiday time). This occurs because the system is not aware of the school’s term and holiday dates. If a scheduled task attempts to run when it should not, SSM at the school will not send the requested data.