![]()
Export Rules
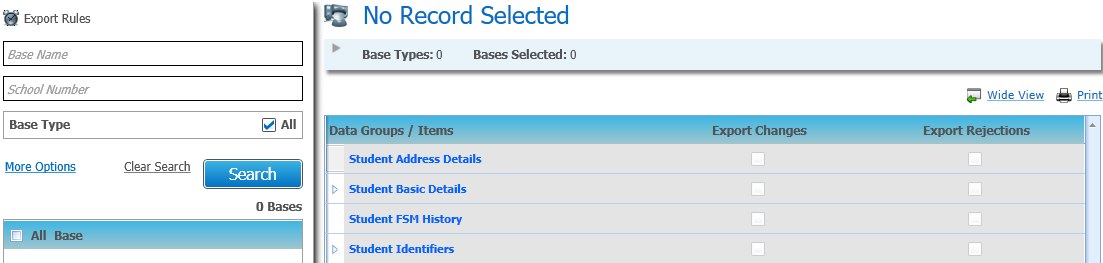
This areaarea allows you to specify which bases you wish to set the Export Changes/Export Rejections for by entering search criteria for Base Name, School No and/or Base Type.
Local Authorities can search for bases by entering partial information for the Base Name and School No.
Details of the selected base will be displayed in the header of the screen.

This will display the Data Processing Rules that have been set for the selected base.
When more than one base record is selected and the Display Export Rules button is clicked, then the following message displays:
Multiple Bases
You can’t view the Export Rules for multiple bases at the same time
It will not be possible to view existing Export Rules that have been defined for multiple bases at the same time as the screen can only display a single set of Data Groups/Items. Instead a default screen will be displayed allowing the users to select items to set for all selected bases.
If more than one school is selected, the header of the school displays as follows:

Click the View hyperlink to display the selected bases in a pop up window showing: Base Name, LA No., School No. and Base Type.
- Select the Setup area.
- Select the Export Rules page.
- Choose from the following options:
- Select the Base Name to refine the search to one or more bases.
- Select the School Number to search for a specific base.
- Click the More Options hyperlink to add additional search options, if required.
- Click the Search button to view a list of bases that match your criteria.
- Select one or more bases using the checkboxes or select the checkbox in the column headers to select all bases.
- Click the Display Export Rules button to display the data processing rules for the selected base(s).
- Choose from the following options:
- Click the Wide View hyperlink to see the export rules in a wide view if required.
- Click the Print hyperlink to print the export rules if required.
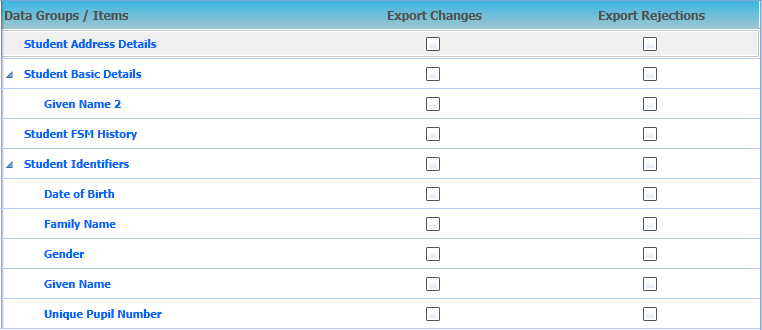
- Export Changes
Select the checkboxes for the Data Groups/Items for which you want to sendsend changes back to the school. When the data that has been selected is inserted or updated for a student, it will be sent to the relevant tables until the Scheduled Task to export data is run.This area enables you to specify which data you wish to send back to schools when it has been changed. There are two ways this can be done:
- Where the data is changed by a user
- Where the data is changed via B2B:Student - this is where the data has been accepted from the Manage Data Conflicts screen or the data has been imported and the student is registered at other schools
This only applies to Student Address Details, Student Basic Details (Given Name 2 only), Student FSM History and Student Identifiers. The default rule for all the data items for the Export Changes flags is deselected.
Changed data refers to data that has either been updated or has been added or inserted for the student; this does not include where the data has been deleted.
- Export Rejections
Select the check boxes for the Data Groups/Items for which you want to sendsend rejections back to the school. When the data that has been selected is rejected during conflict processing, it will be sent to the relevant tables until the Scheduled Task to export data is run.This area allows you to specify which incoming data you wish to reject from the Data Groups/Items when it has been rejected in one or more of the tabs in the Manage Data Conflicts area.
The default rule for all the data items for the Export Rejections flags is deselected.