![]()
Manually Import Files
There are several methodsmethods of importing data for upload, each method is dependent upon the type of server used and local network setups.
Clicking the appropriate button will start the import process. Once the import process has started the Job Progress tab allows you to monitor the import progress.
Once the files have finished processing the file will be moved to the Import Job Progress screen in v4 online | B2B Student if the B2B Student tickbox has been ticked for the base.
Import Methods
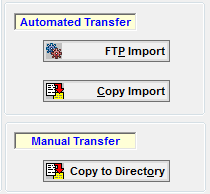
There are three basic methods of transferring files to the server which are represented by three buttons on the Import tab:
| Import Method | Description |
| FTP Import | Files are transferred using the FTP protocol. This may be used on either a UNIX or NT server; although FTP will need to be installed on an NT server |
| Copy Import | Files are transferred using a simple direct Copy command. This may be used only on an NT Server and usually where an FTP Server program has not been installed. If your FTP/Copy Setup (defined in System Administration) is UNIX this button will be disabled. This process will prefix the files with a process ID. |
| Copy to Directory | In other words you do your own transfer. This method may be used for both UNIX and NT servers. If, for some reason, you do not wish to use the two methods described above, you may copy the files to a directory and transfer the files to the server by some other method. For example you may email the files or use a USB drive. This process will prefix the files with a process ID. Once the import files have been selected, click the Copy to Directory button. Another browse will be opened to select a destination. |
Please ensure that Directory and File names used for XML data import do not have spaces. The FTP process will not recognise a file path which includes spaces, e.g. “Import Directory” - you may use the underscore to separate words, e.g. “Import_Directory”. A message will be displayed if a space is detected.
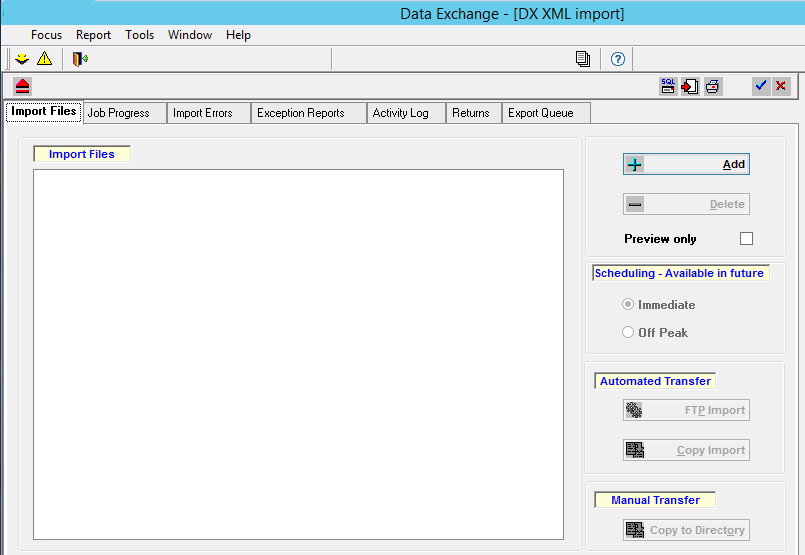
- Select v3 client | XML Data Exchange | Focus | Import/Export.
- Select the Import Files tab.
- Choose from the following options:
- Click the Add button to add file(s) to the Import Files list.
- Click the Delete button to delete the selected file(s) from the Import Files list.
- Select the Preview only checkbox if you want the import process to ignore the Data Processing Rules. This puts everything into the Incoming Students area for manual processing.
- Select a Scheduling option if required.
- Select an Automated or Manual Transfer process.
- Select the Job Progress tab.
This tab tab allows you to monitor the import progress.
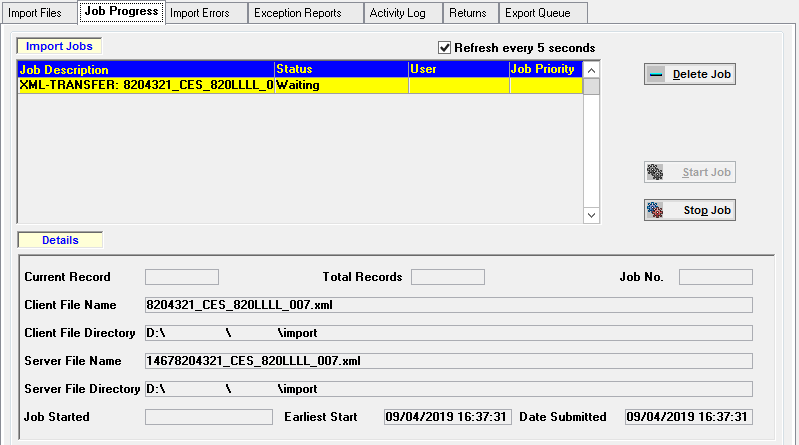
- Select the Import Job Progress screen in v4 online | B2B Student once the files have finished processing.
Conflict management and unmatched records will be processed from v4 online.
This requires the B2B Student checkbox to be ticked in the base record.