Click the back button to return to the previous page or use the Table of Contents.
Portal Configuration
An Administrator, with the appropriate permissions, can edit the Portal Configuration settings, thus changing the setup and the behaviour of the Citizen Self Service portal.
The Portal Configuration functionality is accessed via Administration | General Administration. Click the Portal Configuration button to display the Site Settings page.
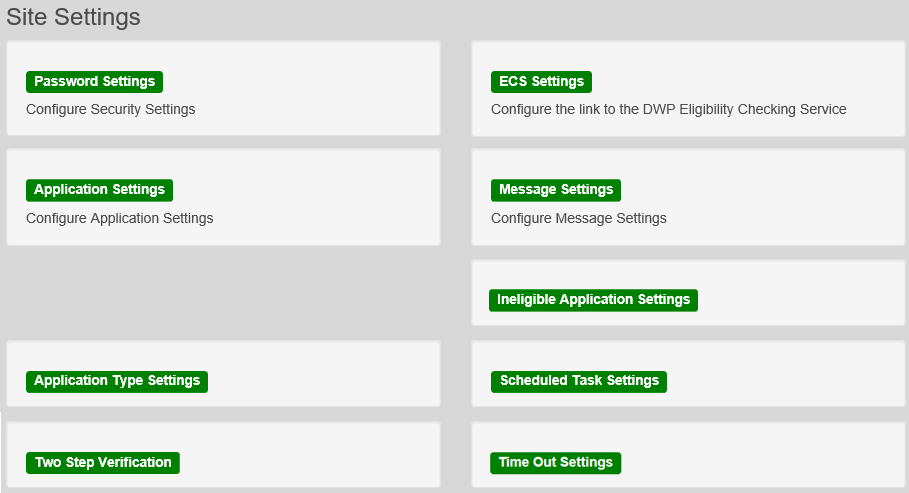
From here you can configure the following settings:
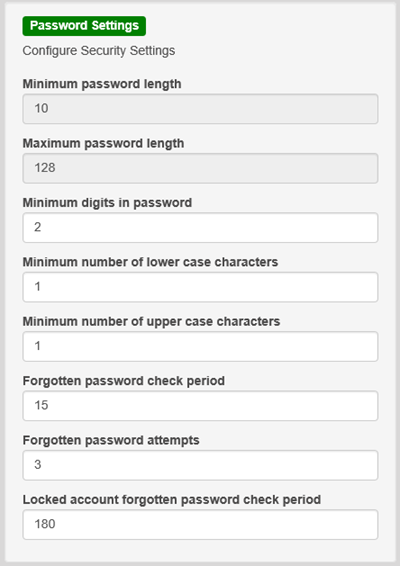
- Password SettingsPassword Settings
The Password Settings panel is used to set the security settings applied to users during registration and login.
To configure the password security settings:- Select Administration | General Administration | Portal Configuration | Site Settings.
- On the Password Settings panel, enter information as required. Click in a field to display the relevant tooltip.
- ECS Settings (Eligibility Checking Service)
- Application Settings
- Application SettingsApplication Settings
The Application Settings panel stores the settings used when submitting applications via the Citizen Self Service portal.
To configure the application settings:- Select Administration | General Administration | Portal Configuration | Site Settings.
- On the Application Settings panel, enter information into the fields as required. Click in a field to display the relevant tooltip.
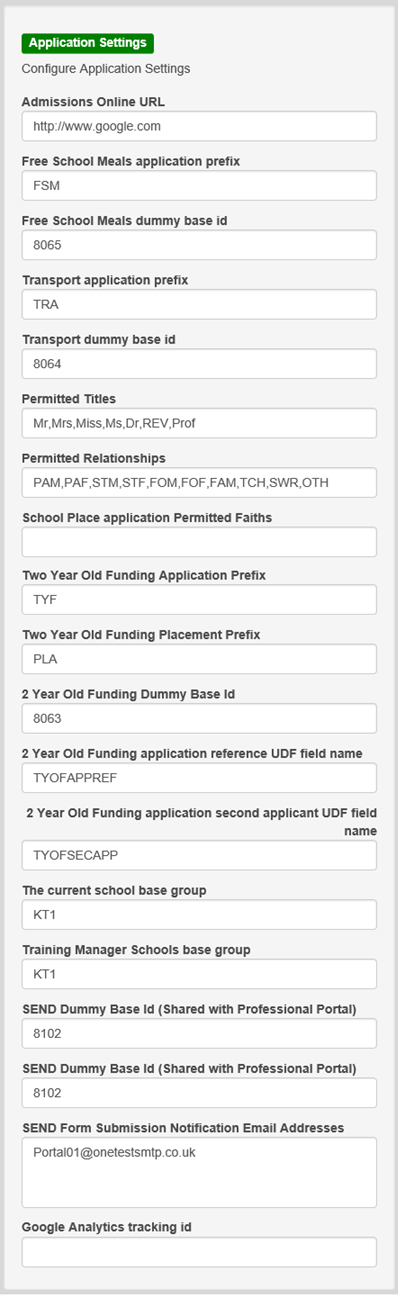
For more detail about Google Analytics data, see the Google Analytics documentation.
- User Defined FieldsUser Defined Fields
Configure User Defined Fields (UDFs)
UDFs enable you to add extra fields to accommodate data items that One does not store. UDFs are created against entities, for example Student Details.
UDFs are set up in the v4 Client via Tools | Administration | UDF Management.
More Information:
RG_Administration_UDFs available on the One Publications website.Configure UDFs for Two Year Old Funding
The following UDFs need to be created for Two Year Old Funding:
- Application Reference Number
- Second Applicant Details
- Placement Reference Number.
More Information:
Creating Two Year Old Funding UDFs section of the Setting Up Two Year Old Funding for Local Authorities technical guide available on the One Publications website.
- Application SettingsApplication Settings
- Message SettingsMessage Settings
The Message Settings panel holds the values used when sending and displaying messages from the Citizen Self Service portal.
To configure the message settings:- Select Administration | General Administration | Portal Configuration | Site Settings.
- On the Message Settings panel, enter information into the fields as required. Click in a field to display the relevant tooltip.
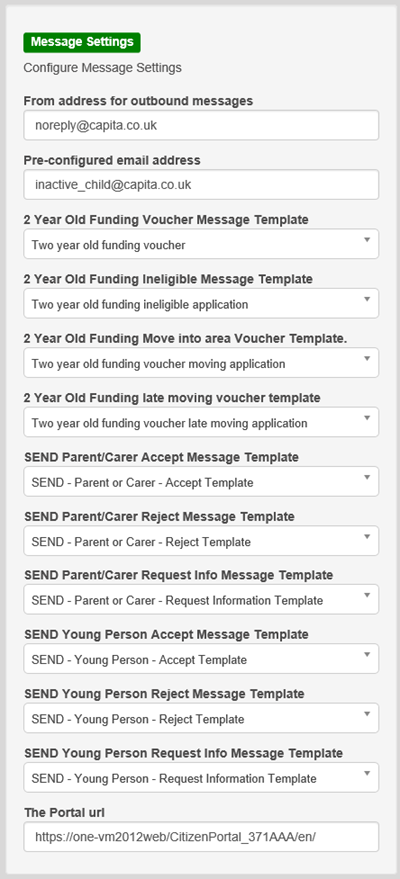
IMPORTANT NOTE: For users of the SEND Portal, The Portal URL field must be populated by the LA (e.g. http://www.capita-one.co.uk) to enable the citizen to view any portal messages. If this field is not populated, then when a citizen selects the hyperlink from within a message, an error message is displayed.
- Application Type SettingsApplication Type Settings
The Application Type Settings panel controls the availability of the panels on the parents, guardians, carers and young people’s Home page.
To configure the application type settings:- Select Administration | General Administration | Portal Configuration | Site Settings.
- On the Application Type Settings panel toggle the panels ON or OFF as required. Click in a field to display the relevant tooltip.

- Ineligible Application SettingsIneligible Application Settings
The Ineligible Application Settings panel allows Local authority to specify if the details of a Child/Carer should be submitted to the Portal Back Office for matching or not, when an application is ineligible or rejected.
A tooltip is displayed when accessing the switch as follow:
If set to OFF, only details for eligible TYOF applications will be submitted to Portal Back Office for matching.
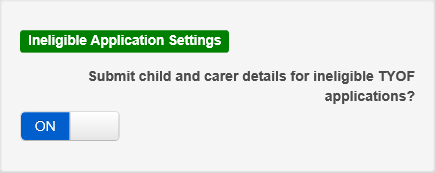
- If the switch is set to ON, then the details of the Child /Carer are submitted to the Portal Back Office if the application is ineligible or rejected.
Rejected application

Child's details submitted to Portal back Office
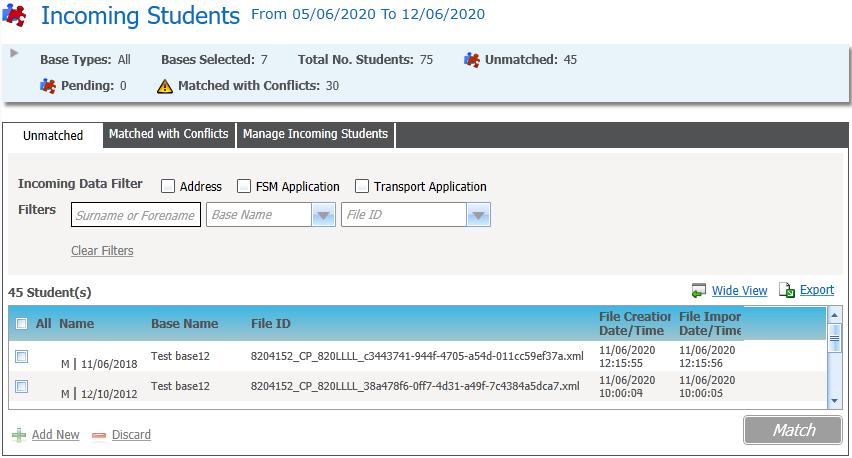
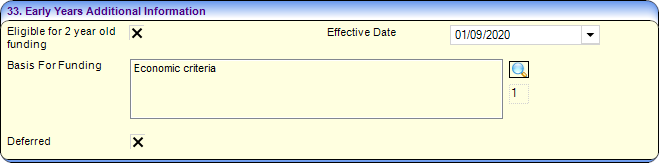
The Child will appear in v4 Client with an X in the box for Eligible for 2 year old funding
- If the switch is set to OFF, then the details of the Child/Carer will not be submitted to Portal Back Office.
The switch setting is reflected in Provider Portal for Assisted and Non- Economic Application.
- If the switch is set to ON, then the details of the Child /Carer are submitted to the Portal Back Office if the application is ineligible or rejected.
- Scheduled Task SettingsScheduled Task Settings
The Scheduled Task Settings panel is used to control the task that removes old messages from the One database. Although you can control some options for the Scheduled Task from here, the task must first be set up in the One v4 Client.
To configure the scheduled task settings:- Select Administration | General Administration | Portal Configuration | SiteSettings.
- On the Scheduled Task Settings panel, enter information into the fields as required. Click in a field to display the relevant tooltip.
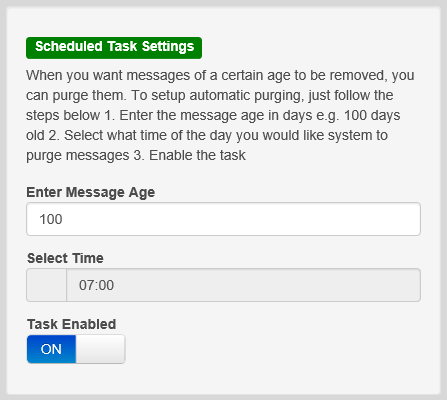
These settings only affect the Citizen Self Service portal; they do not affect Scheduled Tasks set up in One v4 Client.
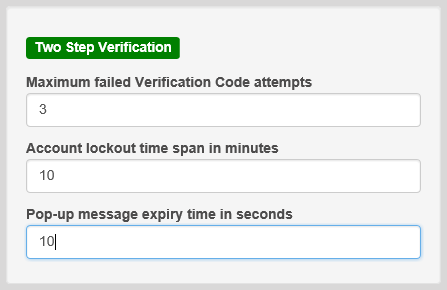
- Two Step VerificationTwo Step Verification
The Two Step Verification panel is used to control the settings for the two step verification.
To configure the two step verification settings:
- Select One Administration | General Administration | Portal Configuration | SiteSettings.
- On the Two Step Verification panel, enter information into the fields as required.