![]()
Self Update Messages
The Self Update | Messages menu route enables the Local Authority Early Years administrator to compose messages to Self Update users and to view a log of messages sent.
A reminder message can be sent to providers who have not submitted their census information. If the local authority has configured the portal so that Show Early Years Census is set to ON, you can filter the list of providers to display only those that have or have not submitted their census.
Refer to: Configuring the Self Update Portal for more information about configuring the Self Update portal.
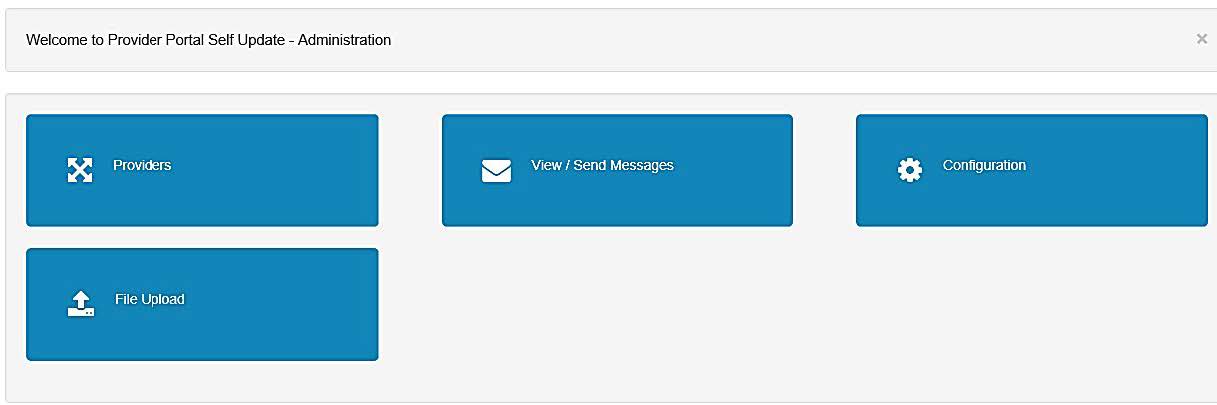
The View / Send Messages tile is displayed on the Self Update Administration welcome screen
Compose a New Message
To compose and send a new message to a service provider, the Early Years administrator clicks the View / Send Messages tile or selects Messages from the Self Update menu.
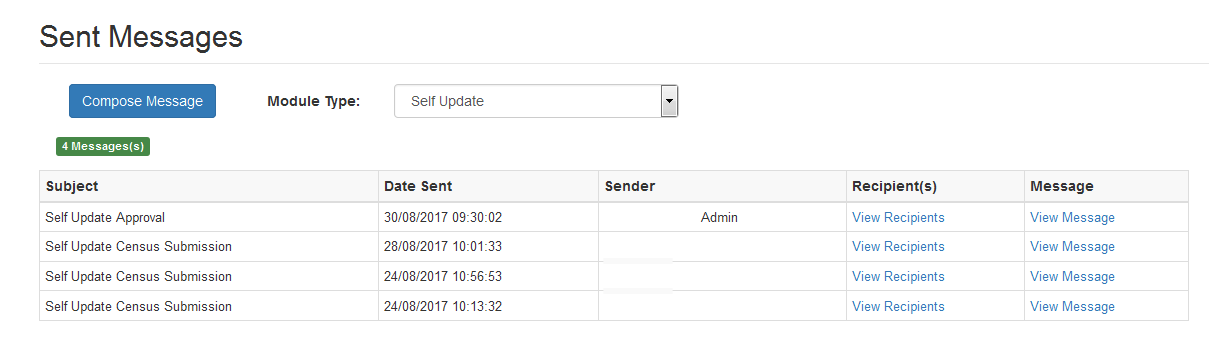
- Select Messages from the Self Update menu to display the Sent Messages page. The Module Type drop-down defaults to Self Update.
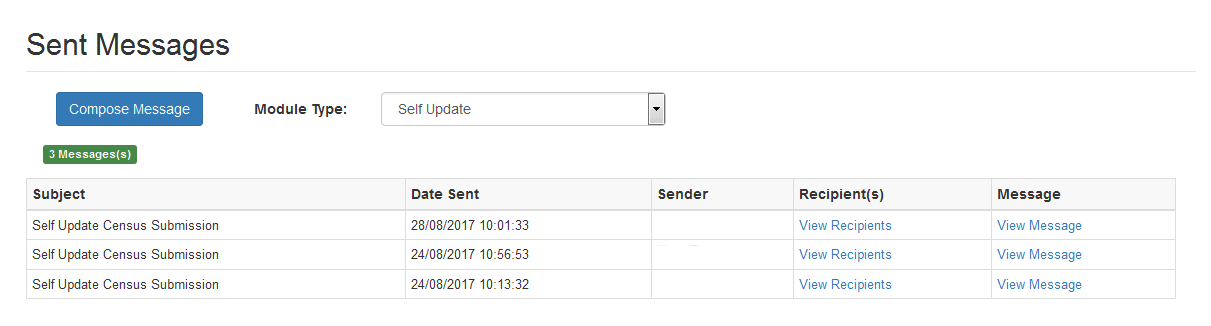
- Click the Compose Message button to display the Compose New Message screen.
- Click the To button to display the Select Message Recipients dialog.
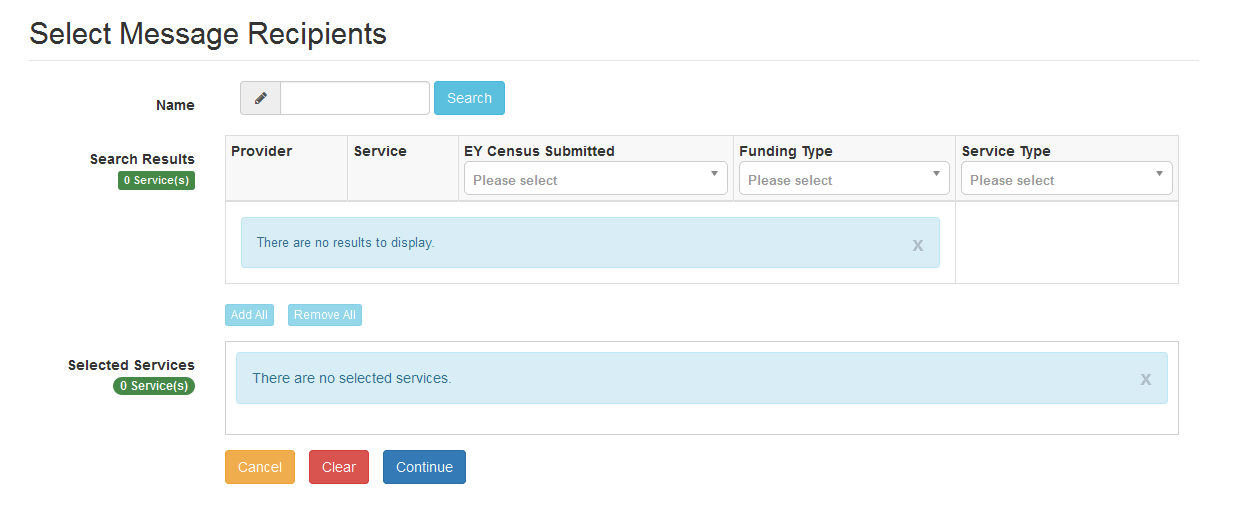
The EY Census Submitted column is only displayed if Show Early Years Census is set to ON on the Self Update - General Configuration page.
- Enter a full or partial Provider or Service Name and click the Search button to display a list of matching services in the Search Results.
Alternatively, select a service group from the Service drop-down. Refine the search further by applying an EY Census Submitted status, Funding Type or Service Type filter.
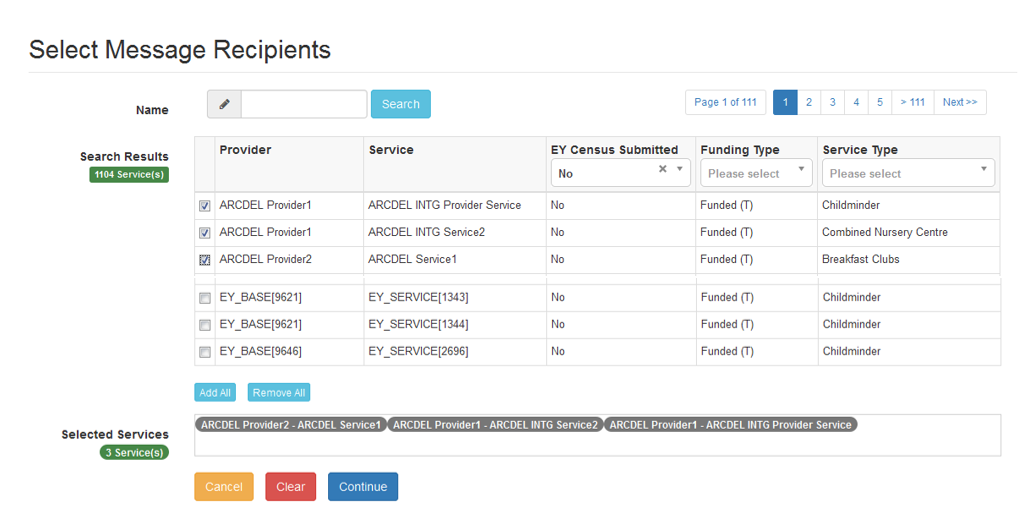
To send a reminder message to providers who have not submitted their census, select all services for that provider.
If the provider clicks the No Changes Required button, the EY Census Submitted status is set to Yes.
- Select one or more services to display the service name in the Selected Services box, or click the Add All button to select all of the services found.
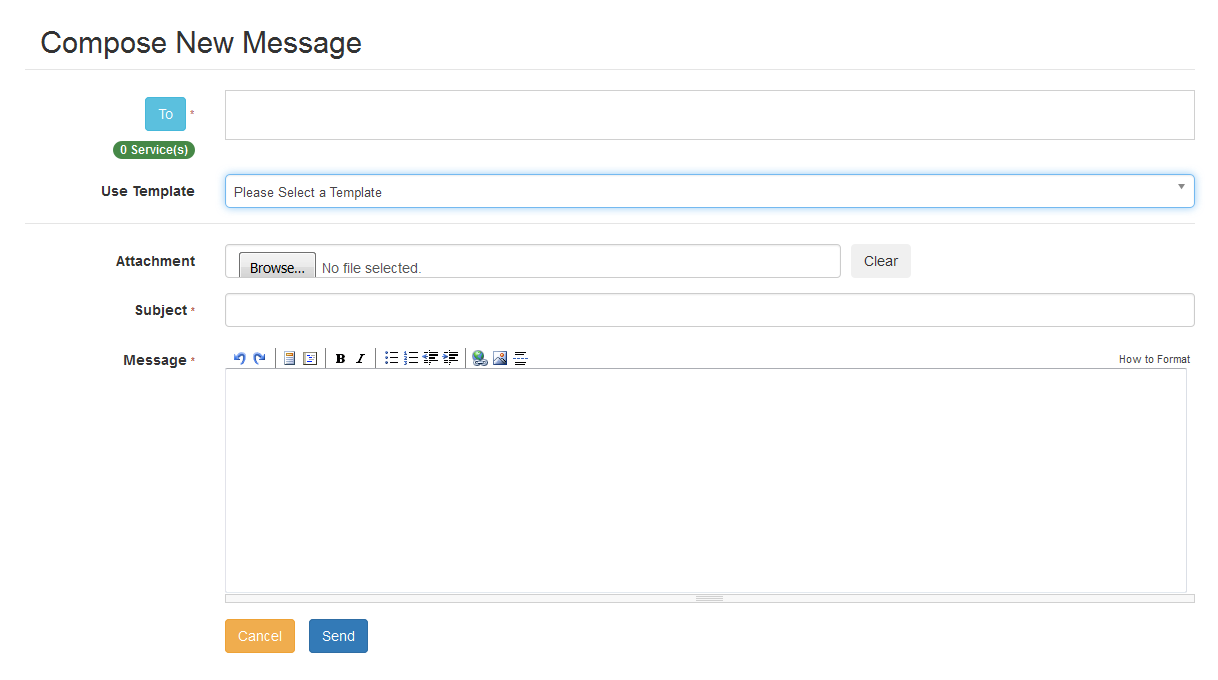
- After selecting all required recipients, click the Continue button to display the Compose New Message dialog.
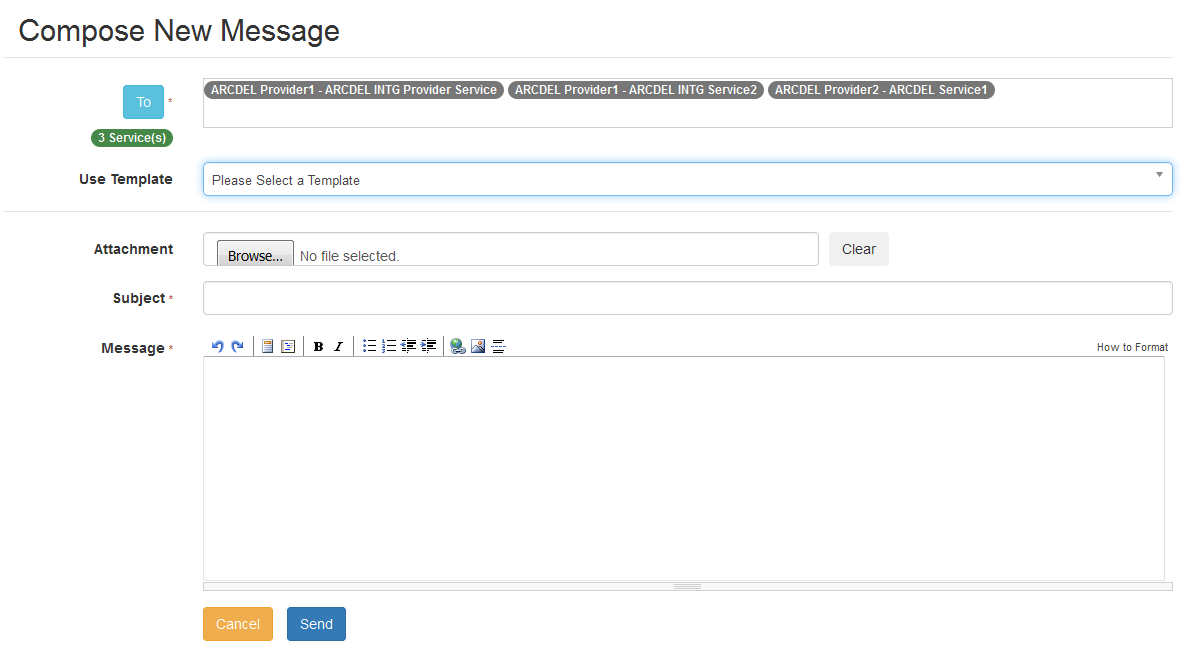
- Select a message Template to automatically complete the Subject and the Message. If required, edit the text in these fields.
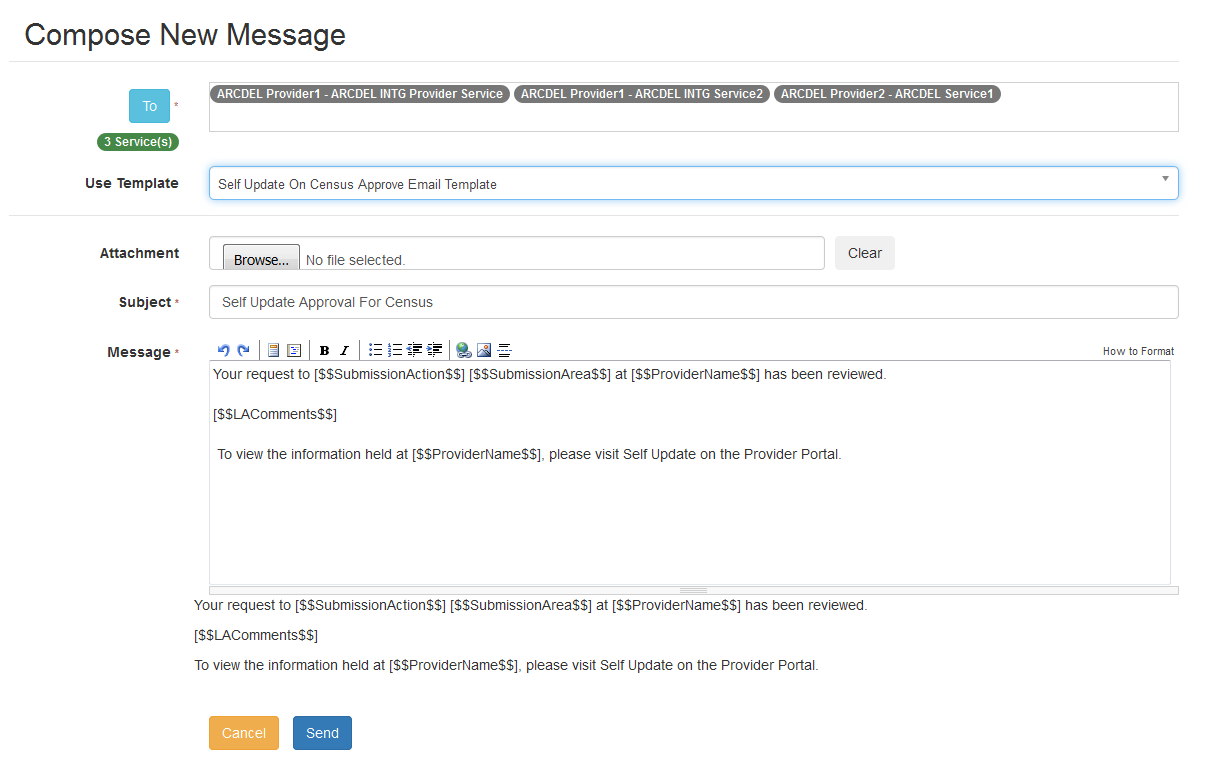
- If required, click the Browse button to select an Attachment.
- Click the Send button to send the message and display the Message Sent dialog.
- Click the OK button to display the Sent Messages screen.
View Sent Messages
A list of messages sent to Self Update users is displayed when the Early Years administrator clicks the View / Send Messages tile on the Self Update Administration welcome page or selects Messages from the Self Update menu.
- On the Sent Messages screen, to view the message, click the View Message link to display the View Message screen.
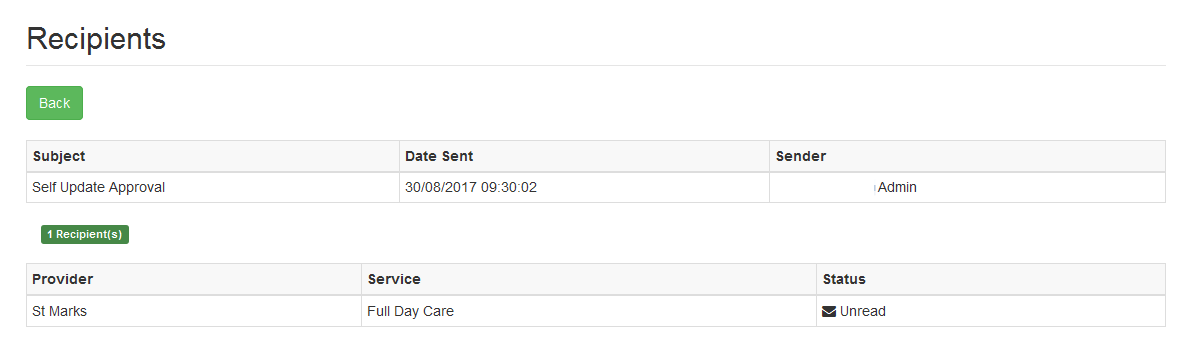
Alternatively, to view the recipients of a message, click the View Recipients link to display the Recipients screen.
