The instructions on this page were different in the following release(s):
3.76
Create an EHCP Re-Assessment Involvement Form
Relase Notes for SEN Feature Update 3.76.001:
LA Transferred Out To SEN Secondary Need
Create a student assessment
- Open the student’s record.
- In the Links panel, select Involvements to display the Involvement Summary dialog.
- Click the New button to display the Choose an Involvement Form dialog.
- Select EHCP Re-Assessment Involvement to display the EHCP Re-Assessment Involvement [New Involvement] page.
- Complete the Involvement Details panel.

Fill in the panels
Subjects
The Subjects panel is pre-populated with brief details about the student.
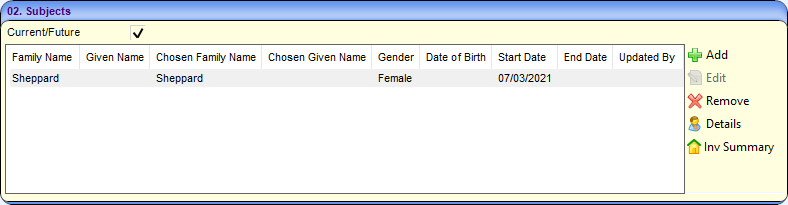
If you created this involvement without selecting a student first, this panel is blank.
- Click the Add button to add students to the involvement
- Click the Remove button to remove the student from the list
- Click the Details button to display the full details of the student record
- Click the Inv Summary button to display a summary of the involvements linked to the student
Reasons
The Reasons panel (Lookup Table_ID 1053) is not a mandatory part of the EHCP process but can be used if required.
The panel can be hidden using the Data Panel button at the top of the page.
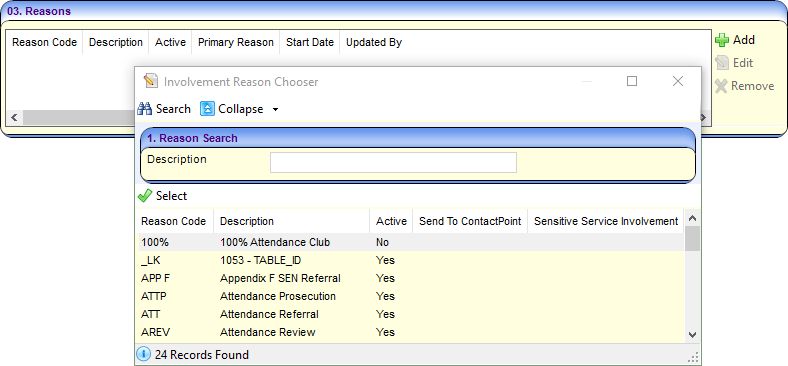
- Click the Add button to open the Involvement Reason Chooser
- Click the Edit button to edit the Start Date and Primary Reason
- Click the Remove button to remove the item from the list
SEN Officers
The SEN Officers panel is populated with the names defined via Focus | Services | EHCP Administration | EHCP User Defaults | Assessment Officer.

- Click the Add button to select an assessment officer from the linked service
- Click the Edit button to edit Start Date, End Date and Lead Caseworker
- Click the Remove button to remove the assessment officer from the list
- Click the Details button to view full details of the assessment officer
SEN Admin Officers
The SEN Admin Officers panel is populated with names defined via Focus | Services | EHCP Administration | EHCP User Defaults | Administrative Officer.
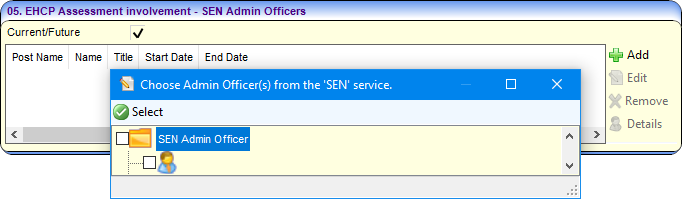
- Click the Add button to select an admin officer from the linked service
- Click the Edit button to edit Start Date and End Date
- Click the Remove button to remove the admin officer from the list
- Click the Details button to view full details of the admin officer
EHCP Professional Contacts
The EHCP Professional Contacts panel is populated with names defined via Focus | Services | EHCP Administration | EHCP User Defaults.
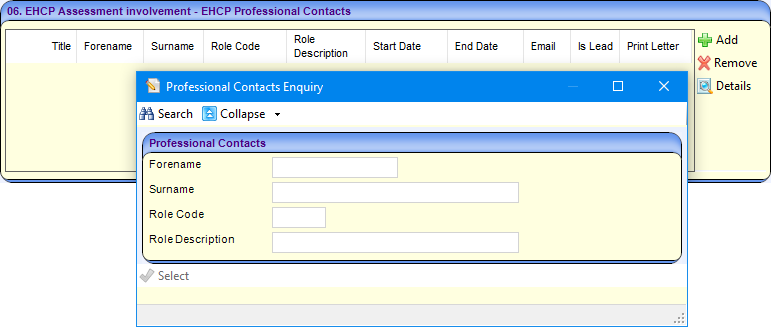
- Click the Add button to select a professional contact from the Professional Contacts Enquiry dialog
- Click the Remove button to remove the professional contact from the list
- Click the Details button to view full details of the professional contact.
Portal Sharing
The Portal Sharing panel enables you to record details of any portal users. You can also indicate whether that person has been authenticated to view forms and files uploaded via the Citizen or Professional Portal.

- Click the Add button to display the Portal Sharing [New Portal User] dialog
- Click the Edit button to edit the Portal Sharing details
- Click the Remove button to remove the portal user from the list
Information Requested
This panel enables you to record details of any information that has been requested. This includes details about the portal user who has requested the information.
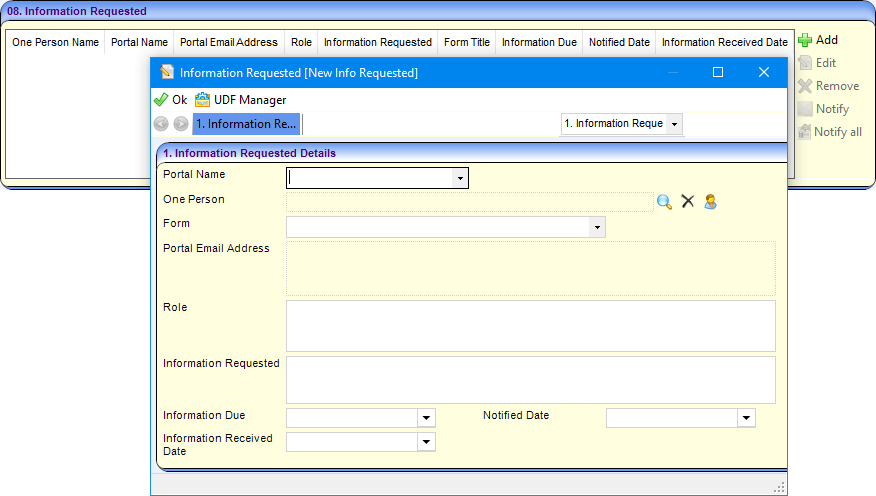
- Click the Add button to display the Information Requested [New Info Requested] dialog.
- Click the Edit button to edit the Information Requested.
- Click the Remove button to remove the information requested item from the list.
- Click the Notify button to notify the portal user about the information they requested.
- Click the Notify All button to notify all portal users about the information they have requested.
Assessment Progress
This panel enables you to view the progress of the involvement since the start date.

The Due Dates are fixed when you save the involvement for the first time, i.e. dates are not dynamically updated as the assessment moves through its statutory phases.
If the actual period has exceeded the statutory period, the dates are displayed in red.
Assessment Details (Phase 1)
The Exception Phase 1 check box and text box are not used on the Re-Assessment Involvement
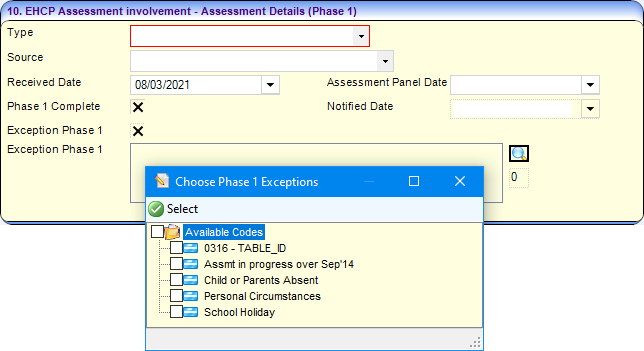
Exception Phase 1 - by default, the check box is deselected, but if the statutory time limit of 6 weeks for Phase 1 is exceeded (or you anticipate it will be exceeded) you must record exceptions. When one or more exceptions are selected, this check box is automatically selected
To add one or more exceptions:
- Click the Browse button to display the Choose Phase 1 Exceptions dialog (Lookup Table_ID 0316) showing exception reasons relevant to phase 1
- Select items as required.
Assessment Details (Phase 2)

Exception Phase 2 - when the statutory assessment time limit is exceeded, you must record a phase 2 exception. This is separated into Exception Phase 2a and Exception Phase 2b
SEN Primary Need (Lookup Table_ID 0123) - The SEN Primary Need is the main reason for the request.
This field is displayed on the student’s record in the SEN Needs Statutory Assessment panel
Stop Assessment
Complete the Stop Assessment panel only if the assessment has reached Phase 3

If a timeline is attached to the involvement, a dialog is displayed to inform you that some Timeline Activities are in progress; you must cancel the timeline.
The Case Status (displayed in the Involvement Summary panel):
- of an involvement which has been stopped during phase 2 is Inactive after Recd.
- of an involvement which has been stopped during phase 3 is Assmt. Stopped.
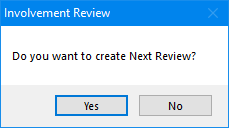
Assessment Details (Phase 3)

Date Final Issued – when this information is saved, the Involvement Review dialog displays a message asking if you want to create a Next Review.
LA Transfer
To record a student who has moved into your Local Authority part-way through a SEND assessment:
- Open a new EHCP Assessment Involvement for the student
- In the Assessment Details (Phase 1) panel, select a Type of Transfer In Mid Assessment.
Enter remaining details as required.

- In the LA Transfer panel enter details as required.

- Enter remaining details as required.
Assessment Inactive
To make an EHCP Assessment involvement inactive during phases 2 or 3 of the assessment process, for example, if a student has moved out of your Local Authority’s area:
- Open the required student's EHCP Assessment involvement
- On the Involvement Details panel
Set the Status to Closed (or an appropriate value for your Local Authority) and select an End Date.

- On the Assessment Inactive panel:

- Set Active to a cross (X).
- Select an Inactive Date and Inactive Reason as required.
- When the Inactive Reason has an external code of MOV – Moved to other LEA, LAs can record the LA transferred out to.
Reviews
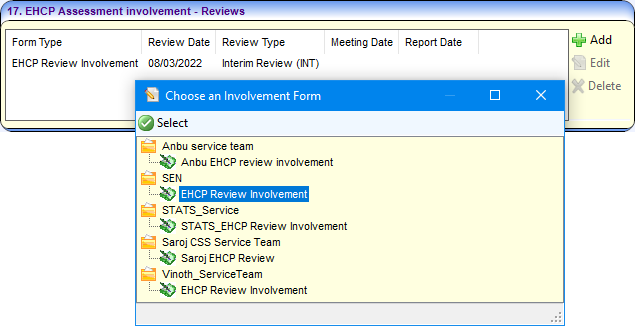
This panel is populated when the Date Final Issued is saved on the Assessment Details (Phase 3) panel.
It enables you to generate a Workflow Reminder for the next review.
- Click the Add button to create a review involvement.
- Click the Edit button to display the involvement.
- Click the Delete button to delete the involvement.
Tribunals and Mediation
This panel is populated when a Tribunal or a Mediation Involvement are created.
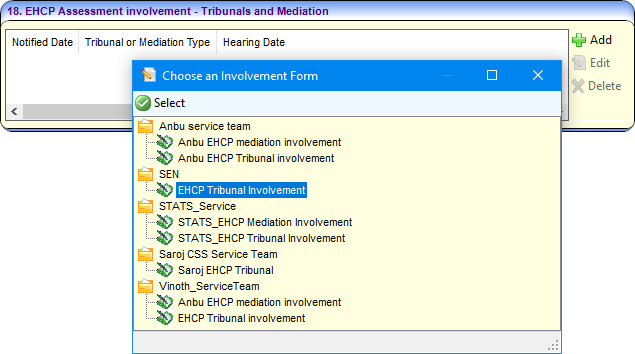
If parents disagree with SEND decisions made by the Local Authority, they can appeal to the SEN and Disability Tribunal. Mediation is a form of alternative dispute resolution, before going to a tribunal.
-
Click the Add button to create a new Tribunal Involvement or a new Mediation Involvement.
-
click the Edit button to display the involvement.
-
Click the Delete button to delete the involvement.
Amendment Details
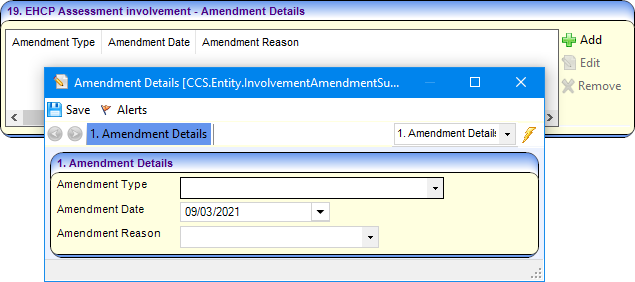
- Click the Add button to display the Amendment Details Summary dialog
- Click the Edit button to make any changes to the record
- Click the Remove button to remove the record
Outcomes
The Outcomes panel (Lookup Table_ID 1054) is not a mandatory part of the EHCP process but can be used if required. The panel can be hidden using the Data Panel button at the top of the page.

- Click the Add button to open the Involvement Outcome Chooser
- Click the Edit button to edit the Outcome Date
- Click the Remove button to remove the item from the list
Involvement Status History
If the Status of an involvement is changed, it is recorded in the Involvement Status History panel when the involvement is saved.
This panel is read-only.

Sign Off
The EHC Plan Sign Off options are only enabled if all mandatory fields have been completed.

Sign off is completed as part of the Workflow process.
Once signed-off, EHC Plans are non-editable and when saved the header displays (READ ONLY).