![]()
The instructions on this page were different in the following release(s):
3.83 | 3.79 | 3.75
Roll Up Process
The roll up process moves clients’ academic situations forward a year according to the set of rules outlined in the table below.
| Current Situation | New Situation |
| Year 7 | Year 8 |
| Year 8 | Year 9 |
| Year 9 | Year 10 |
| Year 10 | Year 11 |
| Year 11 | If clients’ new primary and confirmed situations have already been created for the year following their Year 11 situations, they are excluded from the roll up process. All other clients have a new situation of Unknown Leaver created. |
| Year 12 | Clients on two year courses have a new situation Year 13 created. Clients on a one year course have a new situation of Unknown Leaver created. Course length is configured in the IYSS System Administration Client (Common | Specific Qualification Level | <value>) by selecting or deselecting the Two Year Course checkbox. |
| Year 13 and 14 | If clients’ new primary and confirmed situations have already been created for the year following their Year 13 or 14 situations, they are excluded from the roll up process. All other clients have a new situation of Unknown Leaver created. |
No other situations are affected by the roll up process. Academic situations which are not a year group, e.g Educated at Home, or have a situation start date of 20th June or later, are not rolled up. If required, before you run the rollup, you can produce a preview Crystal Report displaying the effects of the rollup from the End of Year Client Rollup dialog. This may take a long time to process.
- The correct start date must be selected.
- The rollup process should be run out of normal hours.
- The rollup process cannot be undone if you make a mistake.
A rollup should only be done once you have completed the August NCCIS return.
A rollup should be done after the start of the new academic year. Example for 2021/2022, the rollup needs to be done from the 01/09/2021.
To run the roll up process:
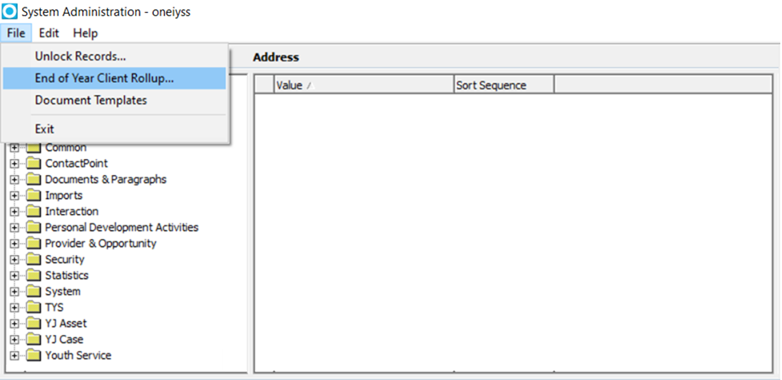
- In the IYSS System Administration Client, select File | End of Year Client Rollup to display the login dialog.
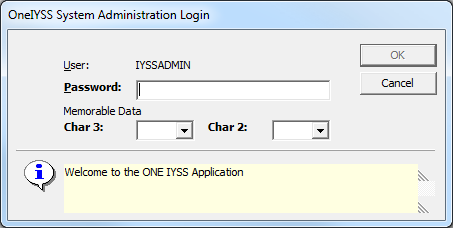
- Log in to display the End of Year Client Rollup dialog.
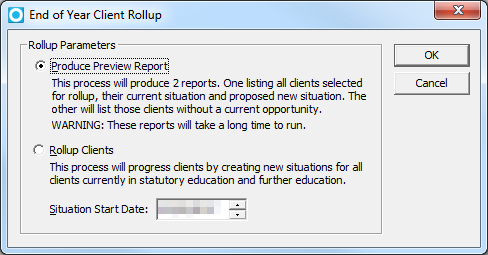
- Select Produce Preview Report. and set the Situation Start Date.
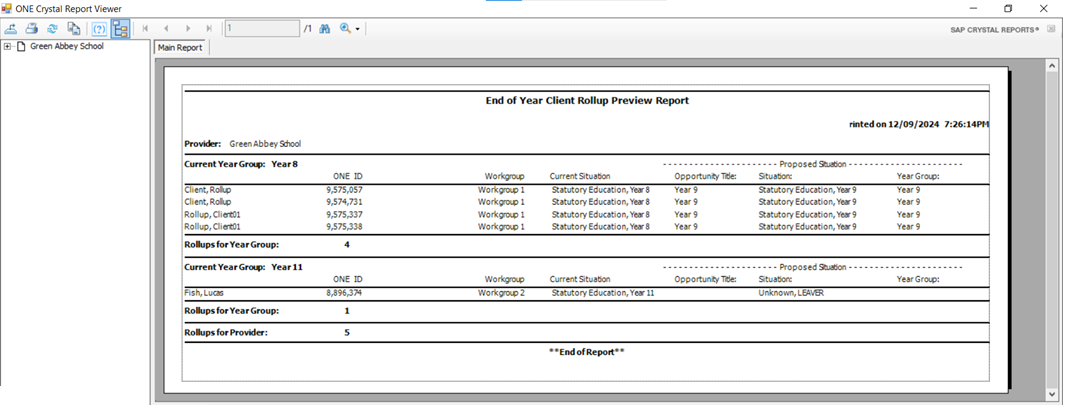
- Click OK to produce the preview report.
- Log into the IYSS web application.
- In the IYSS Links list, click DX Monitoring to display the DX Jobs screen.
- Click submit to display the Add DX Job screen.
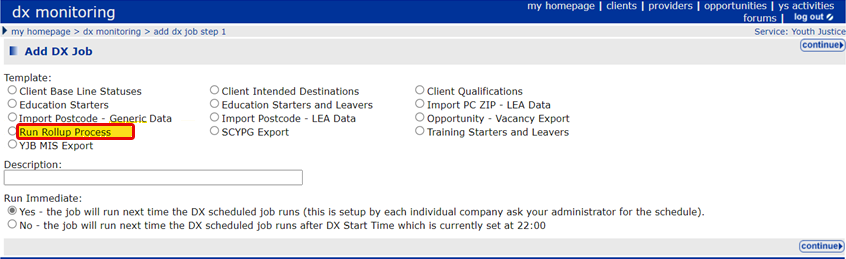
- Select Run Rollup Process and enter a Description.
- Select Run Immediate as required.
- Click Continue to display the add dx job step 2.
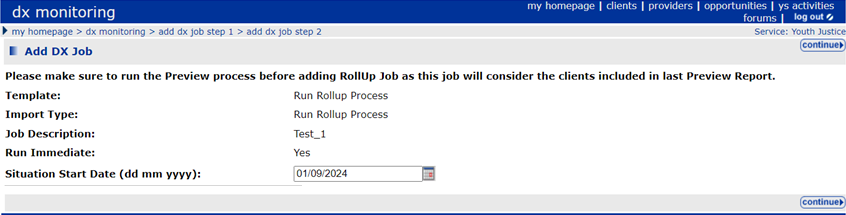
- Add a Situation Start Date as required.
This should be the same date used for the preview report. - Click continue to add the job to the queue.

- Once complete, click the yellow note icon to display the DX Job dialog.
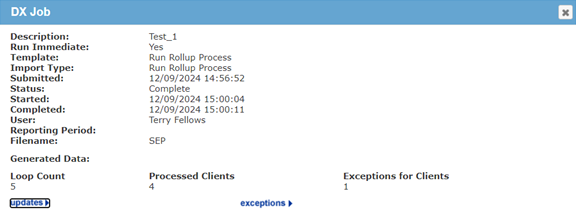
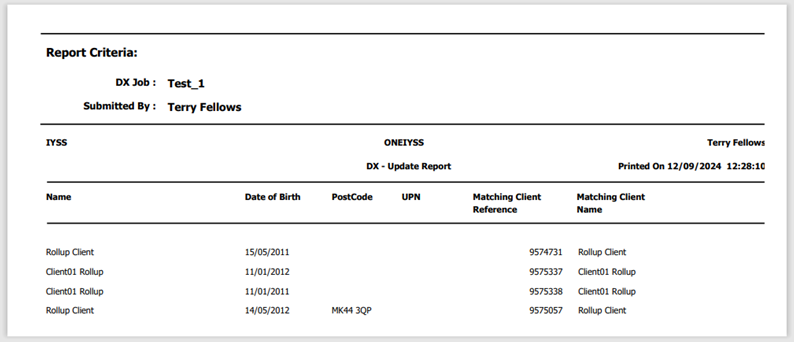
- Click updates to display the Processed Clients Report.
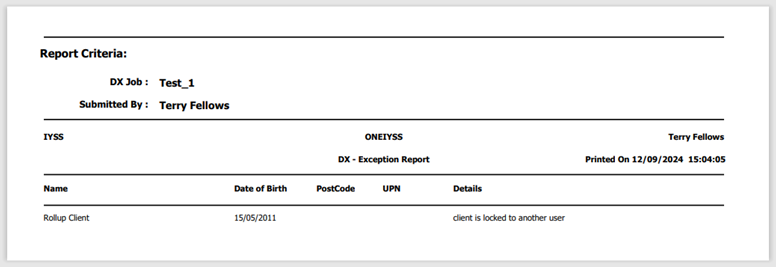
- Click exceptions to display the Exceptions report.
See: Troubleshooting, if the Rollup Process did not Complete.