![]()
Communications & Complaints
- Select the People area.
- Ensure that the Communications & complaints page is selected.
- Select from the following options:
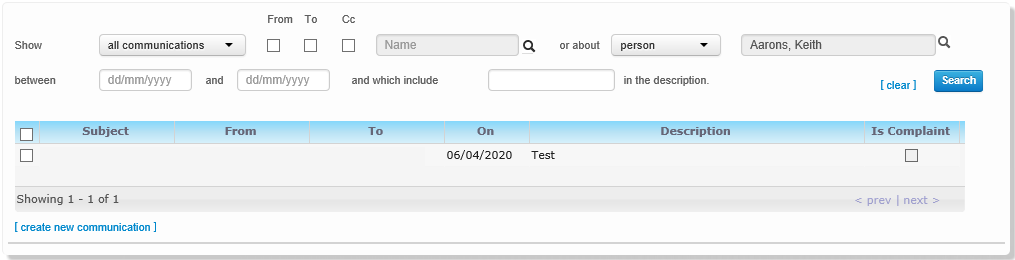
- Search for a communication

- Enter search options.
- Click the Search button. A list of communications matching the entered criteria is displayed.
- Create a communication
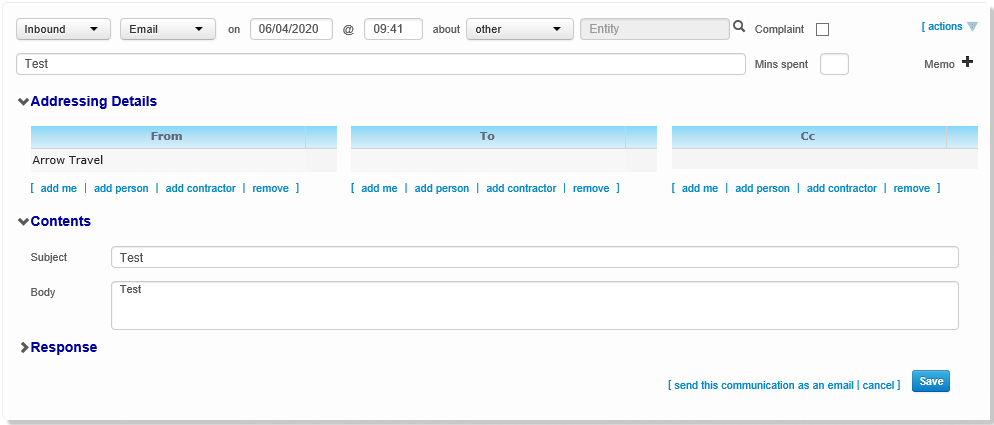
Click the create new communication hyperlinkhyperlink. Editable fields relating to communication details are displayed.Enter details as required.
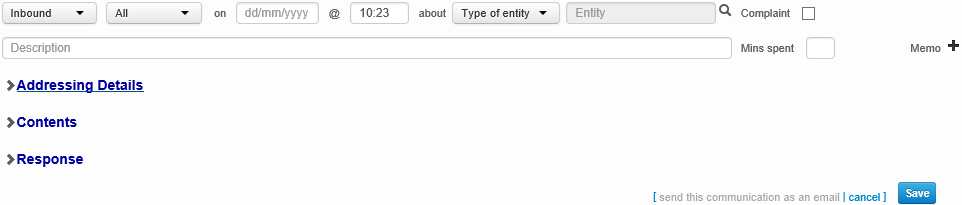
- Addressing
Details

- Contents
- Response

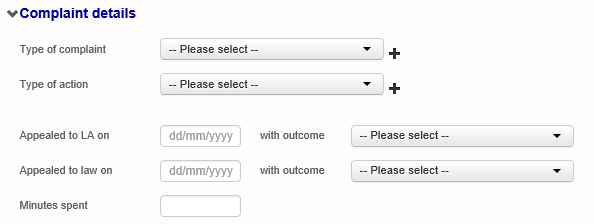
If the communication is a complaint, fill out the Complaint Details section:
- Addressing
Details
- Read a communication
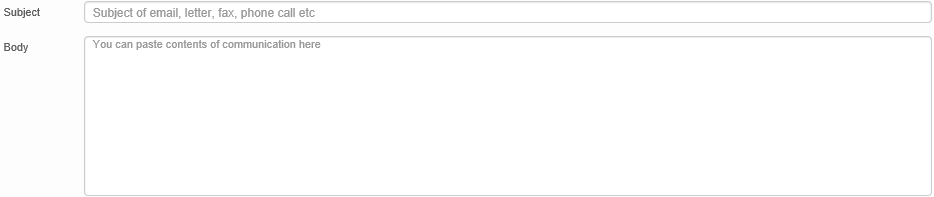
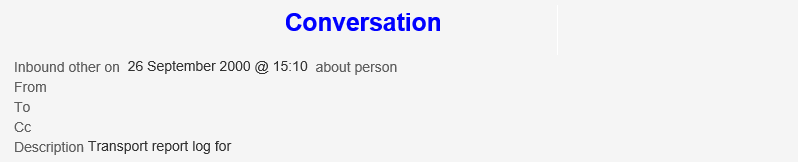
Read a communicationcommunication or send it as an email.Select from the following options:
- Select a communication and
open the Contents
section. The content of the message is displayed in the
Body field.

To send the communication as an email, click the send this communication as an email hyperlink. An email with the same subject and body as the communication opens in your default email client. - Select one or more communications
and click the read selected
communications hyperlink. A separate window opens,
showing the text of the selected messages in an email-like
format.
- Select a communication and
open the Contents
section. The content of the message is displayed in the
Body field.
- Create a follow-up communication
Highlight a communication and click the create follow-up communication hyperlink.
Enter details as required. - Search for follow-up messages
Highlight a communication and click the search for follow-up messages hyperlink. A list of the selected communication’s follow-up messages is displayed.
Highlight a message to select it. - Delete a communication
Highlight a communication and click the delete communication hyperlink. A confirmation dialog is displayed.
Click the Delete button to delete the communication. - Access Control Lists
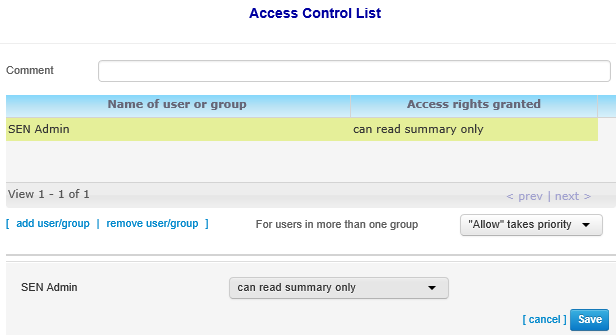
Transport features an Access Control ListAccess Control List for communications, allowing you to restrict access to a given communication to a specific user or group.Click the set ACL hyperlink. The Access Control List dialog is displayed.
Select from the following options:
- Click the add user/group hyperlink.
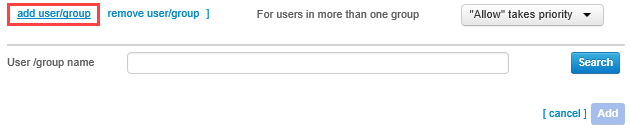
Enter details as required. - Highlight the user/group you want to edit.
Amend details as required.Some users may be in more than one ACL group. You can specify how the system deals with access conflicts by selecting an option from the For users in more than one group drop-down menu. The available options are “Allow” takes priority and ”Deny” takes priority.
- Highlight the user/group you want to delete.
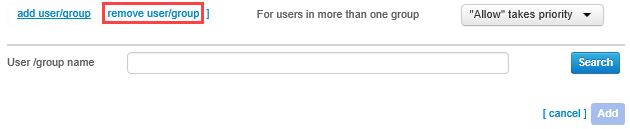
Click the remove user/group hyperlink to remove the user or group from the ACL.
- Click the add user/group hyperlink.
- Search for a communication