![]()
The instructions on this page were different in the following release(s):
3.74
Routes
The Operations | Routes page enables you to view and manage routesroutes within Transport Transport. There are three types of route in Transport Transport: Standard, Network and Door-to-Door.
A standard route is a route on which the LA have supplied a “school bus”; that is, employed a contractor to supply vehicles with which to service an LA-specified route.
A network route is an existing commercial, scheduled road or rail route. The LA buys passes to enable transport using these routes.
On a door-to-door route, the LA supplies transport to pick up a passenger at a specific address or stop and then take that passenger to another address or stop.
You must select a route before you can view or edit its details. Once you have selected a route the following tabs become available:
- Details
Enables you to view and edit basic details for a route, including contract details and vehicle types. - Stops
Enables you to view and define the stops that make up a route. - Loading
Enables you to view capacity information for a route and see how many passengers and assistants board or alight at each stop. - Passengers
Enables you to view the passengers who use the selected route. - Drivers & Assistants
Enables you to view and edit the drivers/assistants who work on the selected route. - Surveys
Enables you to add and view survey details relating to the route. - Map
Enables you to view the selected route on a map.
- Select the Operations area
- Select the Routes page. Search fields relating to route details are displayed.
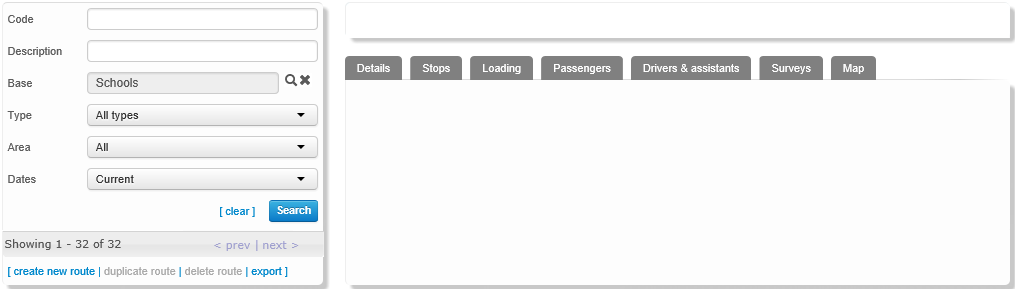
- Enter search options as required.
- Click the Search button. A list of routes matching the entered criteria is displayed.
Transport Transport displays the number of results matching the entered search criteria at the bottom of the search panel. However, Access Control List (ACL) restrictions are applied in-between the search being completed and the results being displayed. Therefore, the number of results visible on screen may not match the given number of results, depending on the ACLs applicable to your Transport user ID.
Click the export hyperlink at the bottom of the list to export the returned search results into a spreadsheet file.
- Select from the following options:
- Create a new route
Click the create new route hyperlink to display editable fields related to route details.

Enter details as required. - Edit a route
The DetailsDetails tab is divided into three sections. The topmost section enables you to edit the route’s basic details, while the Contracts section enables you to view the contract details that apply to that particular route. Lastly, the Vehicles section enables you to add or remove vehicles from a route.There is an SQL script template available that enables you to convert standard routes to door-to- door routes. If required, contact the Transport Application Support Desk to request the script, referencing KB article KB-423312.
Ensure that the Details tab is selected. Editable fields related to the route’s details are displayed.
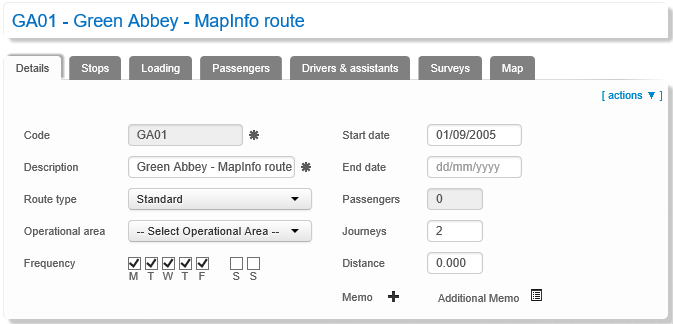
Select from the following options:
- Amend details as required.
- If required, click the actions menumenu.
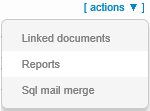
Select from the following options:
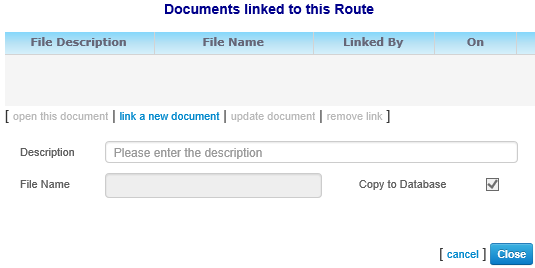
- Click the Linked documents hyperlink to display the Documents linked to this Route dialog.
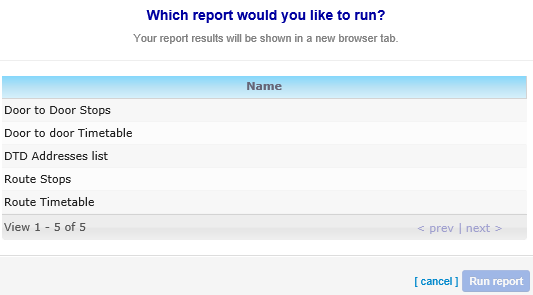
- Click the Reports hyperlink to display the Which report would you like to run? dialog.
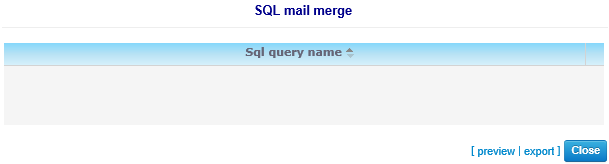
- Click the Sql mail merge hyperlink to display the SQL mail merge dialog.
- Click the Linked documents hyperlink to display the Documents linked to this Route dialog.
- If required, expand the Contracts section.
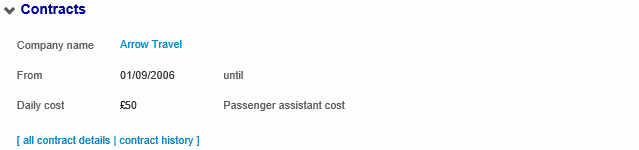
Select from the following options:- Click the all contract details hyperlink to view Operations | Contracts in a separate window.
- Click the contract history hyperlink to view Operations | Contracts in a separate window.
- Click the Company name hyperlink to view Operations | Contractors in a separate window.

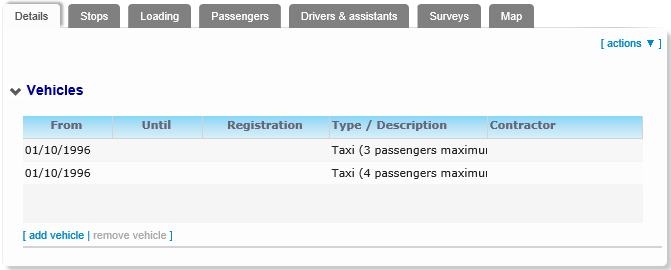
- If required, expand the Vehicles section.

Select from the following options:- Click the add vehicle hyperlink to display editable fields related to vehicle details.
Enter details as required. - Highlight the vehicle you want to remove.
Click the remove vehicle hyperlink. A confirmation dialog is displayed.
Click Yes to delete the vehicle.
- Click the add vehicle hyperlink to display editable fields related to vehicle details.
- Duplicate a route
- Highlight the route you want to duplicate.
- Click the duplicate route hyperlink to display the Duplicate route dialog.
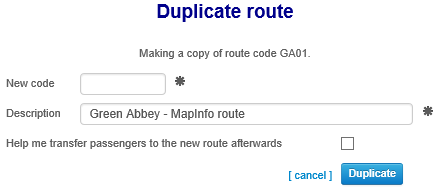
- Enter details as required.
- Click the Duplicate button to copy the route.
- Delete a route
Click the delete route hyperlink. A warning dialog is displayed.
Click the Delete button to delete the route and close the dialog.
- Create a new route
- Select from the following additional options:
- Stops
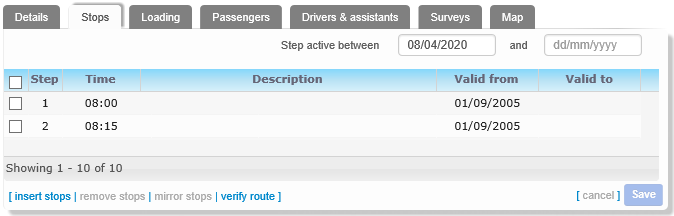
Select the StopsStops tab to view a list of the stops on that route.The Stops tab is only displayed for standard and network routes. If you select a door-to-door route, the Addresses/Stops tab is displayed instead. You cannot add additional stops from the Addresses/Stops tab, because door-to-door journeys run directly from one location to another.
Select from the following options:
- Click the Insert Stops hyperlink to display the Insert Stops into route dialog.
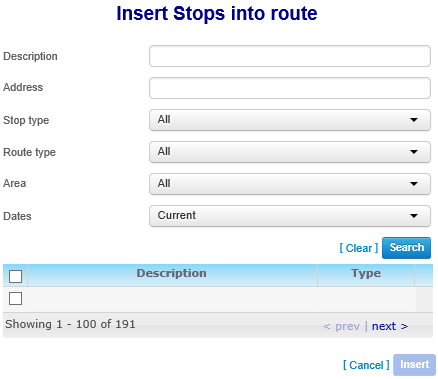
Search for the stop that you want to add and then click the Insert button to insert the stop into the route.Transport routes are optimised to work with up to 50 stops. Performance may be affected if you add more than 50 stops to a route.
- Select the check box next to the stop you want to delete. You can select multiple stops at once if required.
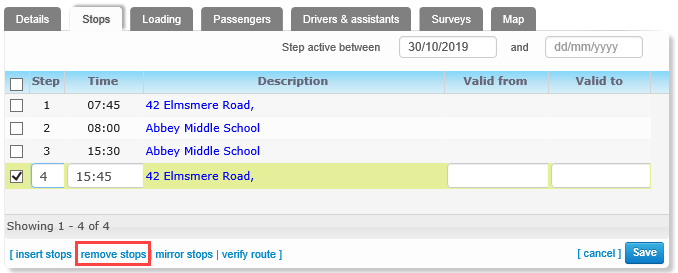
- Click the remove stops hyperlink. A warning dialog is displayed.
- Click the Yes button to delete the selected stop from the route.
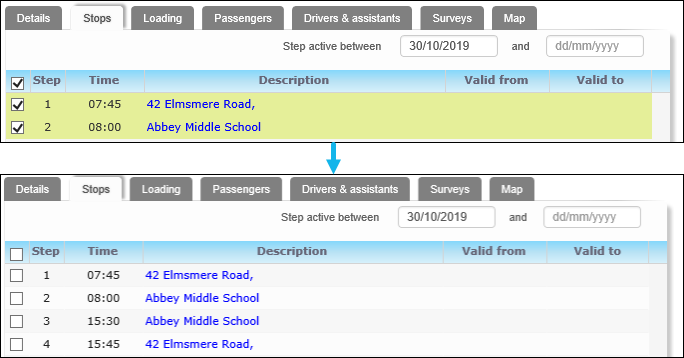
- Select the check boxes to select the stops you want to mirror.
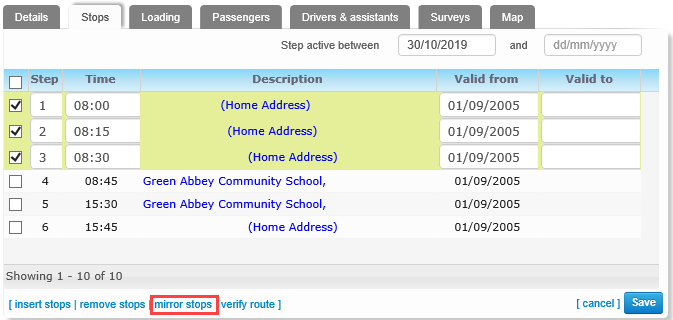
- Click the mirror stops hyperlink to display the Enter return stop time dialog.
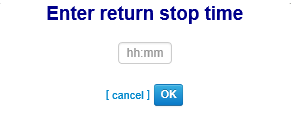
- Enter the time that you want the mirrored journey to begin.
- Click the OK button to close the dialog and mirror the stops. All selected stops are duplicated in reverse step order.
Transport Transport calculates the times for the stops on the return journey using the times recorded for the outbound journey.
- Click the mirror stops hyperlink to display the Enter return stop time dialog.
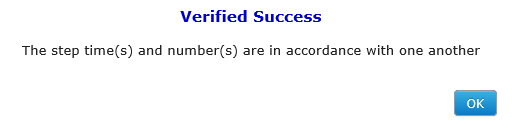
- Click the verify route hyperlink to verify the route.
Correct any errors shown until the verify is successful.
- Highlight a stop you want to move.
- Enter the step you want to move it to into the Step field.
For example, to make a stop the fourth stop on the route, enter 4 into the Step field.
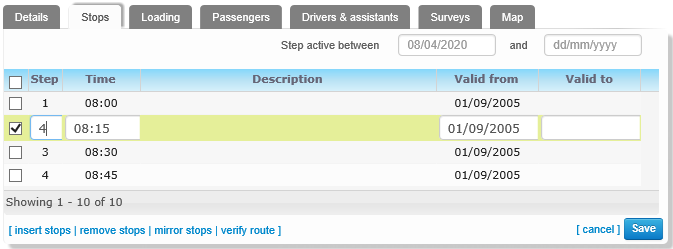
- Click anywhere outside the Step field. The list of stops reorders to place the edited stop in the step you specified.
- If required, repeat for all the stops you want to re-order.
- Enter the step you want to move it to into the Step field.
- Click the Insert Stops hyperlink to display the Insert Stops into route dialog.
- Loading
Select the Loading tab to display a list of the stops on the route and the number of people boarding and alighting at each stop.
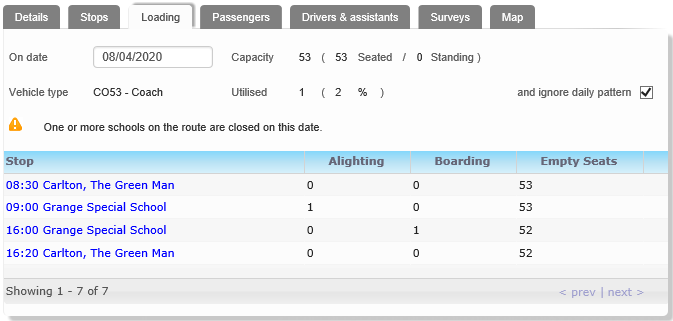
The loading calculation takes into account the opening times of the base. If the base is not open on the selected date, Transport Transport will display zero loading values for all stops on the route.
Multiple vehicle typesMultiple vehicle typesWhen more than one vehicle is active for the route, Vehicle type displays Multiple Types. Capacity shows the amalgamated values of all of the active vehicles.
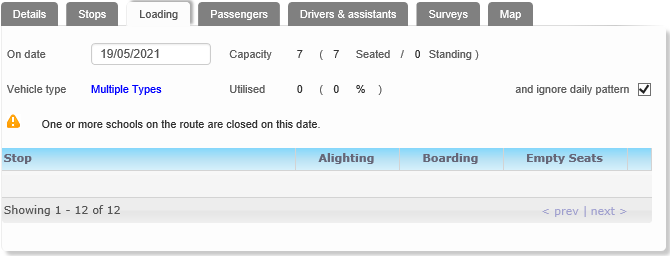
To view the active vehicles, click on Multiple Types. This will open the Details tab to view the vehicle list.
- Passengers
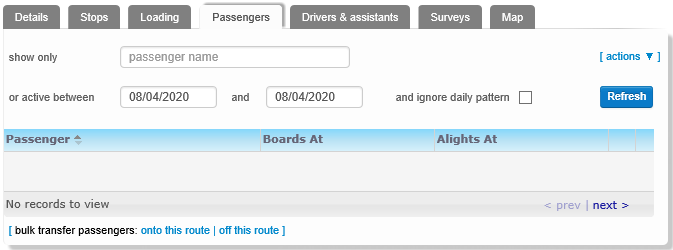
Select the PassengersPassengers tab. A table of the passengers who use the route and the stop that each passenger boards and alights at is displayed.Select from the following options:
- If required, click the actions hyperlink.

Click the Reports hyperlink to display the Which report would you like to run? dialog.

- Bulk transfer passengers:
- Onto this route
Click the onto this route hyperlink to open the bulk transfer page.

- Off this route
Click the off this route hyperlink to open the bulk transfer page.

- If required, click the actions hyperlink.
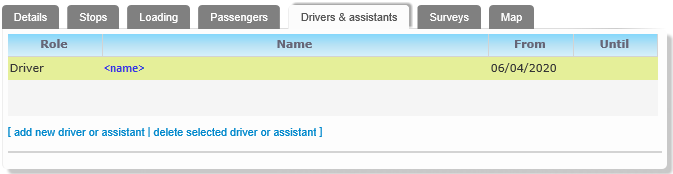
- Drivers & assistants
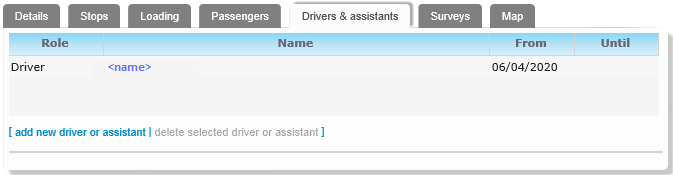
Select the Drivers & assistantsDrivers & assistants tab.Select from the following options:
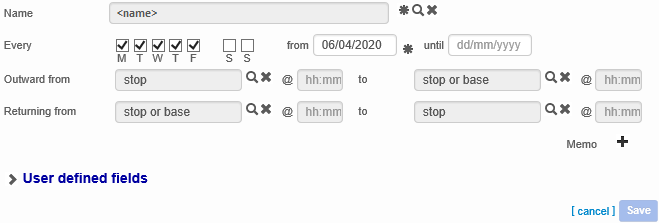
- Click the add a new driver or assistant hyperlink to display editable fields related to driver and assistant details.

Enter details as required. - Highlight the driver/assistant you want to edit.
Amend details as required. - Highlight the driver/assistant you want to delete.
- Click the delete selected driver or assistant hyperlink. A confirmation dialog is displayed.
- Click the Delete button to delete the driver/assistant from the route.
- Click the name hyperlink to open the People | Personal info page in a separate window.

- Click the add a new driver or assistant hyperlink to display editable fields related to driver and assistant details.
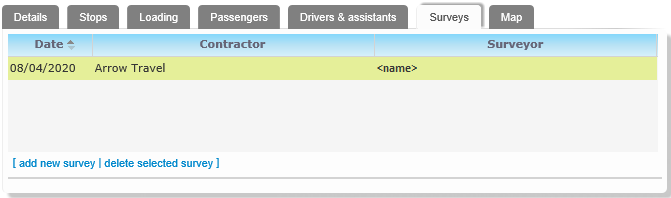
- Surveys
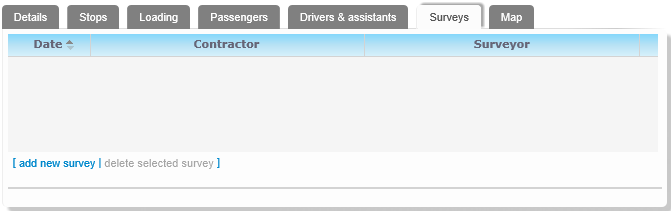
Select the SurveysSurveys tab to display a list of the surveys for the route.Select from the following options:
- Click the add new survey hyperlink to display editable fields relating to survey details.
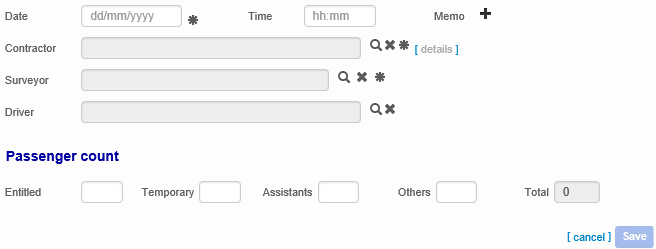
Enter details as required.
Once the survey is created, the create new vehicle check hyperlink is displayed at the bottom of the Surveys page. - Highlight the survey you want to edit.
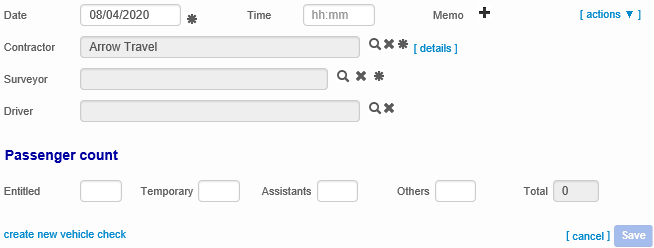
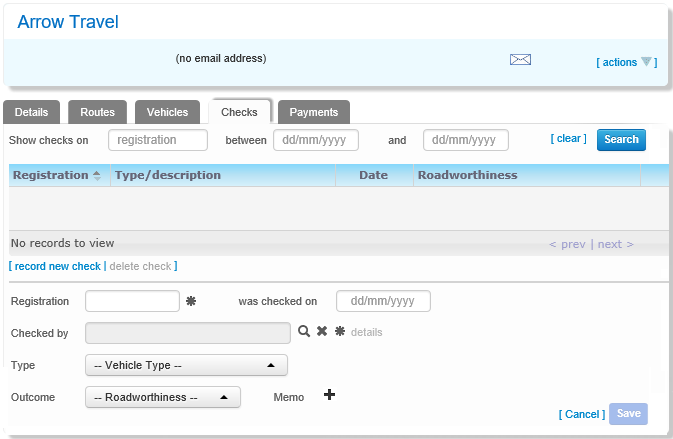
Amend details as required. - Click the create new vehicle check hyperlink to record details of a new vehicle check that is linked to the selected survey. This will open the Operations | Contractors | Checks tab in a new window.
- Highlight the survey you want to delete.
- Click the delete selected survey hyperlink. A confirmation dialog is displayed.
- Click the Delete button to delete the survey.
- Click the add new survey hyperlink to display editable fields relating to survey details.
- Map
Select the Map tab. A map of the route is displayed.

If required, enter a date into the On date field to view the route’s course on a particular day.
- Stops