![]()
Click the back button to return to the previous page or use the Table of Contents.
Bulk Update Clients
If you have the necessary permissions, you can update certain elements of client records in bulk. You can add events to multiple client records if the event details being added are the same for each client. If there are minor variations for certain clients, such as one of the clients did not comply, you can amend the individual client record after performing the bulk update. For Youth Justice, only users with the Client Bulk Update permissions can use the YJ bulk update functionality:
- BU - YJ Events
- Bulk Update Client
WARNING: Bulk updates are irreversible. There is no undo function. Ensure that only the appropriate clients are included in the update and that the correct update is applied.
Before bulk update clients, you must first add them to a client group.
Bulk Update Clients
- Create a Client Group, either by searching for the required clients or, Open an existing list from the My Saved Client Lists and adding them to a group.
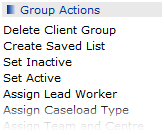
- Click the required hyperlink in the Group ActionsGroup Actions menu. The actions displayed depend on your permissions. For these instructions, the Assign Lead Worker action will be used as an example.
- The Change Lead Worker screen is displayed.

- Follow the on-screen instructions, in this case by entering the new lead worker’s name and click the search button.
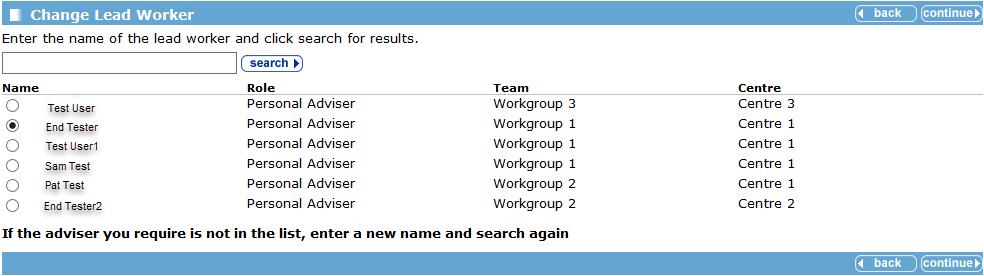
- Select the appropriate option from the list.
- Click the continue button. The Bulk Update Lead Worker screen is displayed.

- Click the continue button. The Bulk Update Lead Worker screen changes to indicate that the update is being applied.

- After it has finished, the Bulk Update Lead Worker Confirmation screen is displayed with a summary of the update. Click the continue button to return to the Client Search screen and Client Group you just updated.
Bulk Update Events
Bulk updating an event applies the event details to all clients in the group. If you need to edit the details for a single client after the bulk update, you can do so through their case record.
- Create a client group.
- In the Group Actions menu, click the Add Events hyperlink to display the Bulk Update Event screen.
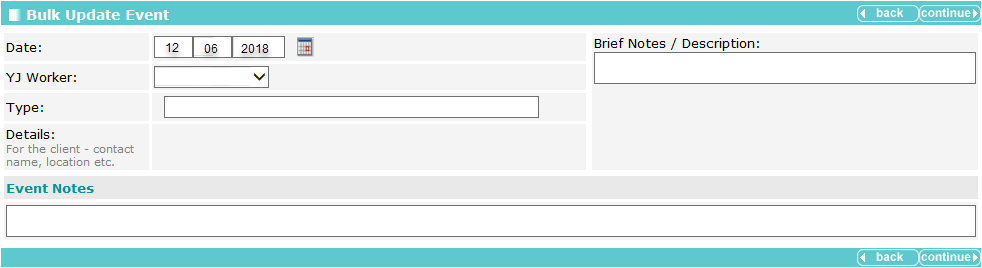
- If required, amend the Date and YJ Worker fields.
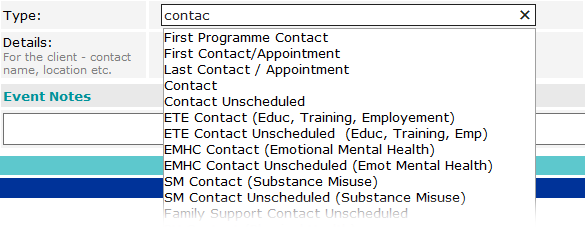
- Complete the Type field. This is an auto-complete field.
- If prompted, complete the Start Time, Details, Attendance and Compliance fields.
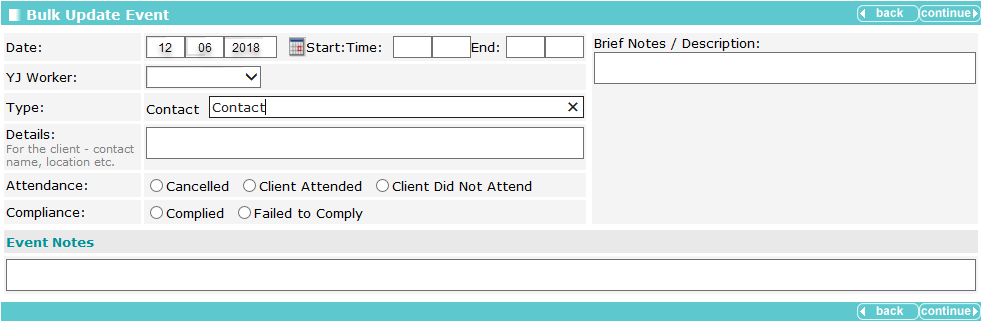
- If required, complete the Brief Notes / Description field.
- If required, add any Event Notes.
- Click the continue button to display the Bulk Updates Add Client YJ Events screen.

- Click the continue button to process the update.
A confirmation screen is displayed after the update has completed. Any clients for whom the bulk update could not be applied are listed here.

- If required, edit the details for any individual clients through their case records.
Bulk Update Client Records to IYSS
The bulk update function requires appropriate OneIYSS permission and is normally done by a system administrator. The update is normally done annually to bring year groups into OneIYSS as required.
To open a client record in OneIYSS the record must be an IYSS client, i.e. marked as IYSS. You can update Non IYSS Client records to IYSS Client records:
- on an individual basis, or
- on a bulk update process which updates each school. The IYSS Bulk Updates report shows which schools and year groups have been marked as IYSS.
Review the IYSS Bulk Updates Report
- Select My Homepage | IYSS Link | View Reports to display the View Reports dialog.
- Select Audit Reports from the Report Category and Activity Log from the Reports section.
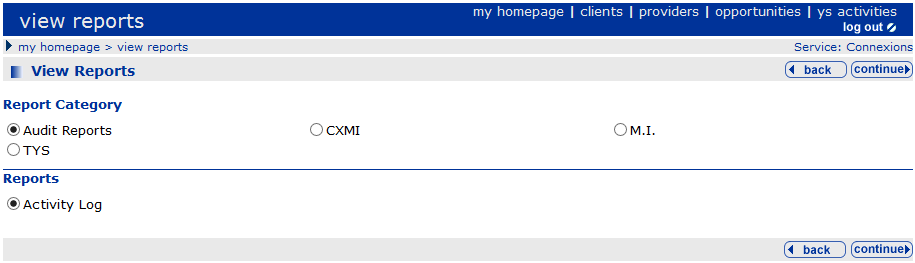
- Click the continue button to display the View Report – Activity Log dialog.
- Select IYSS Bulk Updates.
- Select the Year Group that you want to check for student records not yet made into IYSS records.
- Click the continue button to finish.
Bulk Update Student Records to IYSS Records
The Update IYSS Year Groups routine enables multiple schools for a single year group to be updated at a single session.
When searching for clients to update, only those who meet the criteria below are included:
- DoB matches the selected statutory year group.
- Have an educational Activity with the selected school in One with a start date in the current academic year.
- Not marked as IYSS.
IMPORTANT: Bulk updating student records to IYSS records is a resource intensive process and performance depends on the capability of your system.
- Select My Homepage | IYSS Link | Update IYSS Year Groups to display the Select IYSS Year Group dialog.
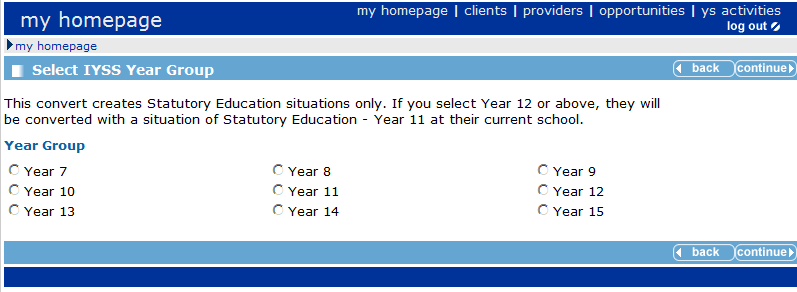
- Select the Year Group that you want to mark as IYSS.
- Click continue to display the Year xx Client Conversion dialog.
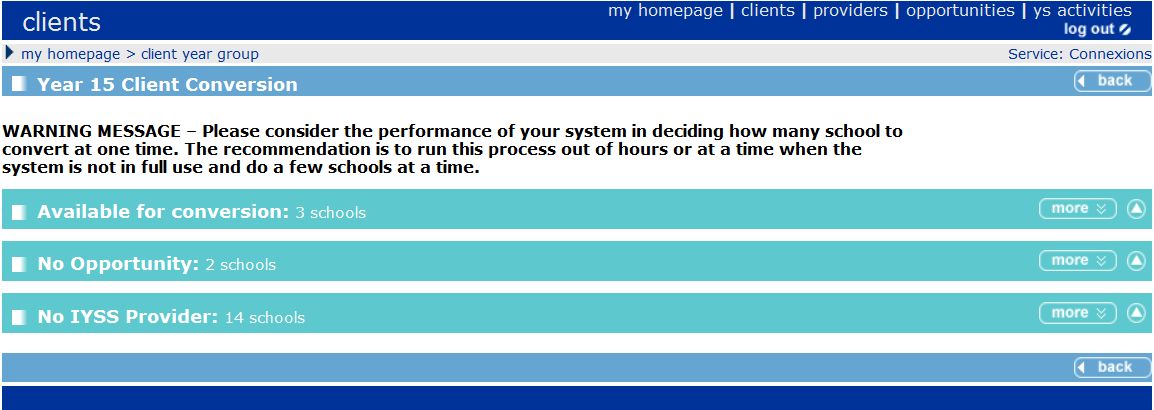
- Available for Conversion panel: Displays all clients that belong to the selected year group when the school (i.e. provider) and opportunities are in place on OneIYSS to allow conversion to take place.
- No Opportunity panel: Displays a list of schools (i.e. IYSS providers) where opportunities do not exist and therefore cannot be converted.
- No IYSS Provider panel: Displays a further list of schools (which are not currently IYSS providers) that have clients for conversion, but as the school does not use IYSS, these schools need to be converted to become providers and then opportunities added to them.
- In the Available for Conversion panel, click the more button to display:
- Schools that can be converted, and
- Schools that may be eligible but either do not have appropriate opportunities or the school (IYSS provider) has not been converted for use in IYSS.
Once the schools have been converted and opportunities added, they are available for conversion.
- Choose the Team and Centre to be allocated to the Schools you have selected for update.
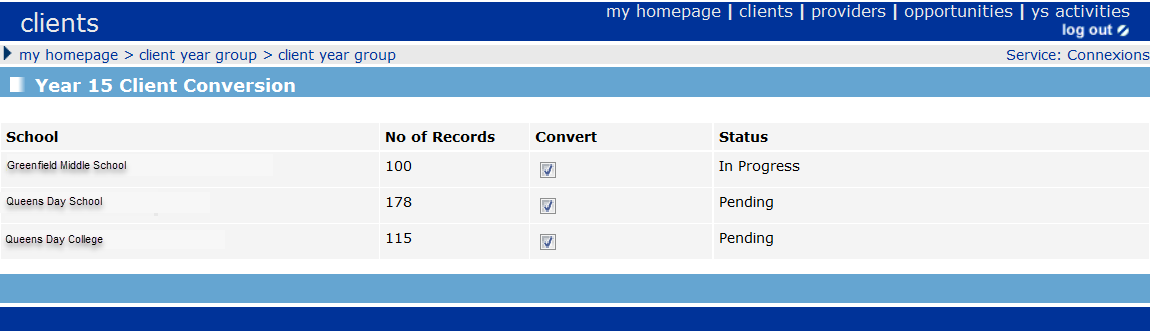
- Select the Schools you want to convert and then click the convert button to start the bulk update process.
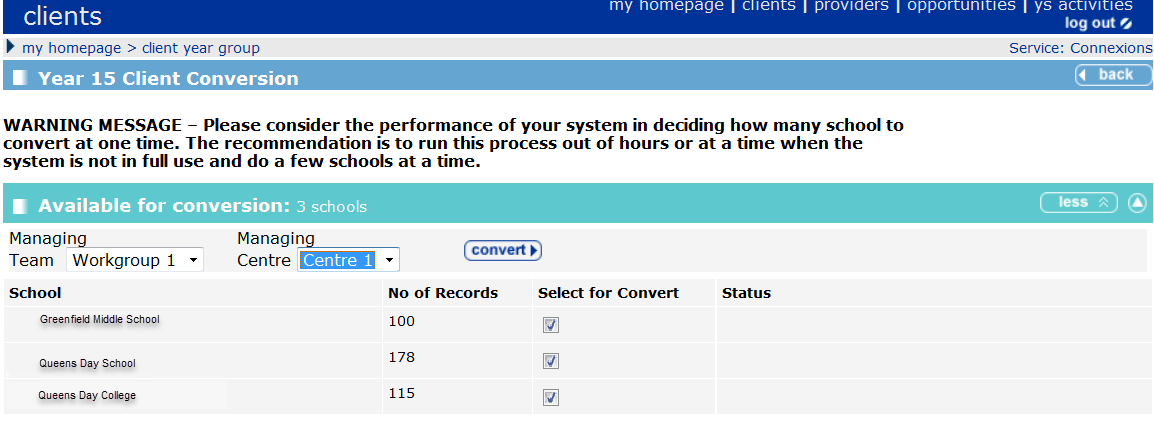
The Status column displays the stage at which the conversion process is running, e.g. Pending, In Progress etc.
Refer to: Client Bulk Updates table in the Security Permissions, for a description of the available bulk updates and their governing permissions.