![]()
Documents, Notes, Forms and Assessments
Documents
Add or import a new Document
- Search for and select a client.
- Click new document in the Document, Notes, Forms and Assessments section to display the New Document dialog.

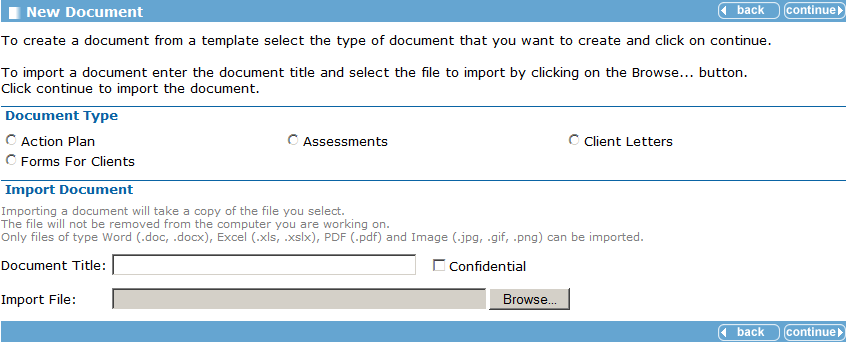
Add a document- Select the Document Type as required.
- Click continue to display the New [Document Type] dialog.
- Select the Document Template as required and click continue.
- Enter details as required.
- In the Import Document section, enter a Document Title for the document you want to import.
- Click Browse and select a document as required.
- Click continue to save the imported the file.
You can only import files of type Word (.doc, .docx), Excel (.xls, .xslx), PDF (.pdf) and Image (.jpg, .gif, .png).
- Click continue to return to the client page.
Change an existing Document
- Search for and select a client.
- Click the required document in the Document, Notes, Forms and Assessments section.

- To change the document, click the change button on the left side panel under Note Action.
- Make the required changes.
- Click continue to return to the client page.
If you are working in a document for a while you can save it regularly by clicking Save.
View an Imported Document
- Search for and select a client.
- Click the required document name in the Document, Notes, Forms and Assessments section.
To view or change an imported document that is not a Word document, the dialog below is displayed.
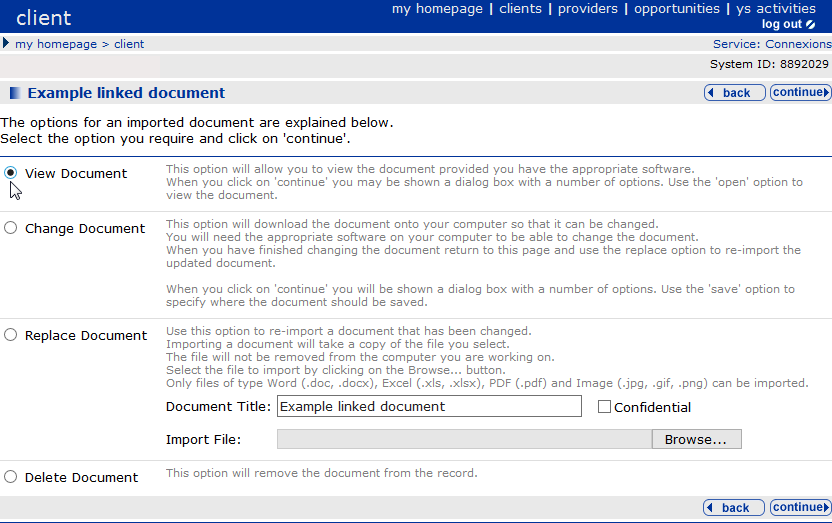
- Select the required option and follow the instructions on the dialog depending on whether you want to view, change, replace or delete the document.
- Click continue to return to the client page.
Notes
Notes are recorded as part of an interaction and give a general description of what was discussed as part of the contact.
It is important to keep notes of a particular type together so that anyone coming into contact with the young person can immediately get to the appropriate information.
The three main areas for adding notes in this section are:
- SEN Notes and Personal Notes
Displayed in red as they are classed as confidential and may be restricted as part of role-based security. - Benefit Notes
Not classed as confidential and are displayed in yellow.
Add a New Note
- Search for and select a client.
- Click new note on the Documents, Notes, Forms and Assessments section to display the New Note dialog.

- Select the required note.
If a note of this type already exists it is opened automatically.

Note types with a red icon can only be read by users with appropriate permission. Notes with a yellow icon can be read by all users.
- Click continue to display the relevant notes dialog.

- Enter notes as required.
Dates and names are added automatically. - Click continue to return to the client record.
The note is displayed in the Documents, Notes, Forms and Assessments section.

View and Change a Note
- Search for and select a client.
- Click the note you wish to change in the Documents, Notes, Forms and Assessments section.

- Click the note title you want to view/change.
- You can now read the notes and make changes if required.
- Click change in the left side panel under Note Actions.
- Enter your notes.
- Click continue to return to the client record.
You can access running notes from other locations in OneIYSS e.g. Additional Needs (SEN Notes) and Individual Circumstances (Personal Notes). These form part of the same notes accessed in Documents, Notes, Forms and Assessments, but are accessed from a different area in the client record.
Assessments
Add an APIR to a Client Record
- Search for and select a client.
- Click new assessment in the Document, Notes, Forms and Assessments section to display the Record New Assessment dialog.

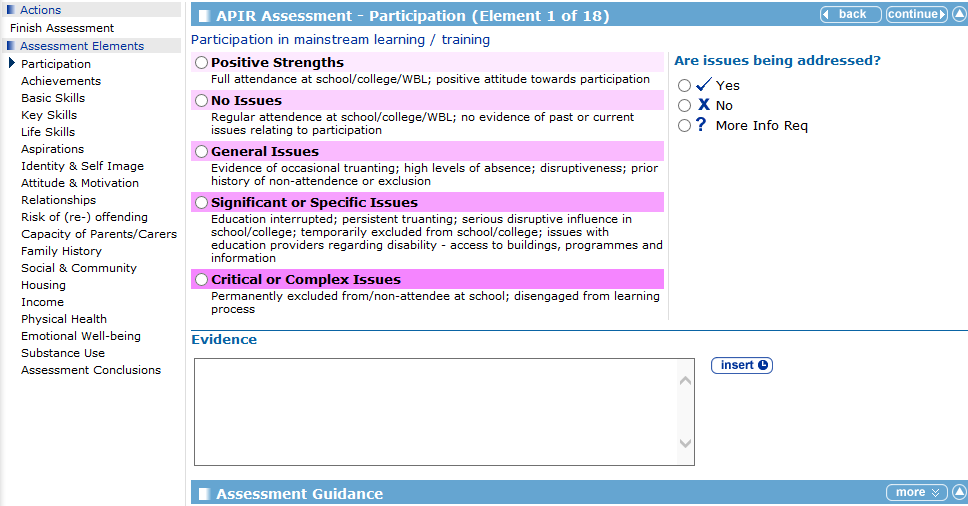
- Select APIR Assessment and click continue to display the APIR Assessment - Participation (Element 1 of 18) dialog.
You may find it beneficial to read through the rest of this section before continuing.
- Either complete each element in turn by clicking continue to go to the next element, or select the element you want to record from the list in the side panel.
As each elementelement is recorded the value shows next to the element.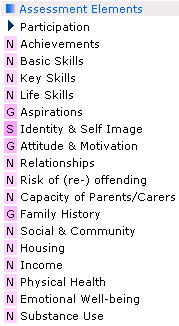
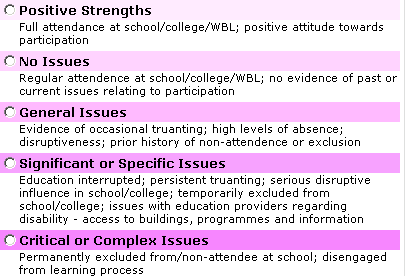
- For each element you need to complete:
- LevelLevel
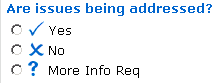
- Are Issues Being AddressedAre Issues Being Addressed
- Any relevant notes
- LevelLevel
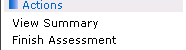
- When you have completed recording the assessment, click Finish Assessment in the Actions side panel.
The APIR Assessment Summary is displayed which may look similar to this:
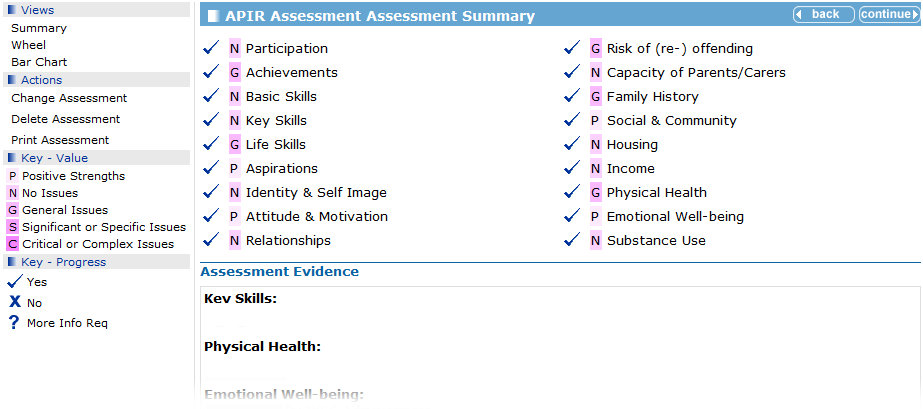
You can view the APIR assessment in Wheel or Bar Chart format by selecting the options under Views in the left hand panel.
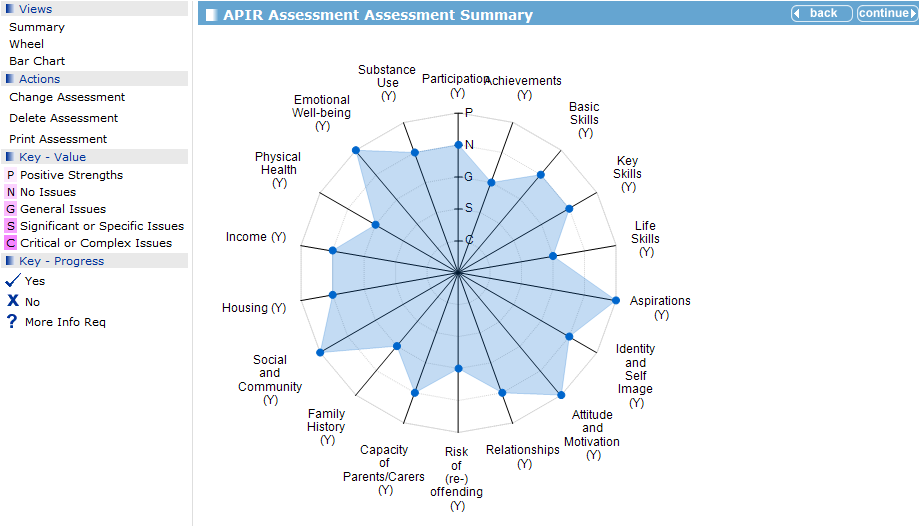
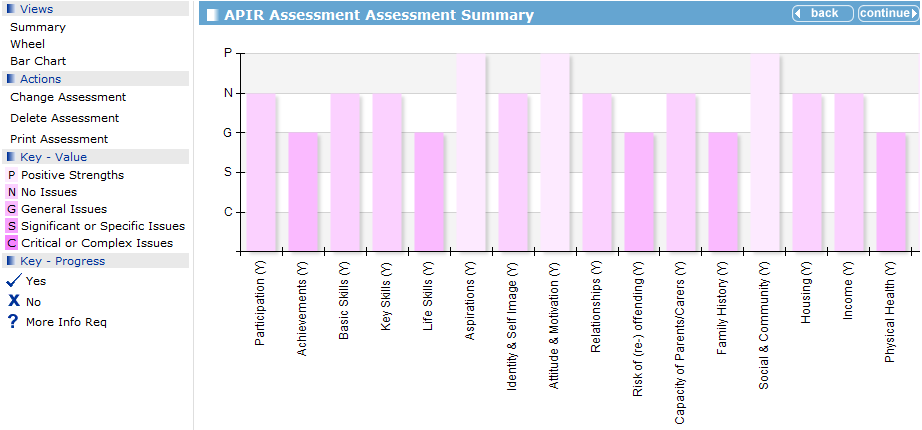
- Notes are displayed for all elements on each view.
- All elements have suggested issues to explore at the bottom of each page.
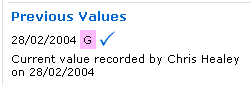
- When elements are changed the previous valuesprevious values are kept and displayed.
- From the Summary, Wheel, or Bar Chart view you can click continue to return to the client record.