![]()
Online Parameters
The Administration | Applications | Online Parameters page enables you to customise the information presented to online applicants and ensure that the system imports online data correctly.
More information on Online Parameters
Any URLs used in the memo fields must be entered on the Permitted Websites tab.
Click on the image to go to the relevant sections or scroll down the page.
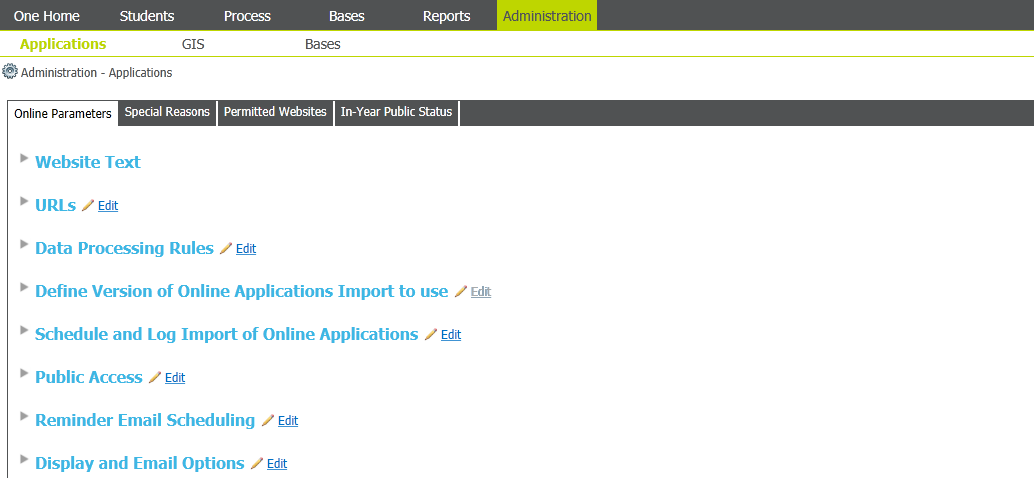
- Select Online Parameters to display the Online Parameters page.
- Choose from the following options:
- Open the Website Text section.

- Select a memo from the drop-down menu to view the contents.
- Click the Edit hyperlink to display the Edit Online Parameters dialog.

- Select the text item that you wish to edit from the drop-down menu.
- Make any necessary edits to the text.
- Open the URLs section.
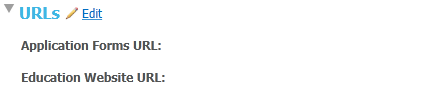
- Click the Edit hyperlink to make the URL fields editable.
- Enter the required URLs
- Open the Data Processing Rules section.
- Click the Edit hyperlink to make the fields editable.
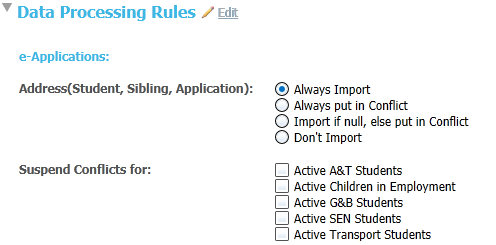
- Select one of the following from the Address(Student, Sibling, Application) field.
- Always Import
Data is always imported, overwriting existing data when the incoming data is different. - Always put in Conflict
Incoming data is put into suspense if it is different to the existing data. - Import if null, else put in Conflict
Data is only imported if the existing field is blank. Otherwise, it is put into suspense. - Don’t Import
Conflicting data is never imported.
- Always Import
- Select student groups from the Suspend Conflicts for field if required.
If Address(Student, Sibling, Application) is set to Always Import and any of the Suspend Conflicts for student options are checked and found active, then the Address data processing option changes to Import if null, else put in Conflict for that record.
- Click the Edit hyperlink to make the fields editable.
- Open the Define Version of Online Applications Import to Use section.

- Click Edit to make the Version of Online Applications Import to Use field editable.
- Select either the v3 or v4 radio button, as required.
You cannot revert to v3 once you have selected v4 as the default import version.
- Open the Schedule and Log Import of Online Applications section.

- Click the Edit button to display editable fields relating to import scheduling.
- Select the time you wish the daily import of applications to take place from the Import Online Applications Daily at field.
- Click the Start Scheduled Task button to confirm your changes and schedule the import.
- To clear the Application logs:
- Enter a date into the Clear Application Logs before field.
- Click the Clear Application Logs before hyperlink. A confirmation dialog is displayed.
- Click the Yes button to clear everything in the Application logs that is older than the specified date.
- To clear the Response logs:
- Enter a date into the Clear Response Logs before field.
- Click the Clear Response Logs before hyperlink. A confirmation dialog is displayed.
- Click the Yes button to clear everything in the Response logs that is older than the specified date.
You must be either a system administrator or have read-write or read-write-delete access to the Admissions set Up and Population | Applications Administration business process in order to clear logs.
- Open the Public Access section.

- Click the Edit hyperlink to display editable fields related to public access times.
- Enter the date you wish to make Admissions Online accessible to the public into the Start Date field.
- Enter the date that you wish to close Admission Online into the End Date field.
The Start and End dates are not the same as the transfer group opening and closing dates. The End date is normally set a long time into the future, and is only changed if the entire Admissions Online system needs to come down (for example, for maintenance)
- Enter a value into the Maximum Login Attempts field if required.
If the user exceeds this number of login attempts then their A&T Online account is locked. If you wish to unlock a particular account, please contact the Service Desk.The Maximum Login Attempts field does not affect Citizen Portal, which manages logins separately.
- Select the Allow In Year Applications Online check box if you wish to enable applicants to make In Year applications online.
- Open the Reminder Email Scheduling section.
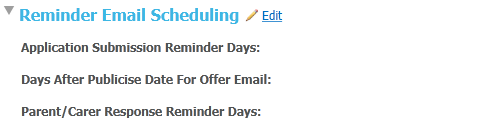
- Click the Edit hyperlink to display editable fields related to email scheduling.
- Enter values as required.
After the Application Submission Reminder Days and Parent/Carer Response Reminder Days thresholds have been reached, a daily reminder email is sent to all relevant applicants. If you do not wish emails to be sent daily, set these fields to a lower number after the first batch of reminder emails has been sent. No additional reminder emails are then sent until the new threshold is reached.
For example, suppose that Application Submission Reminder Days is set to 7. Ordinarily, the system would start sending reminder emails seven days before the closing date, and would send one reminder email a day until closing. However, if you were to reduce Application Submission Reminder Days to 1 after the first emails had been sent, then no more emails would be sent until the day before the closing date. - Open the Display and Email Options section.
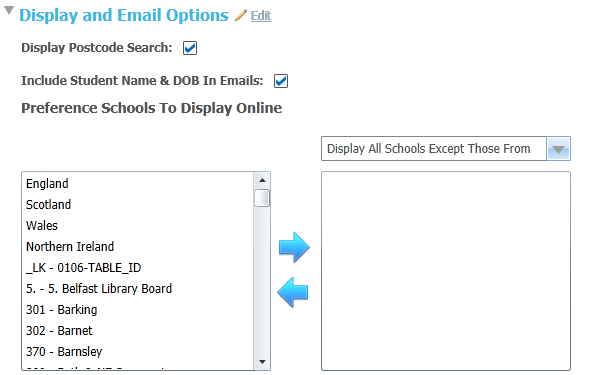
- Click the Edit hyperlink to display editable fields related to display options.
- Select checkboxes as required.
- Select the Preference Schools To Display Online to select the preference schools that you wish to display online.
- Open the Website Text section.