![]()
Manage Sites
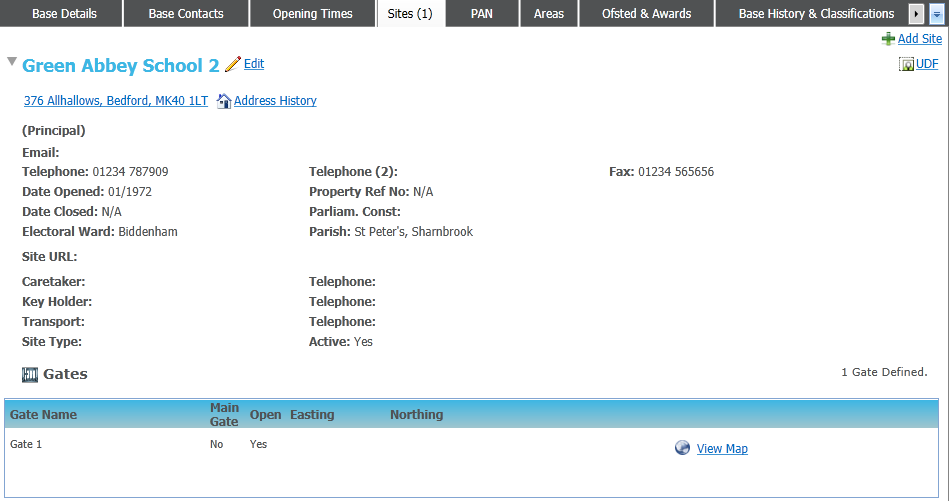
This tab provides information on site details, including contact information for the site and gates defined. The number of Sites defined for the base is displayed on the tab.
- Select a base.
- Select the Sites tab.
- Choose from the following options:
- Click the Add Site link to display the Site Details panel.
- Enter Site Details and/or Site Contacts as required.
- To add details of a Gate:
- Click the Add Gate link.
- Enter details as required.
If this is the main gate, select the Main Gate check box. - If required, select the Open checkbox to display the View Map link.

The View Map link is only enabled for a gate if the Open check box is selected. It is subject to permissions.
- If required, click the View Map hyperlink to display the View on MapView on Map window.
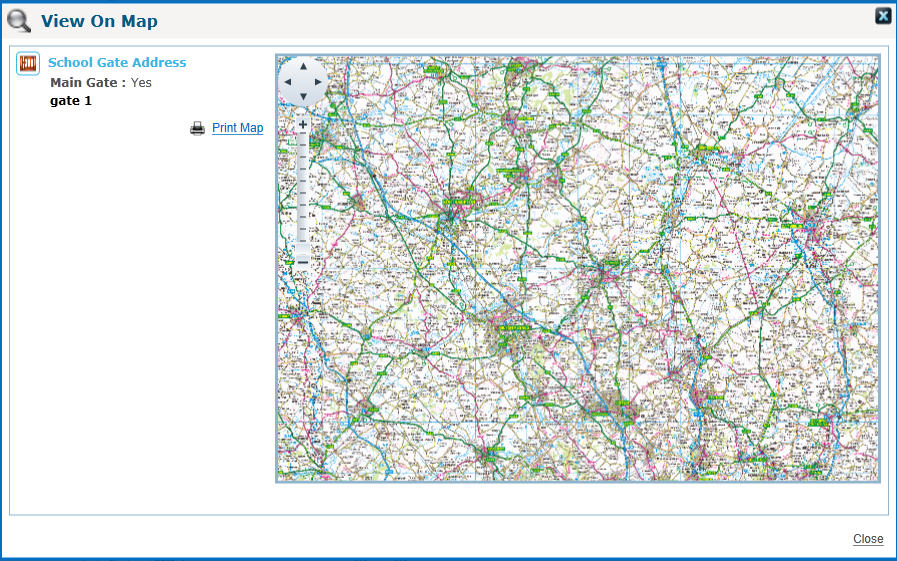
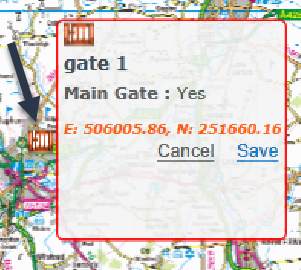
If the gate is geocoded it is displayed on the map with a gate button. Click on the gate button to enable the Re-Position link. If the gate is not geocoded, click on the gate details to enable the Position link
- Click the Position or Re-Position hyperlink.
- Click on the map to position the gate and display a dialog box.
- Click the Edit hyperlink to display the site details in edit mode.
Make changes as required.Sites cannot be deleted. To make a site inactive, untick the Active Site checkbox.
To add or amend gate details:- Click the Add Gate hyperlink to record details of a new gate.
Add information as required. - Click the Edit hyperlink next to a gate to display editable fields relating to that gate.
Male changes as required. - Click the Delete hyperlink next to a gate to delete the gate.
- Click the View Map hyperlink to display the View on Map window.
- Click the Add Gate hyperlink to record details of a new gate.
- Click the Add Site link to display the Site Details panel.