![]()
The instructions on this page were different in the following release(s):
3.83
General Administration
Release note for Autumn 2024 (3.84)
New option to configure whether citizens/professionals are unauthenticated when an Involvement is made inactive
The General Administration page is accessed in v4 Online via Prof. Portal Admin | Home | Administration.

The General Administration panels enable you to perform the tasks listed below:
- Portal ConfigurationPortal Configuration – configure the general application settings used by the portal.
An Administrator, with the appropriate permissions, can edit the Portal Configuration settings.
The Portal Configuration functionality is accessed via v4 Online | Prof. Portal Admin | Administration | General Administration. Click the Portal Configuration tile to display the General Configuration Settings page.
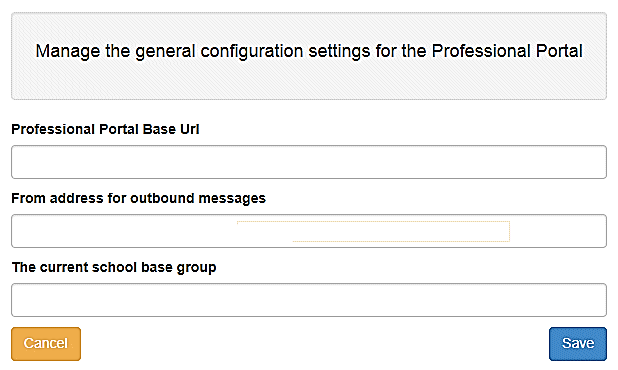
From here you can configure the following settings:
- Professional Portal Base URL – Base URL used for communication purposes.
For users of the SEND Portal, the Professional Portal Base URL field must be populated by the LA to enable the professional to click the hyperlink in the portal message. If this field is not populated, then when a professional selects the hyperlink from within a message, an error message is displayed.
- From Address for Outbound Messages – From email address for outward communications. This is sent to professionals to inform them of the local authority’s email address. Although, it is generally accompanied by a ‘please do not respond to this email address’ message.
- The Current School Base Group – Base group to use for the current school drop-down on the Add/Edit Child pages.
After you have entered the configuration details, click the Save button.
- Tile ManagementTile Management – Enable or disable the tiles used in the Professional Portal.
The Administrator can switch the SEND tile on and off. This functionality is only available in the Professional Portal.
To access the Tile Management functionality:
- Select v4 Online | Prof. Portal Admin | Administration | General Administration.
- Click the Tile Management tile.
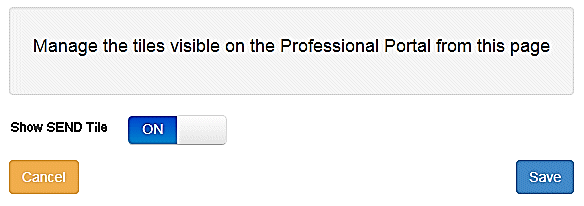
- Toggle the Show SEND Tile to ON or OFF as required.
- Click the Save button.
- SEND PortalSEND Portal – Configure the settings used by SEND.
An Administrator can manage the configuration settings specific to the SEND portal.
For example:

- Select v4 Online | Prof. Portal Admin | Administration | General Administration.
- Click the SEND Portal tile
- Enter a SEND Dummy Base ID. This is used by B2B to import SEND children and young people from the Professional portal.
- Enter a SEND From Submission Notification Email Address. This is an email address or addresses for someone within the local authority, e.g. SEND Caseworker, to which an email is sent when a professional submits a form. It is simply a notification email.
- Use the drop-downs to select the templates for various SEND messages.
- Click Unauthenticate Portal Users when closing Involvement depending on the following:
- If set to Yes (default)
Automatically unauthenticates citizens and professionals when an involvement is made inactive and the user selects OK to the dialogue Making the Involvement inactive will remove the authenticated status of all Portal users. - If set to No
Citizens and professionals are not unauthenticated when involvements are made inactive and the user selects OK to Making the involvement inactive will not change the authentication status of Portal Users.This means LAs can manage the appeals process via the portal if required.
- If set to Yes (default)
- Click Save.
- Verification Settings – Manage the configuration settings specific to the verification of professionals. This functionality is now accessed via the v4 Client.
- Edit ResourcesEdit Resources – Edit site texts and contents.
The Edit Resources functionality is accessed via v4 Online | Prof. Portal Admin | Administration | General Administration | Edit Resources. From here you can edit the contents of the portal. The information in the tooltips is stored in the resource descriptions.
The Resource Configuration Descriptions below can be edited:
Text Resources
- Account
- Administration
- Home
- Home Tiles
- Local Authority
- Message
- SEND
- Shared
Markdown
- Text Blocks
To find a particular resource description, open one of the Resource Configuration Descriptions then use the Ctrl + F keys on your keyboard to display the Find dialog. The entered text is highlighted on the page.
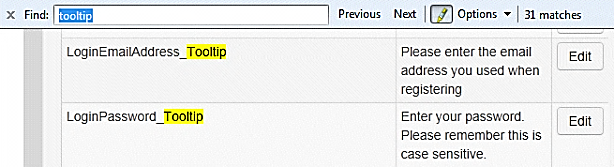
You may need to search through more than one folder. For example, tooltips can be found in most of the resource configuration descriptions.
Edit Resource Descriptions
The resource descriptions are individual dialogs that enable you to manage the text that is available to users in many areas of the Professional portal. If a Resource Value is changed via the Edit Resource Title dialog, then the next time a user sees that resource, the text will be updated to reflect the change.
To edit the resource descriptions:
- Select Administration | General Administration | Edit Resources to display the Resource Configuration Title page.
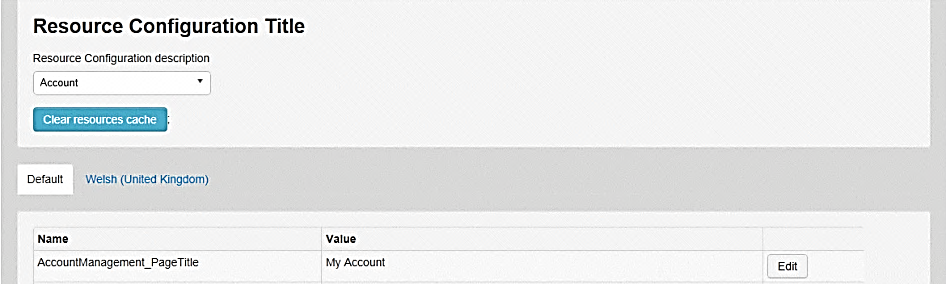
The default option is English (en). Click the Welsh (United Kingdom) button to display the Welsh (cy-GB) descriptions.
- Select an area from the Resource Configuration Description drop-down to display the descriptions and values associated with the resource types.
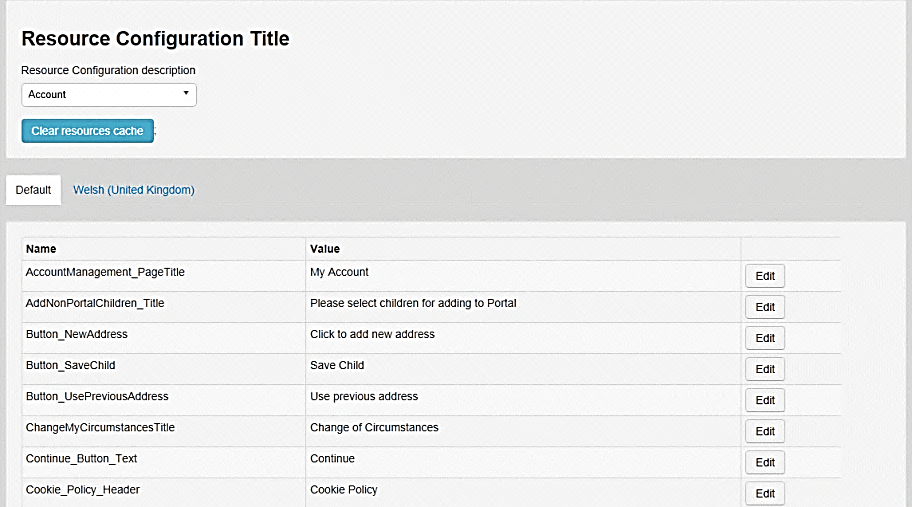
- Click one of the Edit buttons next to a Value to display the Edit Resource Title dialog.
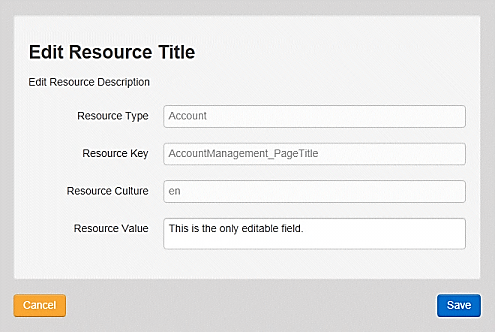
The following fields are read-only:
- Resource Type – the name of the resource configuration title.
- Resource Key – the resource database name.
- Resource Culture – en (English) or cy-GB (Welsh).
- Enter your text in the Resource Value field.
- Click the Save button to return to the Resource Configuration Title page to continue editing the resource descriptions.
- Configure Email TextConfigure Email Text - Configure text in emails that are sent out.
Portal administrators can now configure the text included with automatic emails, sent in response to the following actions in both the Professional Portal and the Citizen Portal:
- User indicates that they have forgotten their password.
- User changes their password.
- User changes their email address.
- Administrator resets a user's password (system sends forgotten password email to user).
- Administrator changes a user's email address (system sends a changed email address confirmation to user).
Different text can be configured for the Professional Portal and the Citizen Portal versions of these emails.
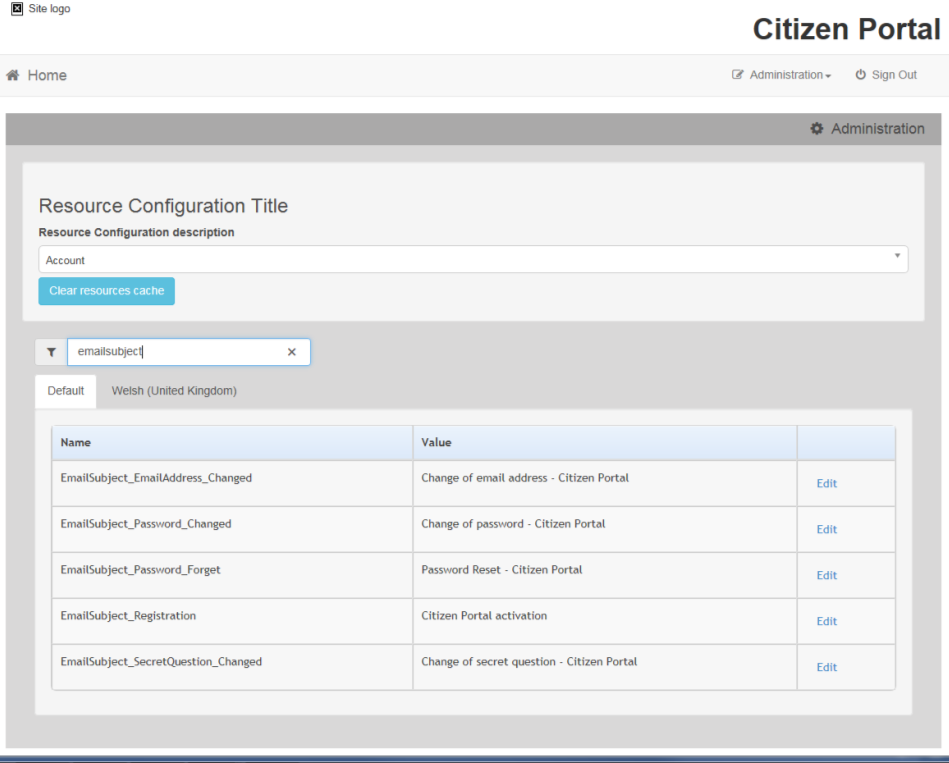
This text can be configured by the portal administrator via Professional Portal Administration | Administration | Edit Resources | Resource Configuration Title | Text Resources | Account. Default text has been automatically configured for each.
To configure the subject lines for the different email types, type emailsubject into the Search box to filter the resource list to display the new configurable email subject items.
To configure the contents for the different email types, select Professional Portal Administration | Administration | Edit Site Texts | Resource Configuration Title | Markdown | Text Blocks. Default text has been automatically configured for each.
Type email_ into the Search box to filter the list to display the new configurable content items for the different email types.
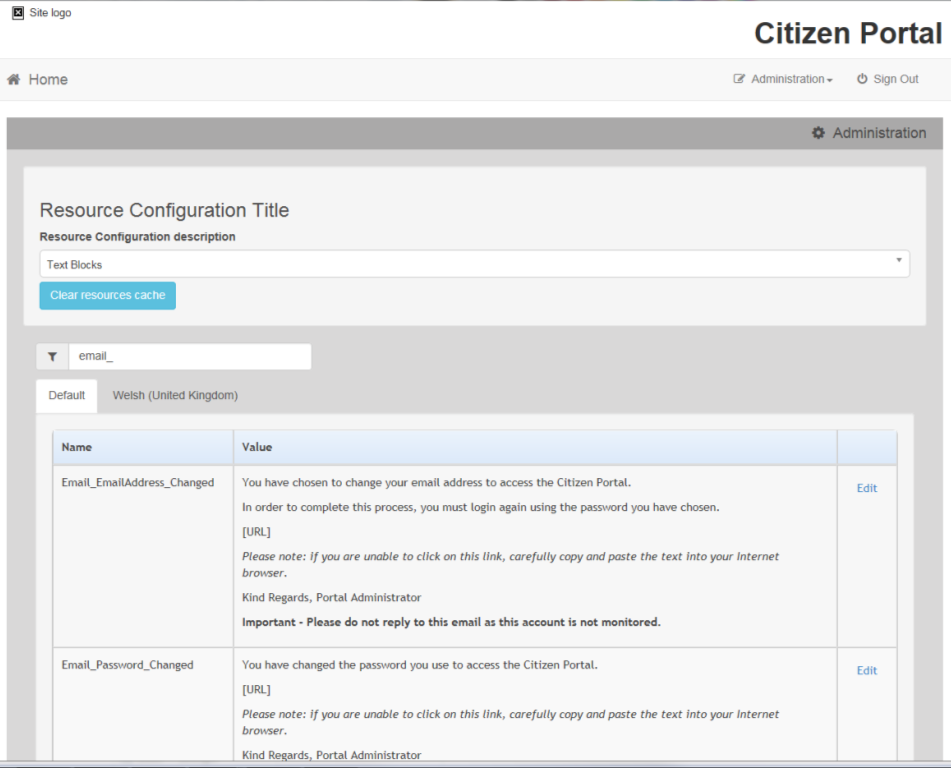
The configurable text block resource names are:
- Email_EmailAddress_Changed
- Email_Password_Changed
- Email_Password_Forget
- Email_Registration
- Template ManagementTemplate Management – Create, change or remove templates used within messages.
- Create a TemplateCreate a Template
- Select v4 Online | Prof. Portal Admin | Administration | General Administration | Template Management.
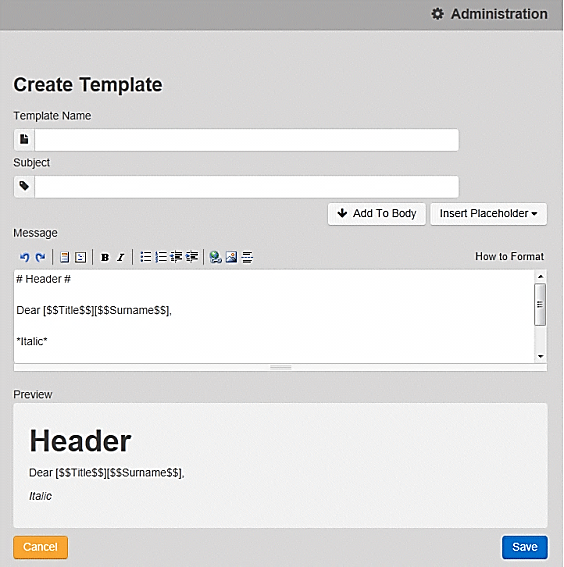
- Click the Create Template button to display the Create Template page.
- Enter the Template Name.
- Enter the Subject of the template.
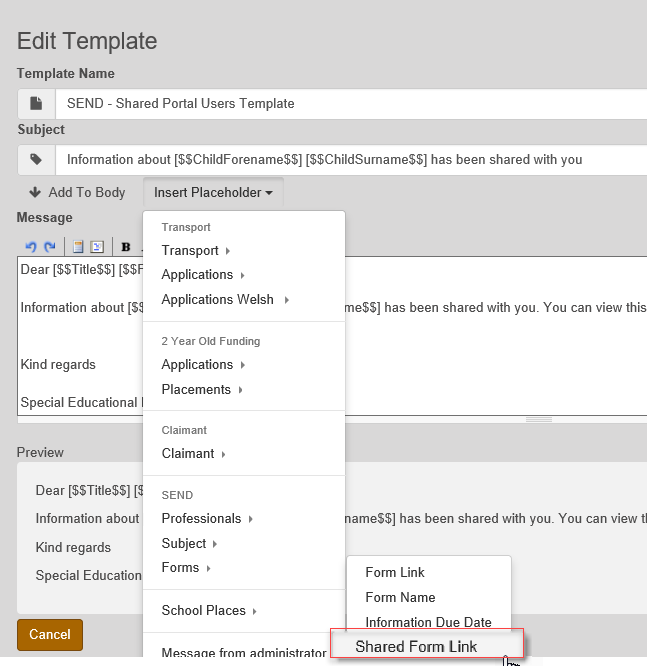
- If you wish to add a placeholder to the subject, click the Add To Body button to change it to Add To Subject, then choose one of the Insert Placeholder options.

- Enter your text into the Message box. Alternatively click the Add To Subject button to change it to Add To Body, then choose one of the Insert Placeholder options.
- Use the buttons at the top of the Message field to format your message. Your formatted message is displayed in the Preview field.
The buttons apply Markdown formatting, a text-to-HTML conversion tool for web writers. For more information, click the How to Format button.
- Click the Save button to close the page and return to the View Templates page.
- View existing TemplatesView existing Templates
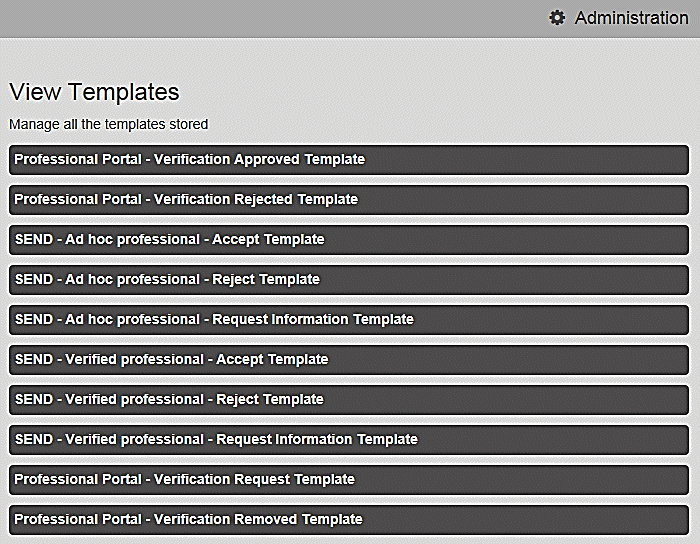
- Select v4 Online | Prof. Portal Admin | Administration | General Administration | Template Management button to display the View Templates page; existing templates are displayed.

- Click the template name to display the Subject and Message that are to be used in the message.

- The template can be edited from here.
- If you make any changes to the template, you must click the Save button
- Edit or Delete a TemplateEdit or Delete a Template
- Select v4 Online | Prof. Portal Admin | Administration | General Administration | Template Management | View Templates.
To Delete a Template:
- Click the template name to display the Subject and Message that are to be used in the message.
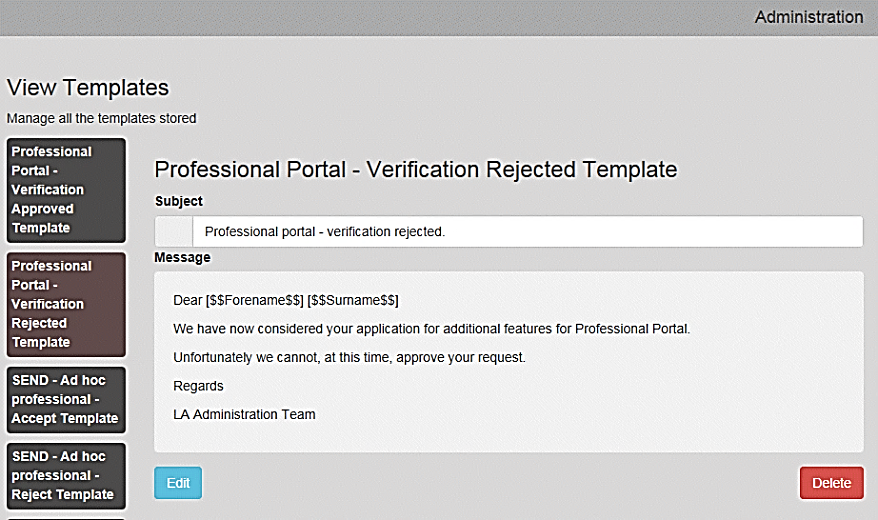
- Click the Delete button to remove the stored template; you must confirm the deletion
To Edit a Template
- Select the required template then click the Edit button to display the Edit Template dialog.
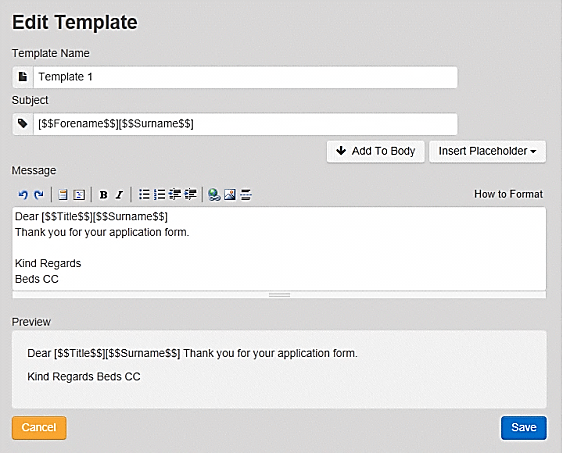
- Edit the required fields; all the fields on the Edit Template dialog can be edited.
- Click the Save button.
- Portal Message TemplatesPortal Message Templates
Portal message templates are accessed in the Professional Portal via Administration | Template Management | View Templates.
Two SEND message templates are available:
- SEND – Informing a Portal User they are authenticated.
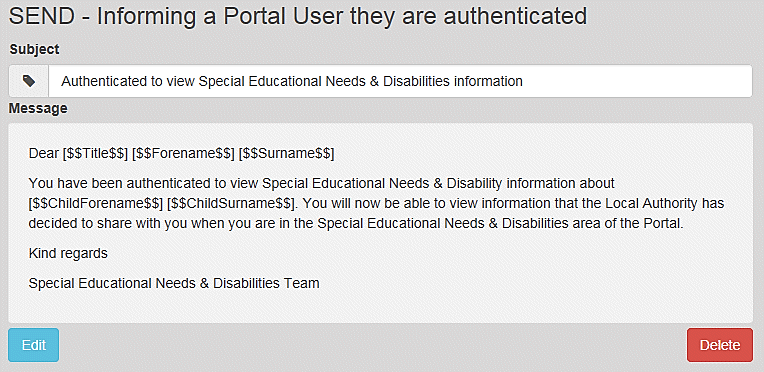
- SEND – Reminder to submit information.
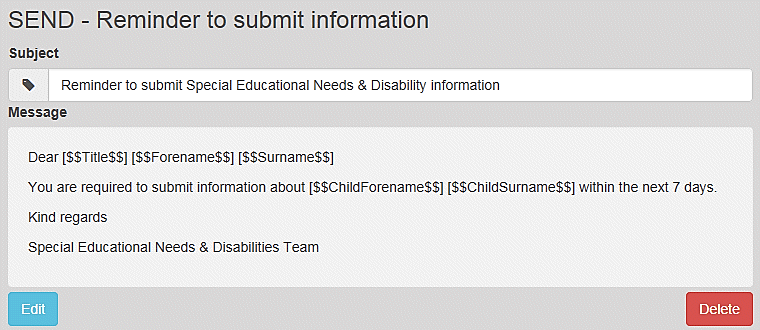
You can edit the message templates or create your own.
- CacheCache
The cache is a temporary storage area used to speed up the retrieval of system information. The system caches information that can take a long time to retrieve or require a large amount of memory. Sometimes issues can occur if the cached data is not updated when new data is entered. For example, a new child has been added, but is not displaying in the Professional portal. Clearing the cache forces a data refresh and displays the new data as expected.
The Cache page enables you to see which data is cached; cached data can be cleared from the system.
- Select Administration | General Administration | Cache to display the list of cached items.
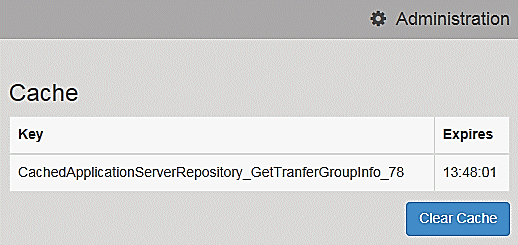
- Click the Clear Cache button to remove the list of cached items. Cached items cannot be deleted individually.
- Click the Save button.
The Template Management functionality is accessed via v4 Online | Prof. Portal Admin | Administration | General Administration | Template Management. Templates are used to send notifications to professionals to provide information regarding their application.
In Template Management you can create, edit or remove templates stored within the portal. Placeholders can be inserted into the subject or the body of the template for the following entities:
SEND
- Professionals
- Title
- Forename
- Surname
- Professional Role
- Organisation Name
- Professional Address
- Business Phone
- Mobile Phone
- Email Address.
- Subject
- Forename
- Surname.
- Message From Administrator.
- Current Date and Time.
The Placeholder Shared Form Link, gives Users the ability to share form(s) on the Portal.
- Create a TemplateCreate a Template