![]()
Click the back button to return to the previous page or use the Table of Contents.
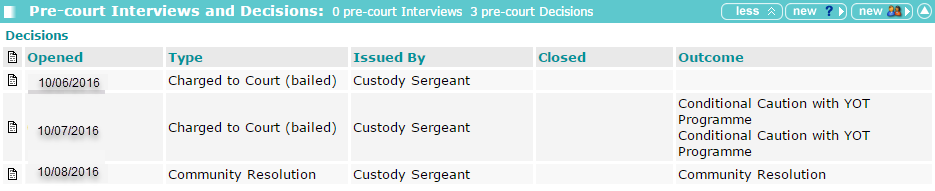
Pre-court Interviews and Decisions
Pre-court decisions are displayed in the Pre-court Interviews and Decisions panel. If your client has neither, the panel header is grey and reads No Pre-court Interviews and Decisions.
- Access the required client record.
- In the Pre-court Interviews and Decisions panel, click the new button to display the Pre-court Decisions screen.
- Complete the appropriate fields.

- Click the link offence button to display the link offence dialog
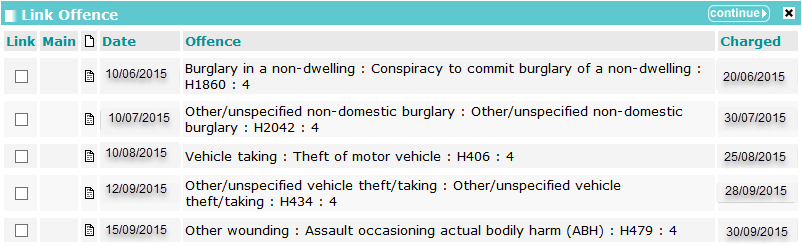
- Select the relevant offences.
- Click the continue button to save the offences and close the dialog.
- To record an outcome:
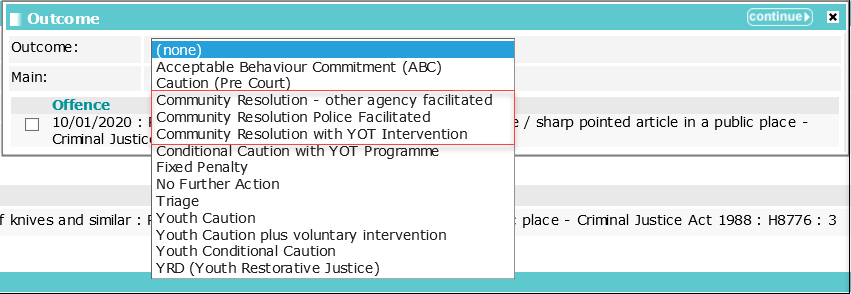
- Click the new outcome button to display the Outcome dialog.
- Select the Outcome from the drop-down list.
- If this is the main outcome for the pre-court decision, select the Main check box.
- Select the Offence which the outcome is associated.
- Click the continue button to save the outcome and close the dialog.
Community Resolutions in the drop-down list has been replaced with 3 new options which are:
- Community Resolution with YOT Intervention
- Community Resolution Police Facilitated
- Community Resolution – Other agency facilitated
- Click the continue button to save the decision and return to the client record.
Enter a Pre-court Interview
Pre-court interviews are displayed in the Pre-court Interviews and Decisions panel.
- In the Pre-court Interviews and Decisions panel, click the new button to display the Pre-court Interviews screen.

- Complete the appropriate fields.
- If the attending worker was not a registered Youth Justice user:
- Select the User radio button.
- Select the worker from the menu.
- If the attending worker was a registered Youth Justice user:
- Select the Additional Worker / Volunteer radio button.
- Select the worker from the menu
- If the worker is not available from the menu, click the new additional worker button to create a record for the worker.
If you need help completing the step above, see step 4 in Allocate Workers.
- Click the link offence button to display the link offence dialog.
- Denote the relevant offences by selecting the appropriate check boxes.
- Click the continue button to save the offences and close the dialog.
- Click the continue button to save the decision and return to the client record.