![]()
Run the Catchments and Distances Processes
- Select a transfer group.
- Select the Students tab
- Open the Pre-Offer Processing section.
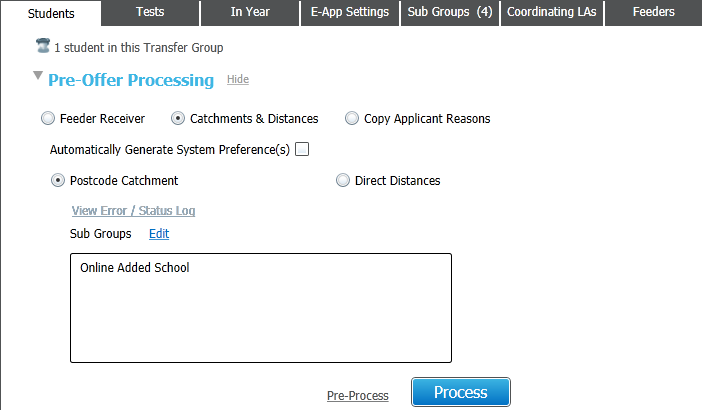
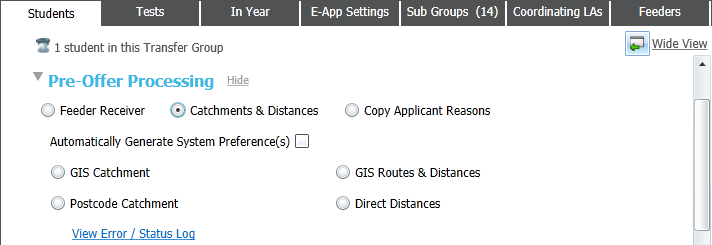
- Select the Catchments & Distances radio button.
Additional fields related to the Catchments & Distances processes are displayed.


- Select Automatically Generate System Preference(s) if required.
If this check box is selected, a system-generated preference is created for each school that the student's address is in catchment for.
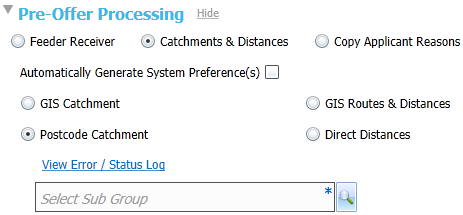
If this check box is not selected, the process runs without creating any preferences. Running the process without creating preferences can help you to validate whether or not a student's address lies within the catchment area of their preference schools. - Select GIS Catchment, GIS Routes & Distances, Postcode Catchment or Direct Distances as appropriate.
The following conditions must be met in order to use the GIS Routes and Distances process:- Use GIS must be selected for the transfer group.
- Each student must have a geocoded correspondence and / or admission address.
- The bases to be used in the process must be geocoded. If any sites/gates have not been geocoded then preferences for those bases are skipped and an entry is made in the error log.
- Use Flag Catchment must be selected in Sub Group Details.
- Use GIS must be selected for the transfer group.
- Click the Select Sub Group browse to display the Choose Sub Groups dialog.
Select any Sub Groups required. To run the process for the entire transfer group, select the Select All check box.

If the transfer group has Use GIS selected, you are asked to confirm that you wish to select the Postcode Catchment process at this point. Click the Continue button to close the confirmation dialog.
- Click the Select button to close the dialog and return to the Students tab.
- Click the Process button or the Pre-Process hyperlink.
A system-generated preference for their current school's linked receiver is added to all students in the transfer group if Process has been selected.