![]()
The instructions on this page were different in the following release(s):
3.75
Multiple passengers
Release note for Autumn 2021 (3.76)
The Multiple passengersMultiple passengers page enables you to perform assessments, approve applications, allocate journeys, issue tickets and invoice passengers in bulk.
Transport v4 enables you to use bulk routines to process as many applications as possible before using the single passenger routines to process any outstanding applications.
Most bulk processes in Transport require you to specify guillotine dates. These dates enable you to select a group of applications to take forward to the next stage of the process, or bulk create future journeys without affecting any existing journeys.
For example, suppose that you specify dates between 1st January and 31st March on the Issue tickets tab, and do not specify any further search criteria. In this instance, The system takes all journeys occurring between these two dates and generates tickets for them. Likewise, the Allocate journey tab takes approvals dated between the guillotine dates you specify and generates journeys from them, while the Approve applications tab generates approvals from applications using the same principle.
Transport’s bulk processes also offer additional selection criteria, enabling you to process specific groups of passengers. For example, all Transport bulk processes enable you to select students by National Curriculum Year (NCY), helping you to deal with transport applications one year group at a time.
Bulk processes with a lot of data to process can take a significant length of time to run. LAs should experiment with timings in running bulk jobs, and run bulk processes overnight or at weekends if necessary.
- Select the Processes area.
- Ensure that the Multiple passenger page is selected.
- Select from the following options:
- AssessmentsAssessments
Create Assessments in Bulk
Transport enables you to select students to assess in three different ways:
- By school.
- By application.
- By admissions transfer group.
When bulk assessing by school, Transport only assesses for the main, registered school of the affected passengers. Bulk assessments by application and transfer group enable you to assess for any school.
The bulk assessment process will only assess passengers for whom the correct home LA has been defined.
More information:
Recording Status Details- Ensure that the Perform assessments tab is selected.
Select from the following:- By Admissions Transfer Group
- Select Admissions with preferences from the Perform assessments for menu.
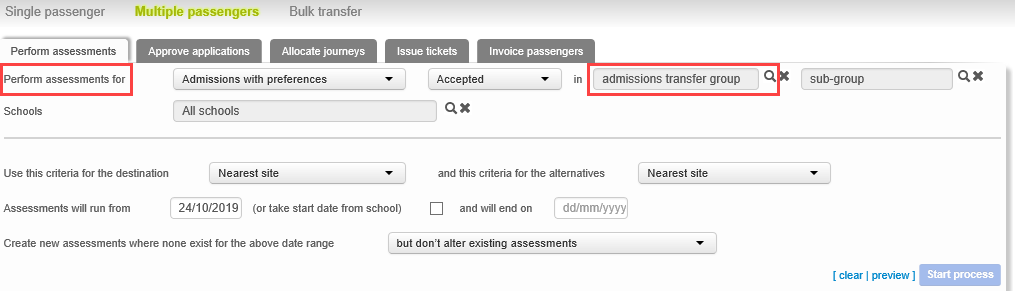
- Select an admissions transfer group.
- If required, select a sub group of the selected admissions transfer group.
- Enter other details as required.
- Select Admissions with preferences from the Perform assessments for menu.
- By Application
- Select Applications with pending periods from the Perform assessments for menu.

- Enter details as required.
- Select Applications with pending periods from the Perform assessments for menu.
- By School
- Select Students in NCYs from the Perform assessments for menu.
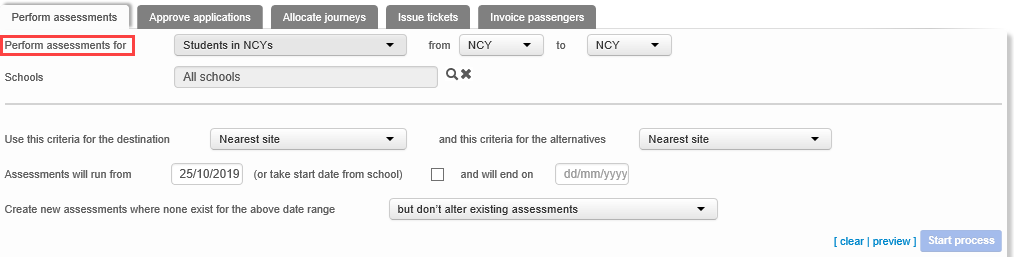
- Enter details as required.
- Select Students in NCYs from the Perform assessments for menu.
- By Admissions Transfer Group
- Click the Start process button to display the Bulk assessment started page.
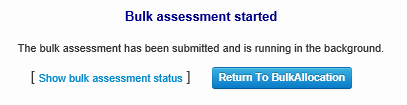
- Click the Return To Bulk Allocation button to return to the Processes | Multiple passengers | Perform assessments page.
- Alternatively, click the Show bulk assessment status hyperlink to view the assessment job in the Job Manager.

- Approve or Reject ApplicationsApprove or Reject Applications
- Select the Approve applications tab.
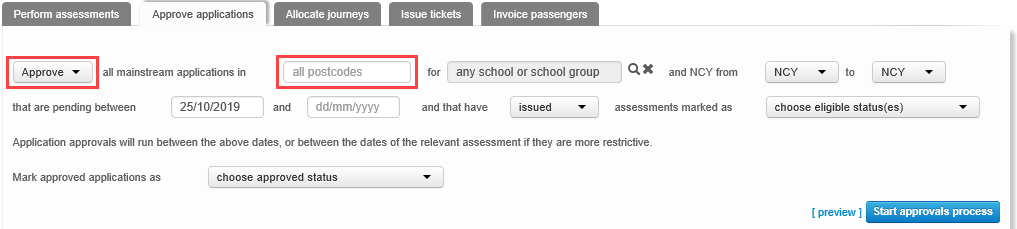
- Choose whether you want to Approve or Reject applications by selecting the appropriate option from the drop-down menu.
- Enter details as required.
- Click the Start approvals process button to process the applications.
All selection fields in the Approve applications menu are optional.
- Select the Approve applications tab.
- Allocate JourneysAllocate Journeys
- Select the Allocate journeys tab.
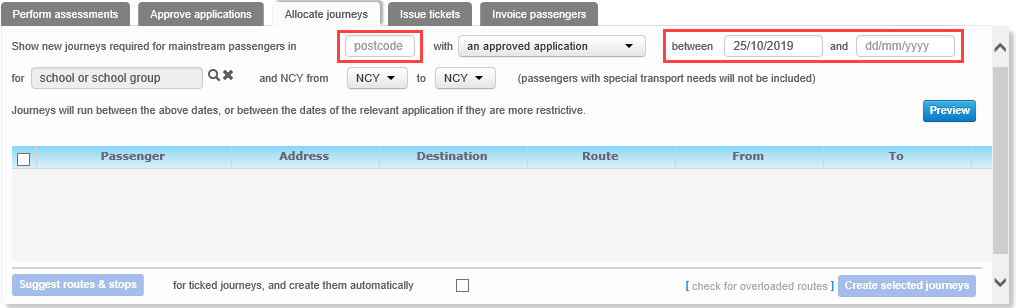
- Enter details as required.
- Click the Preview button to view a list of applications or assessments that meet your search criteria.
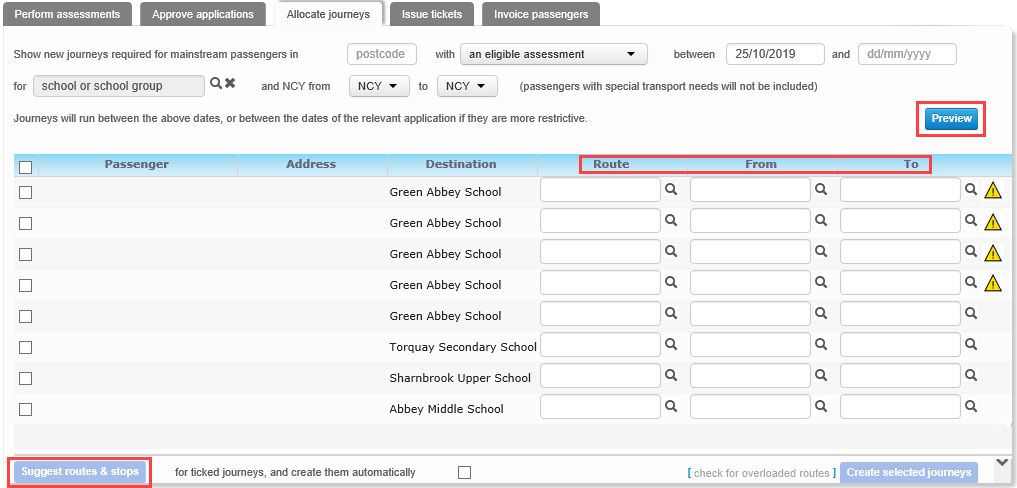
- Highlight the applications you with to create journeys for and then assign a route to them as follows:
- Use the Route, From and To browses to manually select a route and stops for each journey.
- Click the Suggest routes & stops button. Transportwill suggest route and stop details for each journey.
Journey suggestions can only be made if the authority has the GISv4 licence and applicable routes, stops and addresses have been geocoded.
Only single leg journeys are suggested. If the distance from the address to the boarding stop is too far, a notification displays. Another leg of the journey can be added manually if required. - Click the Create selected journeys button to create the journeys.
More information:
Geocode an Address - Select the Allocate journeys tab.
- Issue TicketsIssue Tickets
- Select the Issue tickets tab.
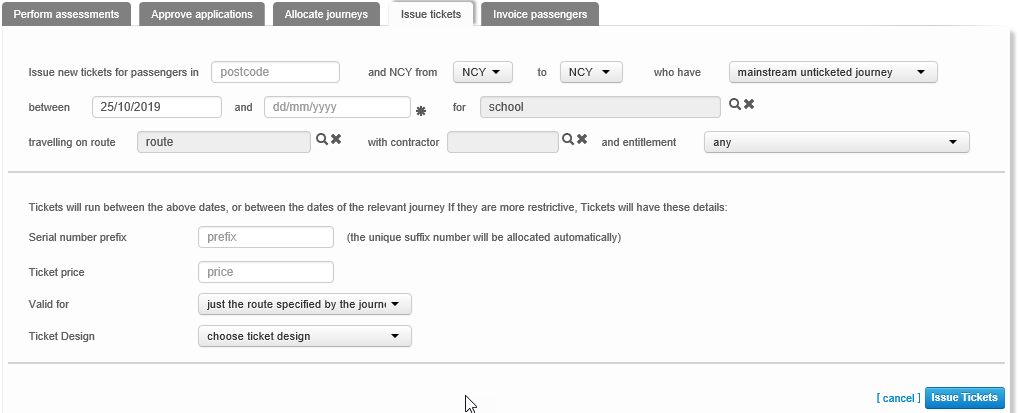
- Enter details as required.
- Click the Issue Tickets button to issue the tickets to the selected passengers. A summary page displays, indicating how many tickets were issued.
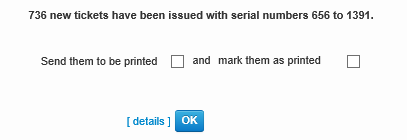
- If required, select the Send them to be printed and mark them as printed check boxes and then click the OK button. The issued tickets are sent for printing.
- If required, click the details hyperlink to view details of the issued tickets.

All selection fields on the Issue Tickets tab are optional.
- Select the Issue tickets tab.
- Invoice PassengersInvoice Passengers
- Select the Invoice passengers tab.
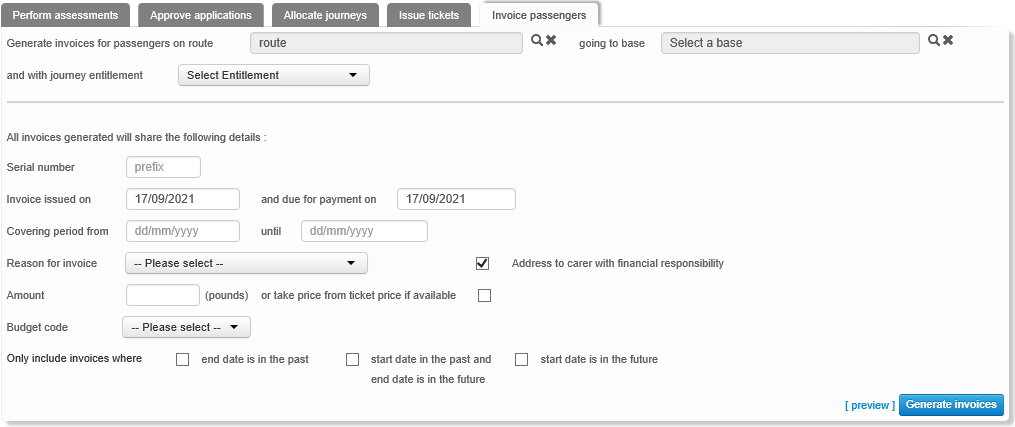
- Enter details as required.
- Click the Generate invoices button to generate invoices for all passengers who meet the specified selection criteria.
More information:
Configuring Invoice Reasons. - Select the Invoice passengers tab.
- AssessmentsAssessments